Handmade Cards are Special
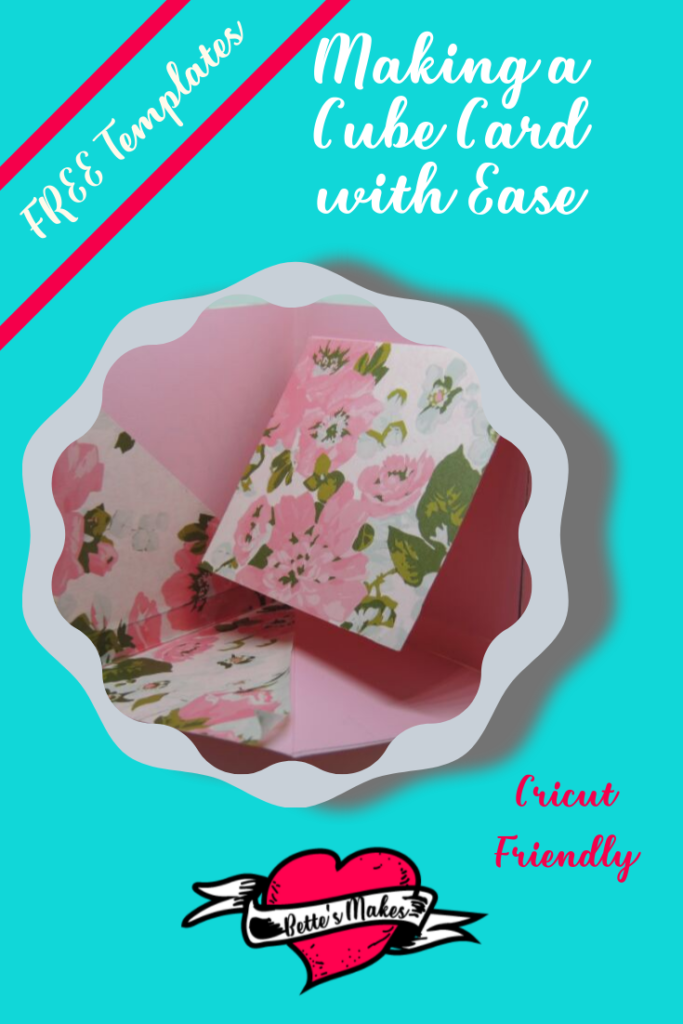
Handmade cards are always so special! Today we are making a Cube Card, a little twist on pop-up cards that will make you smile. I came across the Cube Card while reading one of my favorite card-making magazines. At first, it was a little confusing as to what I was supposed to cut. I took that experience and made the directions much easier to understand. I even made a video on how to do this card in under one hour! Knowing what materials were one of the most important parts – see Cricut Washi Sheets here.
I recently made another card and wrote a post about it. This card was a teapot and was quite gorgeous when it was done. You can read about it here: Handmade Birthday Card – this one I absolutely loved!
Quick Links to Information in this post
- Cube Card Materials
- Handmade Card: Making a Cube Card Step-by-Step
- Great Reading Resources for Handmade Cards
- Video: How to Make a Cube Card
- Cube Card Template
Resource Library
Don’t forget to visit my resource library and get all the free downloads for all my projects. Today you will need to get the template for the cube card.
Here’s what you need to make your own Cube Handmade Card. This post does contain some affiliate links for your convenience (which means if you make a purchase after clicking a link I will earn a small commission but it won’t cost you a penny more)! Read my full disclosure policy.
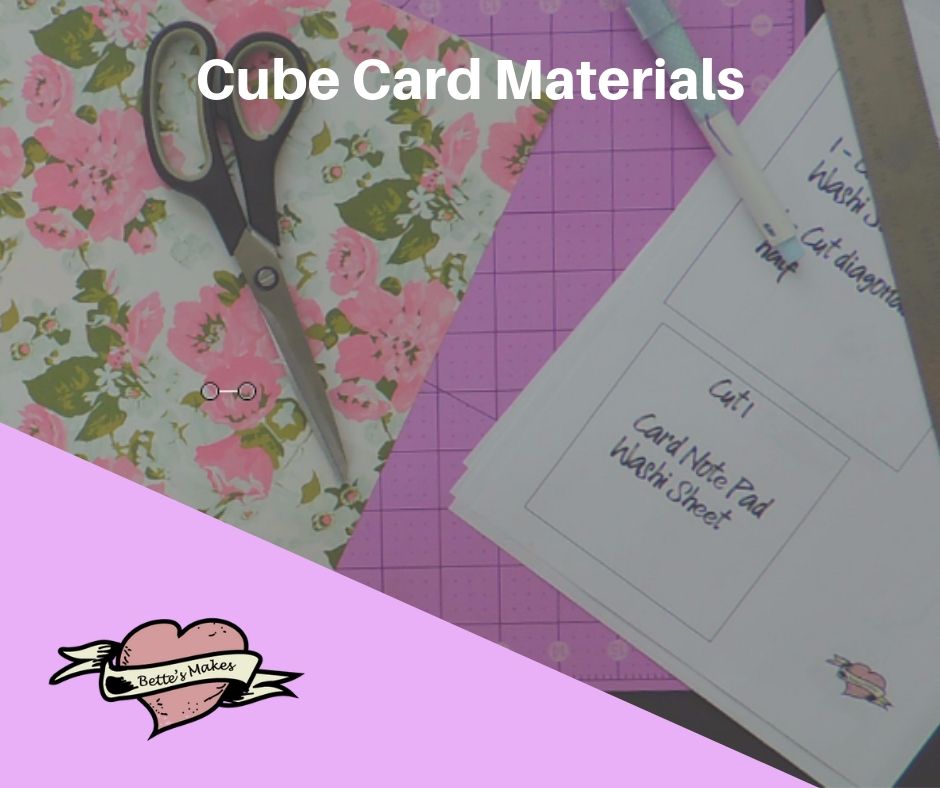
Handmade Card: Cube Card Materials
- Either 2 sheets of 12″ x 12″ cardstock or 3 8.5″ x 11″ cardstock
- 1 sheet of Washi Paper(you can use shelf liner as well)
- Scissors or Exacto Knife
- Ruler
- Glue
- Weeding tool (a paperclip will work as well)
- Project template (#166-#169)from the resource library
Handmade Card: Making a Cube Card Step-by-Step
If you find yourself having difficulty with this card, just scroll down to the video and watch the steps there. This cube card is very easy to make and you will absolutely love the results!
Step 1
Gather your materials and download the template from the resource library (#166-#169)
Step 2
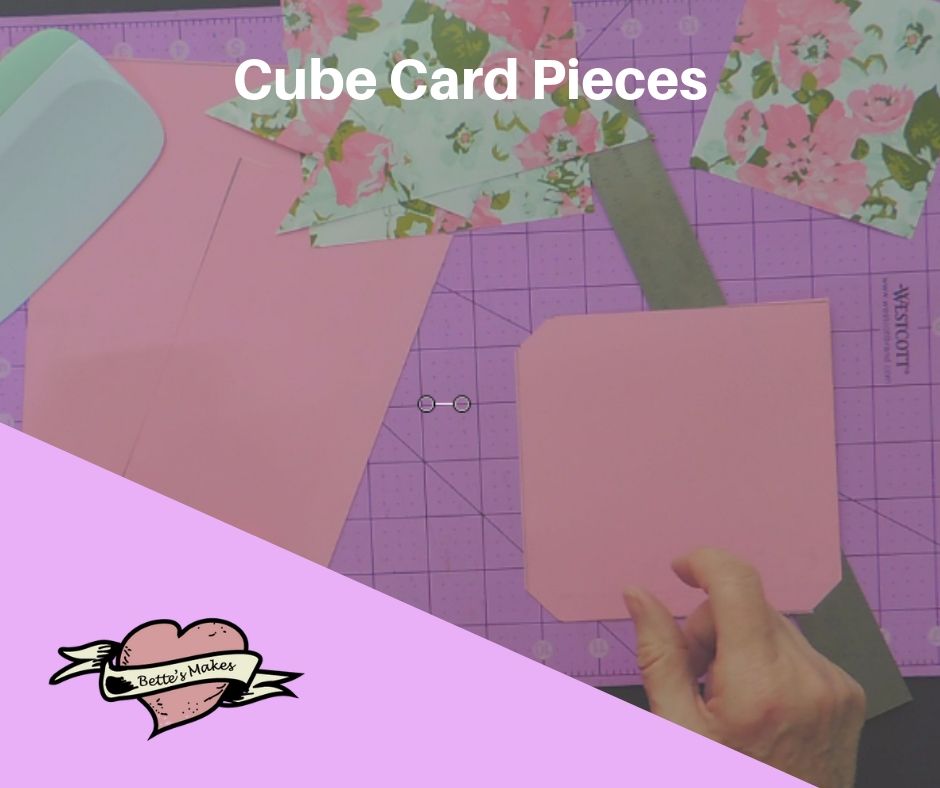
Cut out the pieces for the card. This means you need to cut 1 piece for the outside of the card, the bottom of the card, and the notecard.
For the Washi sheet, cut 3 pieces and take one of the large pieces and cut it in two diagonally.
Step 3
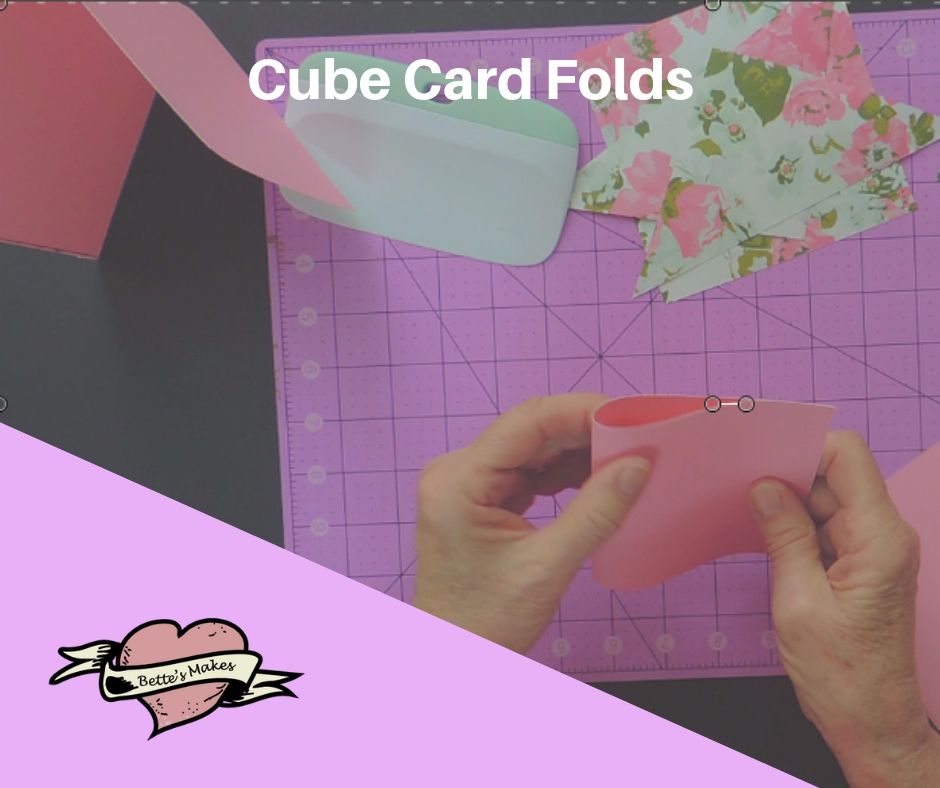
For this step, you will fold the two long card pieces in half as shown below plus you will also fold the two edges for the bottom piece. Be sure to burnish your folds so that they are crisp!
Step 4
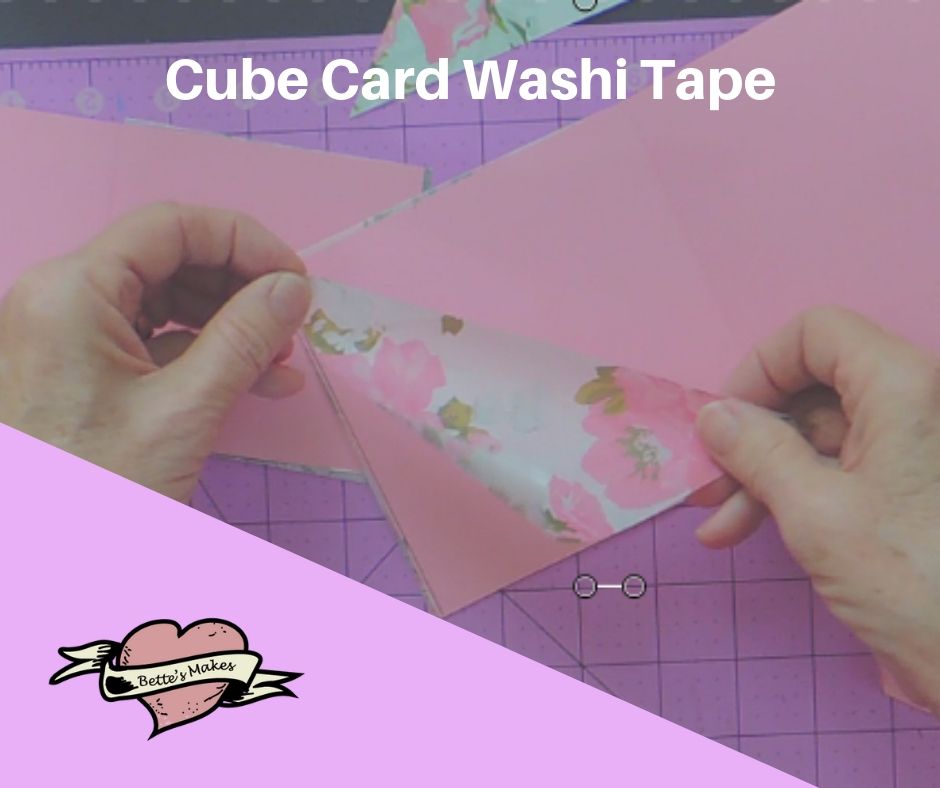
Apply the Washi sheet pieces to the card. You will start by attaching the small square to the front of the notecard then you will attach the larger square to the front of the card (see the image below).
Once the two squares are attached, you will be attaching the two triangles. The first triangle will be applied to the inside front of the card. It will be placed on the diagonal so that the top left and bottom left corners are along the straight edges and the diagonal goes from the top left to the bottom right side. You do not want to press this hard in place because you will be attaching one of the bottom piece flaps under the tape.
The second triangle will be placed on the bottom of the card. See the image below for the exact placement. The diagonal will go from the center where the long cut was made for the fold to the corner where there is no fold.
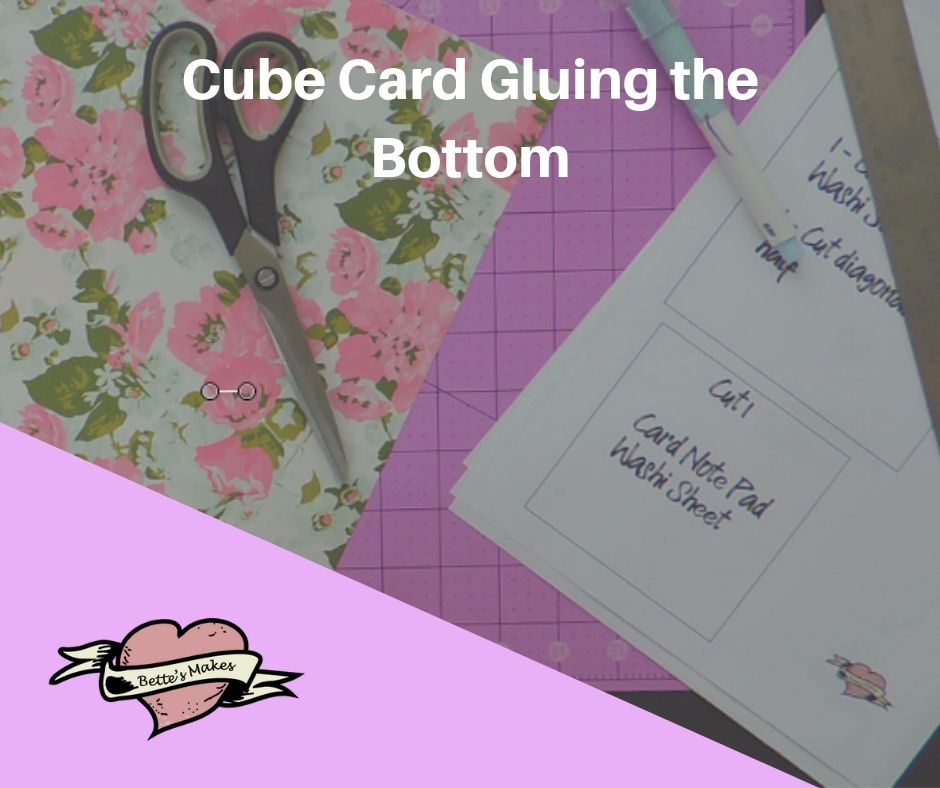
Step 5
Prepare to glue the bottom piece flaps. Move the bottom piece around so that one flap can be attached to the inside front of the card and the other flap can be attached to the back outside of the card.
Next, glue the inside front flap down between the Washi sheet and the inside of the card, This way the flap will be hidden from view and gives the card a really clean look.
Now glue the other flap to the back of the card. Your card should now look something like the image below.
Step 6
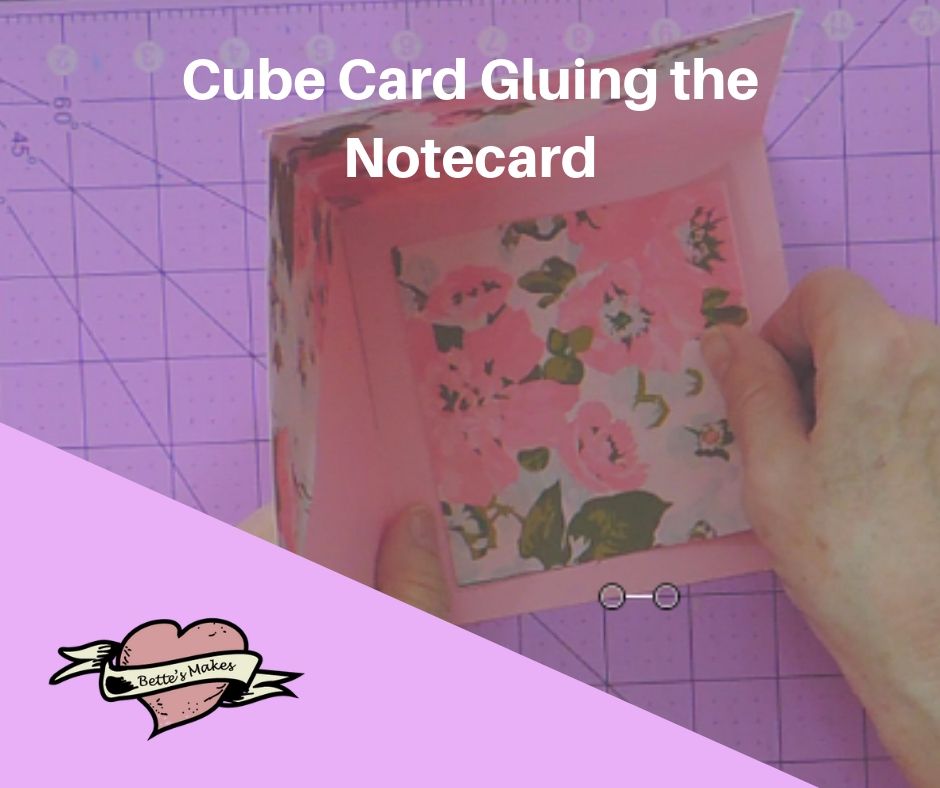
You may want to consider writing your greeting inside the notecard before gluing it into place. It is much easier to write on a flat card rather than waiting until everything is in place.
It is time to glue the notecard to the inside back. Try and center it as you glue it down. This is where your greeting will go if you have not already written it.
Step 7
You will be folding the bottom of the card diagonally up to the center. Simply press the bottom up and then fold it down as shown in the image below.

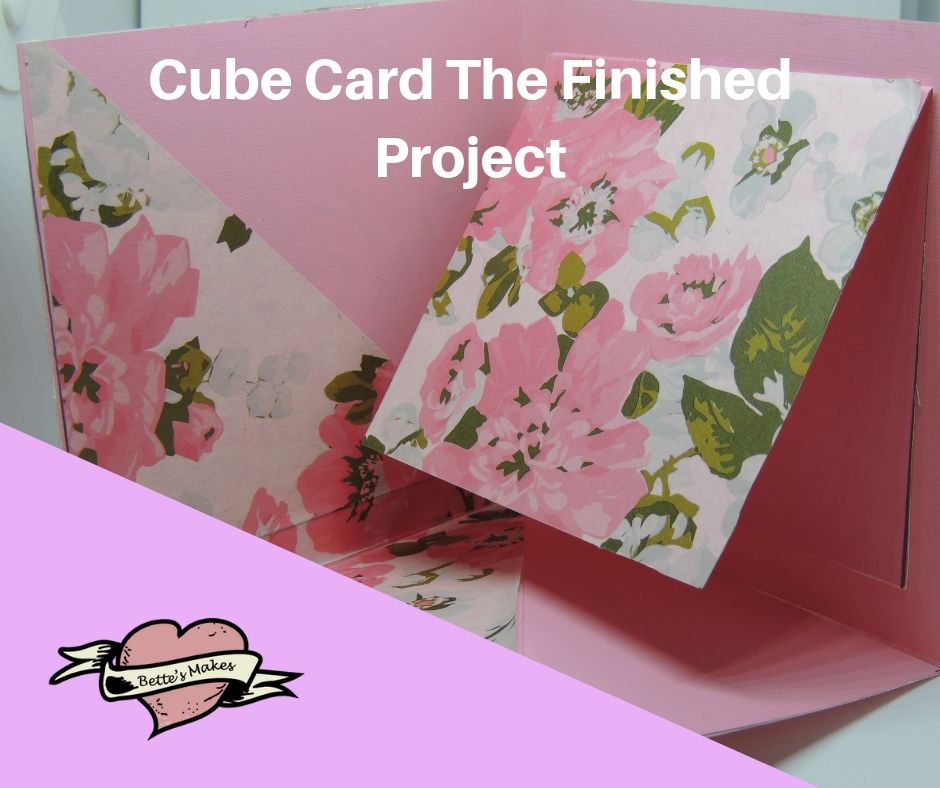
Step 8
Your card is now complete! You can add your own handwriting to the outside or add some embellishments. Get ready for some ohhs and ahhs when you present this card to someone special!
Great Reading Resources for Handmade Cards
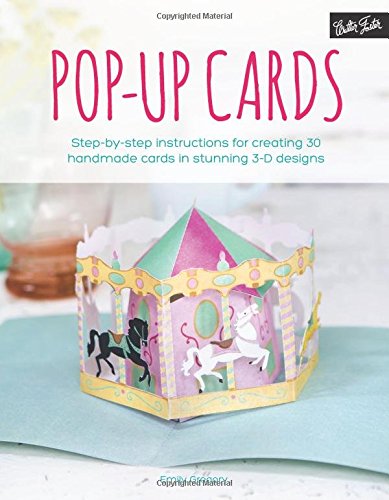
Step-by-step instructions for creating 30 handmade cards in stunning 3-D designs
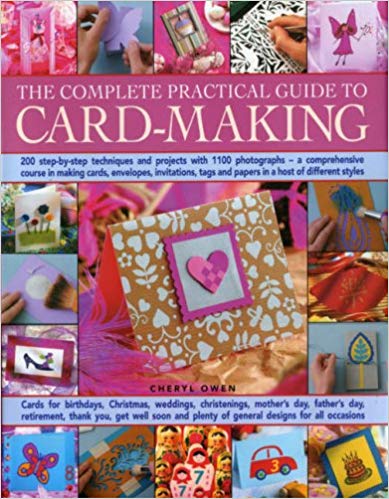
The complete guide to card-making with over 200 projects to work on!

Designs to make and give throughout the year
Video: How to Make a Cube Card
I loved making this video as this card was so easy to make. The hardest part was sticking the Washi material onto the card without it sticking to me.
Last Word
This card was a special make for me, I tried it a couple of times and found that it was so easy to make and not part of my regular set of cards that I want to make sure I use this pattern often. With the Washi design, I also experimented with using tacky shelf paper – it is sometimes called Mac-Tac! I found some great designs at the dollar store which made this handmade card even less expensive to make.
Buying cards can be expensive but when you can make one using dollar store tacky paper, cardstock, and glue – the expense is gone out the window! You can add your own drawings to this fabulous card as well!
Just a reminder that you can get the template for the cube card from my resource library. I post many freebies in the library as I make some of my fantastic DIY paper Flowers, handmade cards, or other paper crafts
Not registered yet? Fill out the form below and get free access plus a subscription to my newsletter!
I do hope you take the time to make this amazing cube card! Get the whole family making cards they will love!!!
Please share your card in my Facebook Group!
Until next time, Happy Crafting!

Pinterest: Pinterest.ca/BetteMakerCreations
Instagram: Instagram.com/BettesMakes
Group: Facebook.com/groups/BettesMakes
Facebook: Facebook.com/BettesMakes
YouTube: https://www.youtube.com/cc/BettesMakes
Save this pin to your favorite board so you can come back often! Many thanks!