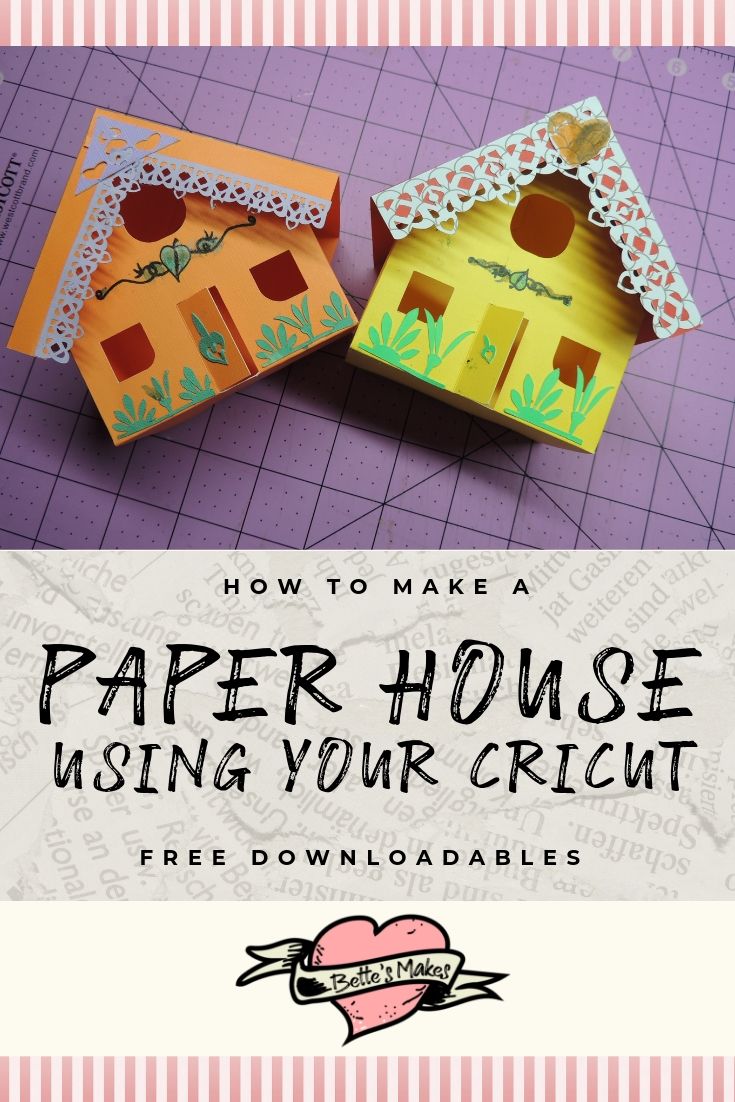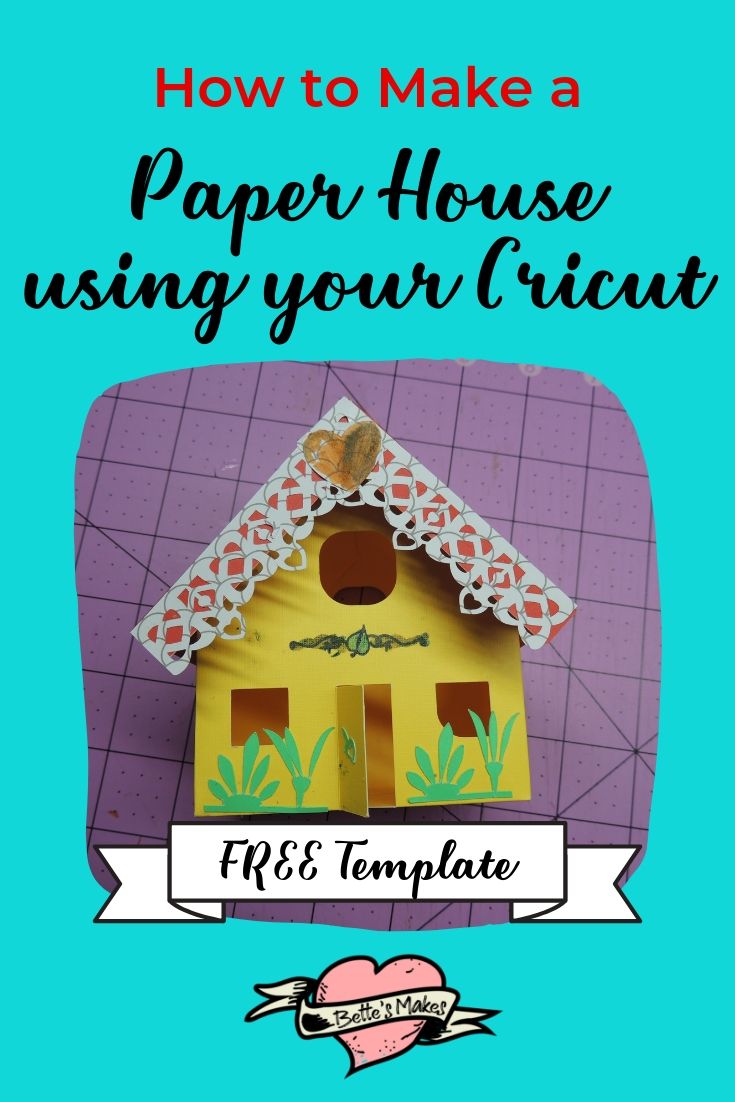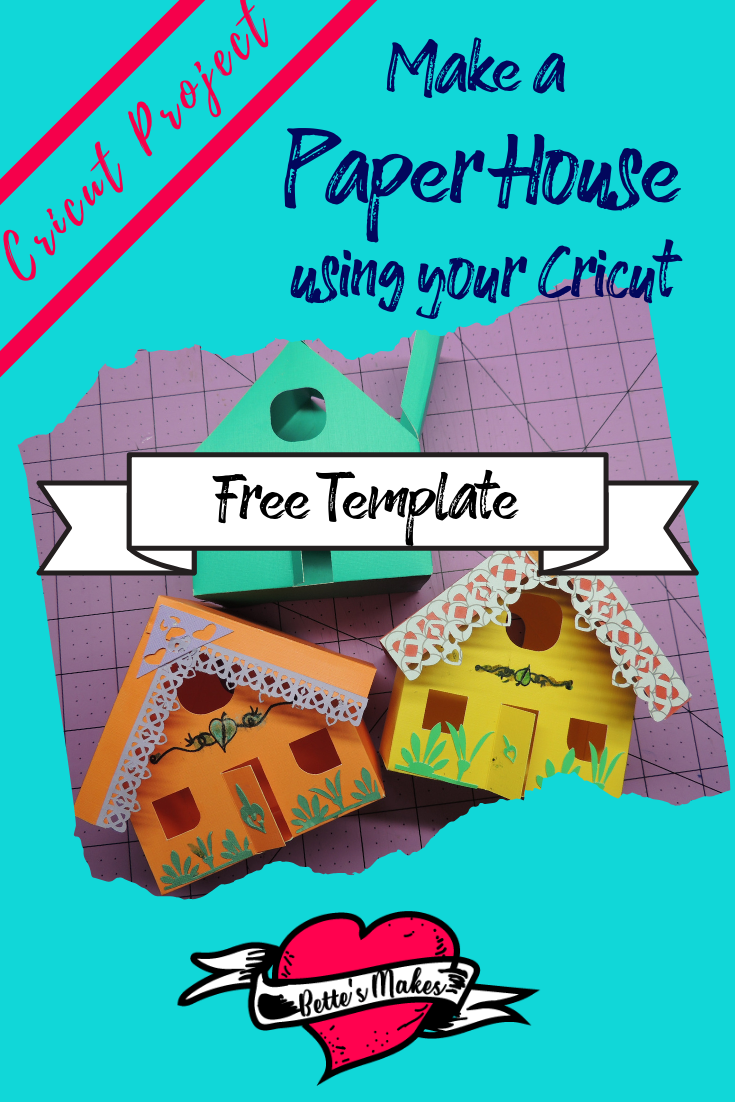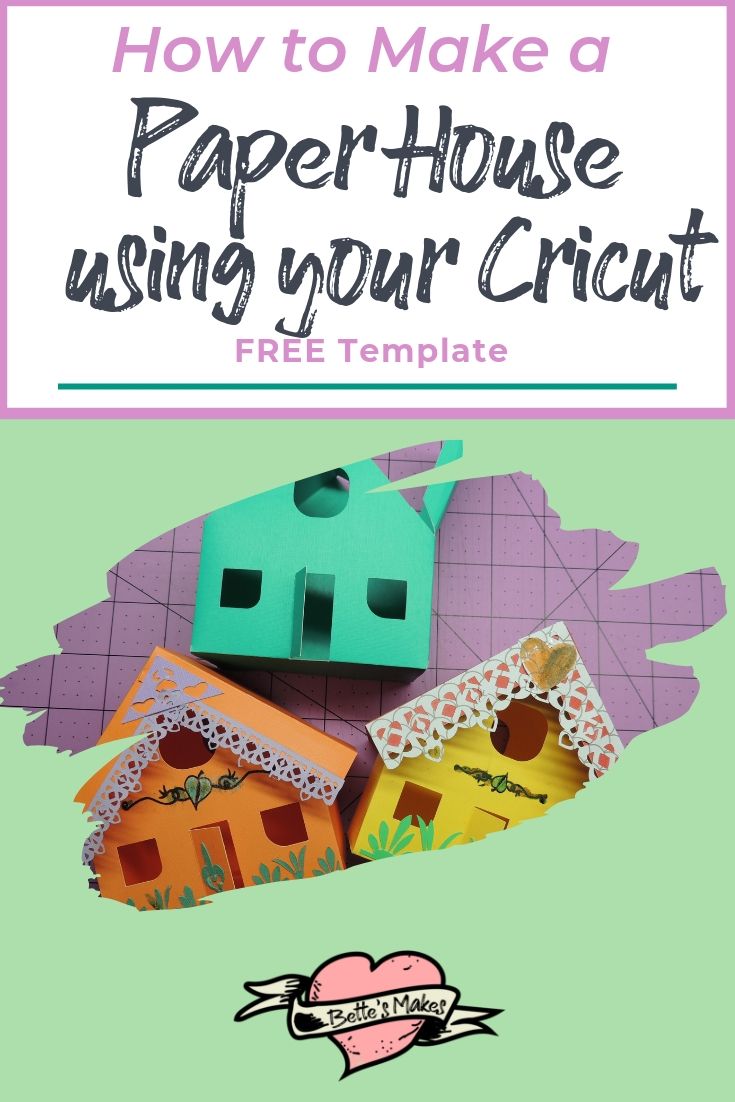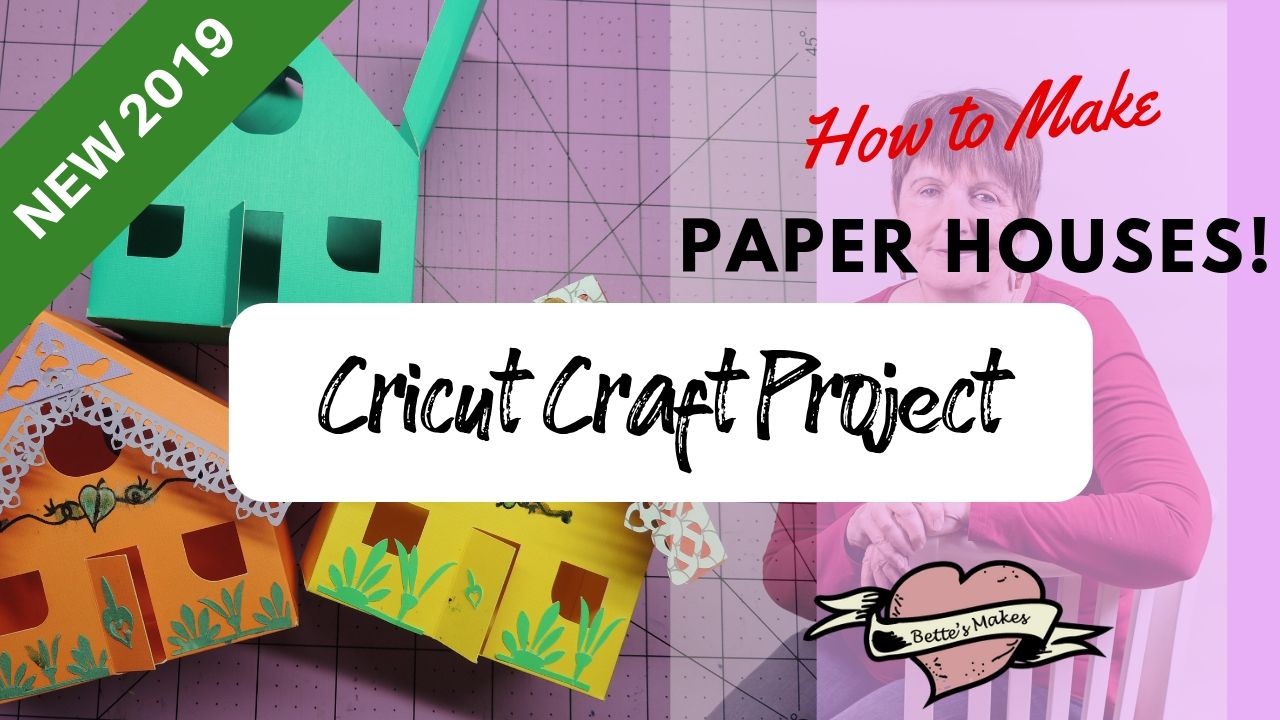
Why Did I Choose a Paper House?
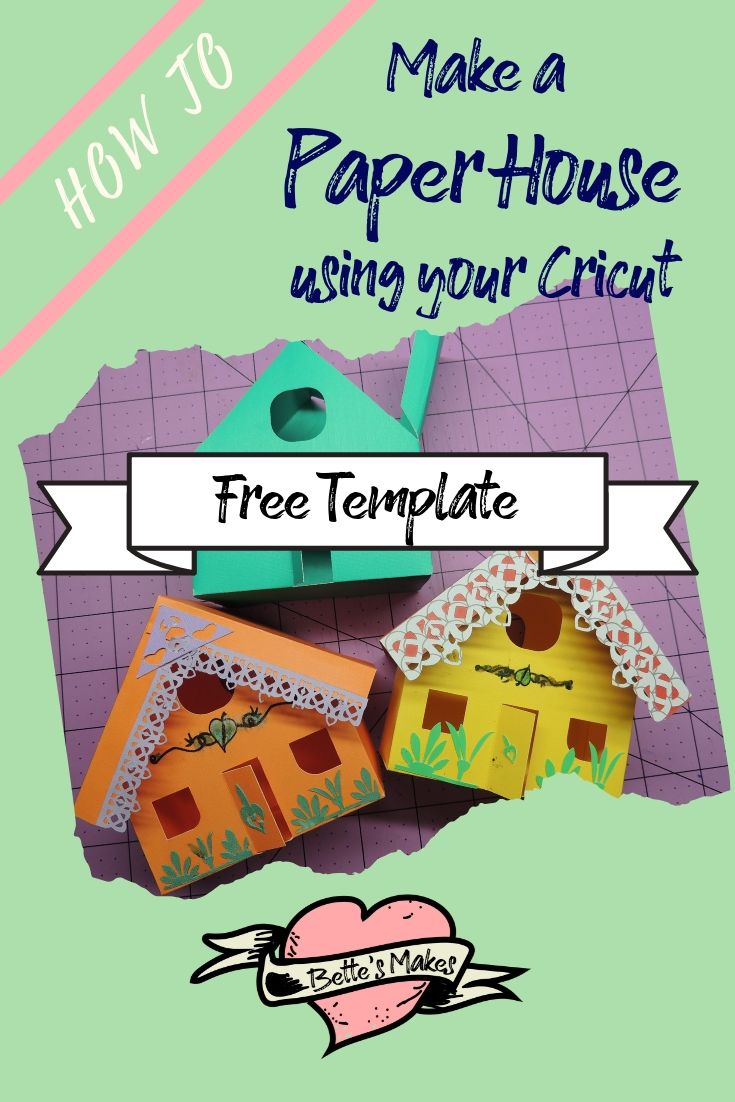
Being a very curious crafter, I was scrolling through some craft groups on Facebook and discovered a group totally dedicated to making paper houses! I had to join the group and learn a lot more. I soon discovered that many of the houses were incredible pieces of art! I was so impressed with the details and the designs that i just had to design one of my own!
The project I am sharing with you is one that I designed, including the gingerbread trims. Of course, every new craft I try always takes me a lot longer that expected. in this case, I spend a day designing, a day figuring out my mistakes and making a few simple paper houses before recording my tutorial. You can see the video on my YouTube channel.
I am so happy to share this project with you - so happy crafting and remember to share your make in my Facebook Group.
Getting Your FREE Template
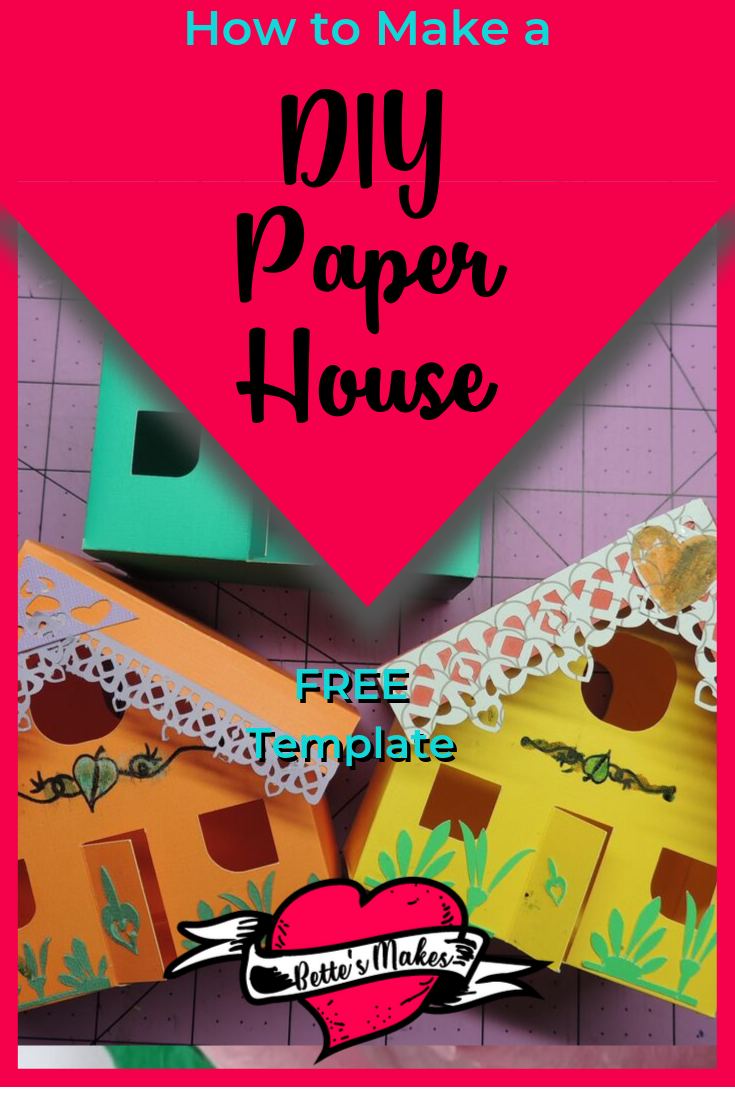
Creating and making a paper house often requires a template as the initial building block. For this project, I created a template including extras to construct a paper house that would be easy to make. There is plenty of room for you to add to the design or make any changes you wish. The template is yours for making this simple paper house. The template is also for a printable paper house although the files are in SVG format. The goal is for you to have fun making this paper house and many more! Start by downloading your paper houses template from my resource library.
Here’s what you need to make your own Paper House. This post does contain some affiliate links for your convenience (which means if you make a purchase after clicking a link I will earn a small commission but it won’t cost you a penny more)! Read my full disclosure policy.
Quick Links to information in this Post
Find everything you need to make this cut and simple paper house project. The whole family is going to love this!
Materials Used for the Paper House
Making paper houses is not expensive! You can use scrap papers for some of the elements and still get amazing results. You can substitute any of the recommended tools to what you have at hand, just as long as it will do the job!
Step-by-Step Guide for Your Paper House
Although this is a simple paper house project, paper house construction can sometimes be a bit tricky, so be sure to follow the steps when it comes to assembling your paper house. Out template can be used for printable paper houses as well. These houses can be adjusted in design space to make miniature paper houses as well. As a matter of fact, you can make a whole village using different sizes and changing where the windows are placed. Just have a lot of fun with creative paper house ideas!
PART 1 - Cutting the Paper House
Step 1 - Assemble Materials and Download Template
Right out of the gate you will need to get all your materials ready and download the templates for this project. The templates will be in a zip file with 7 different pieces you will need to use.
Step 2 - Open Design Space and Upload the SVG Files
Go to design.cricut.com to get started. If you do not yet have an account, sign up for one - it is FREE!
Start a new project.
Click on the Upload button.
Upload the 7 SVG files you need for this project.
Step 3 - Insert Images into the Design Stage
Select all 7 images and place them on your project stage. Once the images are in place, you will need to move them around so you can work on the pieces, one at a time.
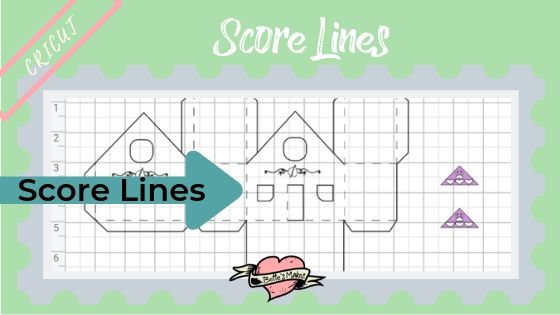
Step 4 - Adjust the Main House and Roof Overhand Images to add Score Lines
When a template is uploaded, often the score lines are lost in the file transfer. in this step you will need to ungroup some of the images and change cut lines to score lines. For details, watch the video on how to change cut lines to score lines.
For the house, you will change inner lines to score lines, then add two more score lines for folding of the roof area of the main house.
Be sure to change the left hand side of the door to a score line as well.
Select the entire main house including all the score lines then group them so they move together. With the group still selected, click on attach on the bottom right of the screen. This will ensure that the house is scored and cut as one piece.
Next, change the inner 3 fold lines to score lines on the overhand roof. Select the overhang roof and all it's score lines and group it, then with it still selected, click on attach.
Step 5 - Adjust the Garden and Door Decoration
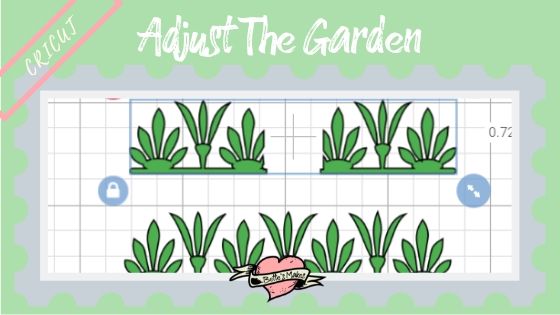
Select the garden piece and click on the weld button to make sure the entire garden stays intact.
With the garden still selected change the linetype color to green - this will make sure the garden is cut from a different mat.
Adjust the size of the garden to fit the width of the main house (once again, this is explained in the video).
With the garden now the correct size, duplicate it so that you have 2 garden pieces.
Select only one of the garden pieces and cut out the center so that the garden does not cover the front door. You can do this by creating a rectangle the size of the door, placing it over top of the garden piece and selecting both the garden and the rectangle (make sure nothing else is selected).
Click on Slice, then remove all the pieces in the center. You will now have a garden piece that fits perfectly in the front of the house.
Locate the door decoration and change the color to green to match the garden. Adjust the size of the decoration to fit on the door of the main house.
Step 6 - Adjust the Gable and Gingerbread Trim
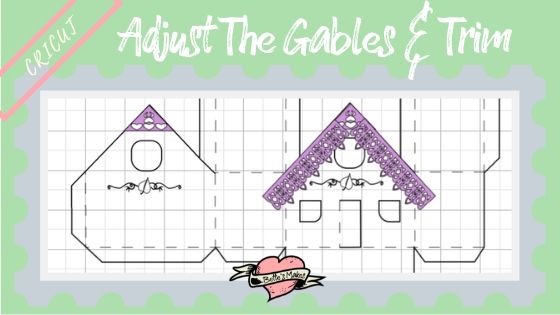
Select the Gable piece. You will notice that it is fairly large and is way too big for the front of the house.
Move the gable over the front of the main house and make sure it is arranged to be in front as this will make it easier to make adjustments.
Resize the gable to fit between the top of the roof and the top of the upper window. You should also adjust the sides to match the roof line.
Change the color of the gable to purple and duplicate the image.
Now select the gingerbread trim. You may want to adjust the size of the trim but it is not necessary as you can cut off the pieces that are too long when it comes to assembling the house.
Change the color of the gingerbread to purple so that it cuts on the same mat as the gable.
Remember that we are cutting these two pieces out of bond paper and not card stock.
Step 7 - Adding the House decoration
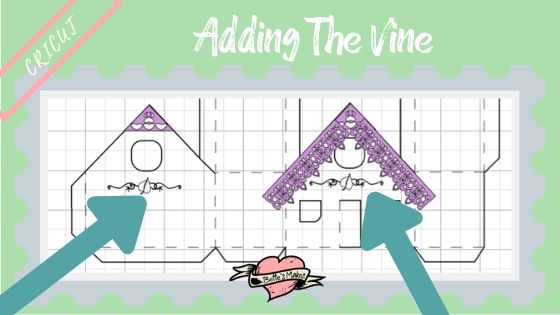
Locate the vines that will be used to decorate the house. Right now this is a cut piece and you want to change it to a draw piece.
Select the vine, click on the linetype at the top and select draw. The leaf in the center will now but unfilled and ready for you to color later in the project.
Place the vine just under the front upper window and center it. Resize it, if you think it is too big. Once you are happy with the placement and size, duplicate it and place the duplicate under the back upper window.
To make sure the design is drawn on the house, select both vines and the main house and group it then attach it. This way the main house will have score lines, drawn lines, and cut lines.
Step 8 - Cutting, Scoring, and Drawing the Paper House
Be sure to save your project before proceeding to this next step. Name it anything you wish.
After your project is saved, select the Cricut machine you will be using (if you have not already been prompted to do so) and then click on the Make It button.
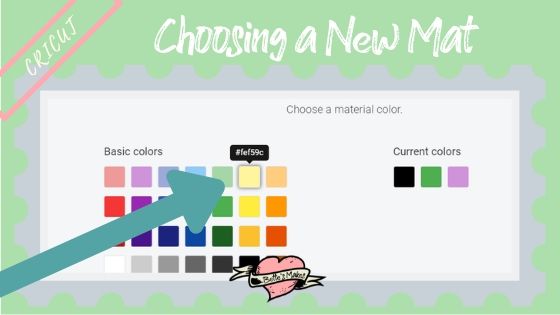
Your project will now be sorted into mats. If you wish to have your overhang roof a different color than the house, this is where you will need to move the overhand to another mat. You do this by selecting the overhand roof, clicking on the ellipse (top left of the image), and selecting Move to another mat.
Because there are no other mats, select New Mat, then a color for that mat.
Your overhang roof will now be placed on a 4th mat but you will notice that it is placed near the bottom (the original placement on the 1st mat). Just grab the image and move it up to the top left edge below the bleed lines.
Go through and double check to make sure your mats are the way you want them, including how the images are placed. Make any changes you wish them click continue.
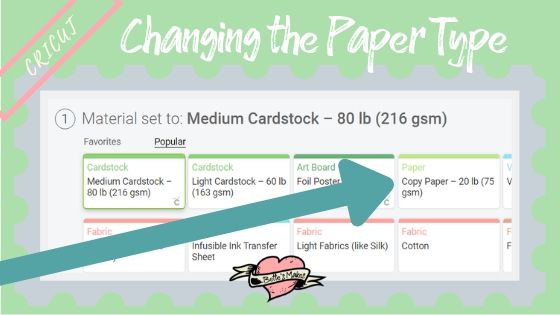
At this point, your machine will be connected and you will need to choose your paper type. Remember that one of the mats will be using a different paper so do not just cut everything.
Select the type of cardstock you will be using for 3 of the mats and following the blade loading directions given by Cricut. Cut mats 1 and 2, skip 3 and continue cutting mat 4.
In order to cut mat 3, you will need to change the paper type. To do this, simply click on the mat, then click on the paper type name at the top of the screen. Once you do this, you will be given the option of changing the paper type to bond.
When the new paper type is chosen, go ahead and cut mat 3.
Everything should be cut at this point and we are now ready to put our simple paper house together.
PART 2 - Assembling the Paper House
Step 1 - Folding the Score Lines
For the main house, fold all the score lines to the back of the house. It does not matter which side as long as all folds are going in the same direction.
Do the same for the overhang roof as well. Be sure to fold the small cut pieces at the same time.
Step 2 - Adding the Garden and Door Decoration
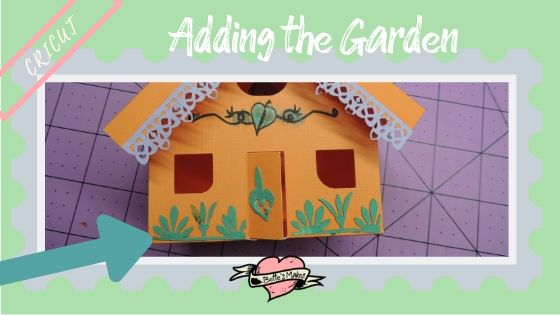
It is much easier to add the garden and door decoration before gluing the main house together. Start with the large garden piece and glue it at the bottom at the back of the house. Get as close to the fold line as possible.
Next, glue the split garden piece to the front of the house. Once again, you want to get it as close to the bottom fold as possible.
Finally, glue the door decoration in place.
Let everything dry. Since I have recommended white glue, this should only take a couple of minutes.
Step 3 - Gluing the Floor and Sides
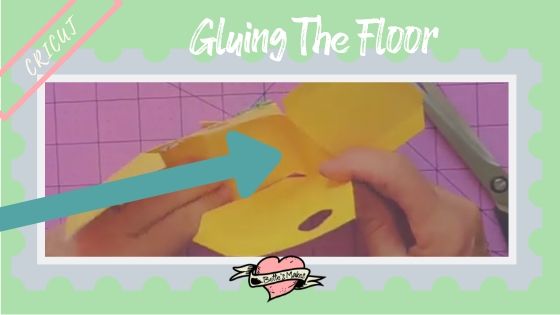
Here is where it get a little messy as you need to glue the bottom and side of the house together. Here is what works for me.
Glue one of the bottom side pieces in place, preferably the side piece that is furthest from the side opening.. The tab will be on the inside of the house. Let it dry so it will not move around when adding the other tabs.
Glue the long tab in place (tab on the inside). You will now be life with the final bottom tab and the side of the house. This time you will need to place you glue on both tabs, then adhere the bottom tab, then the side tab.
Let everything dry before tackling the inner roof.
Step 4 - Gluing the Inner Roof
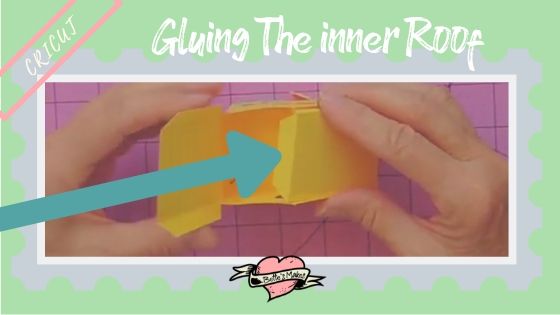
For the inner roof, one of the roof pieces will have 3 tabs, and the other 2 tabs. We are going to start by applying glue to the 3 tabs, then securing the two side tabs inside the roof. You may have to hold them for a few seconds to make sure they stay in place.
Now, apply glue to the 2 tabs on the other roof piece.
Make sure you bend the 3rd tab on the other piece upward so it will glue to the top.
Now, tuck the tabs into the roof and hold everything in place until it dries.
Step 5 - Assembling and Gluing the Overhang Roof
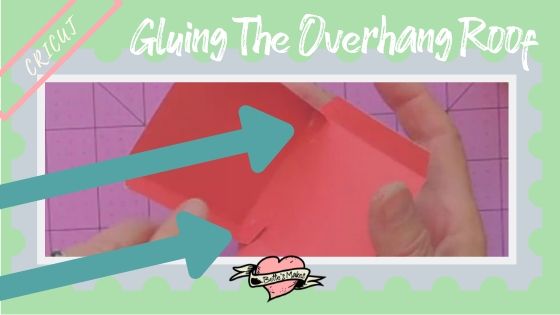
For the overhang roof, there are two small slits and a small piece that you folded. You will be gluing these small folded pieces to the inside of the roof as follows:
Fold the roof one the edges and in the center. You will end up with two smaller parts that have fold. We will work with these small parts first.
Apply the glue to the outer edge of each of the small pieces then press the piece towards the middle of the roof so the cut edge lines up with the long fold. This will bring the roof to a triangular shape. If done correctly, the long piece will line up on the outside with the outer edge, forming a perfect peak.
It may take some manoeuvering to get the small pieces in the right place.
Now you will glue the outer part of the roof overhang together. Apply glue on the inside of the cut edge and press the folded sides together. This is where you want to use your clamps to hold everything in place.
Set aside the overhand roof to let it dry for a few minutes before proceeding to the next step.
Step 6 - Adding the Gingerbread Trim and Gables
If you have not done so already, it is time to weed your gable and gingerbread trim.
I find it easiest to weed directly on the cutting mat. With this project, as long as you have not adjusted the size of the Gingerbread trim, pulling it directly off the mat seems to work. You just have to make sure that all the detail is completely weeded.
Here comes the fun part! In this step we will be adding the Gingerbread trim first then the gable on top.
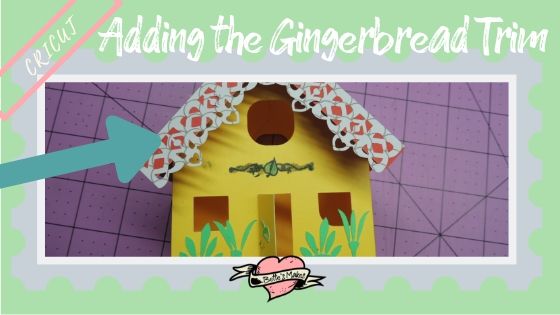
You will be gluing the gingerbread trim on each side of the front of the house.
Take one strip and glue it to the overhang and cut off any extra so that the gingerbread matches the roof line. Do the same for the other side in the front.
Take one of your gables and glue it to the top of the overhang - do this for both the front and back of the house.
Step 7 - Coloring the Vines
Your house is more or less complete. I always like to add embellishments and coloring the leaves on the vine is a perfect way to make your house stand out.
Use a Gelly Roll Souffle pen (I like these because they puff up), or any brush pen you wish to color the leaves on both the front and back.
Add any other decorations you want!
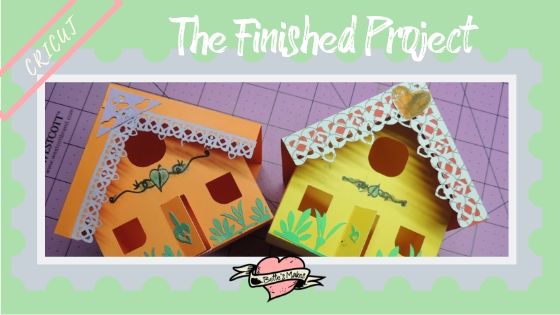
Step 8 - The Finished Project
Condimentum pellentesque torquent lectus amet suspendisse fusce hendrerit mollis. Class iaculis condimentum potenti lacus, pellentesque fames lectus auctor, eros himenaeos fusce tempor porttitor habitasse praesent. Erat suscipit lacus nunc, donec lacinia proin. Elit tincidunt et! Volutpat rhoncus ipsum ac! Curabitur metus rutrum aliquam elementum hac torquent cursus curabitur mauris! Fermentum ornare gravida per congue curae, potenti mauris, nulla morbi leo netus himenaeos vitae.
Reading All About Paper House Construction
Every book brings new ideas! I found these books on Amazon and take a look at what others have made. These books are also great resources when making your own simple paper houses.
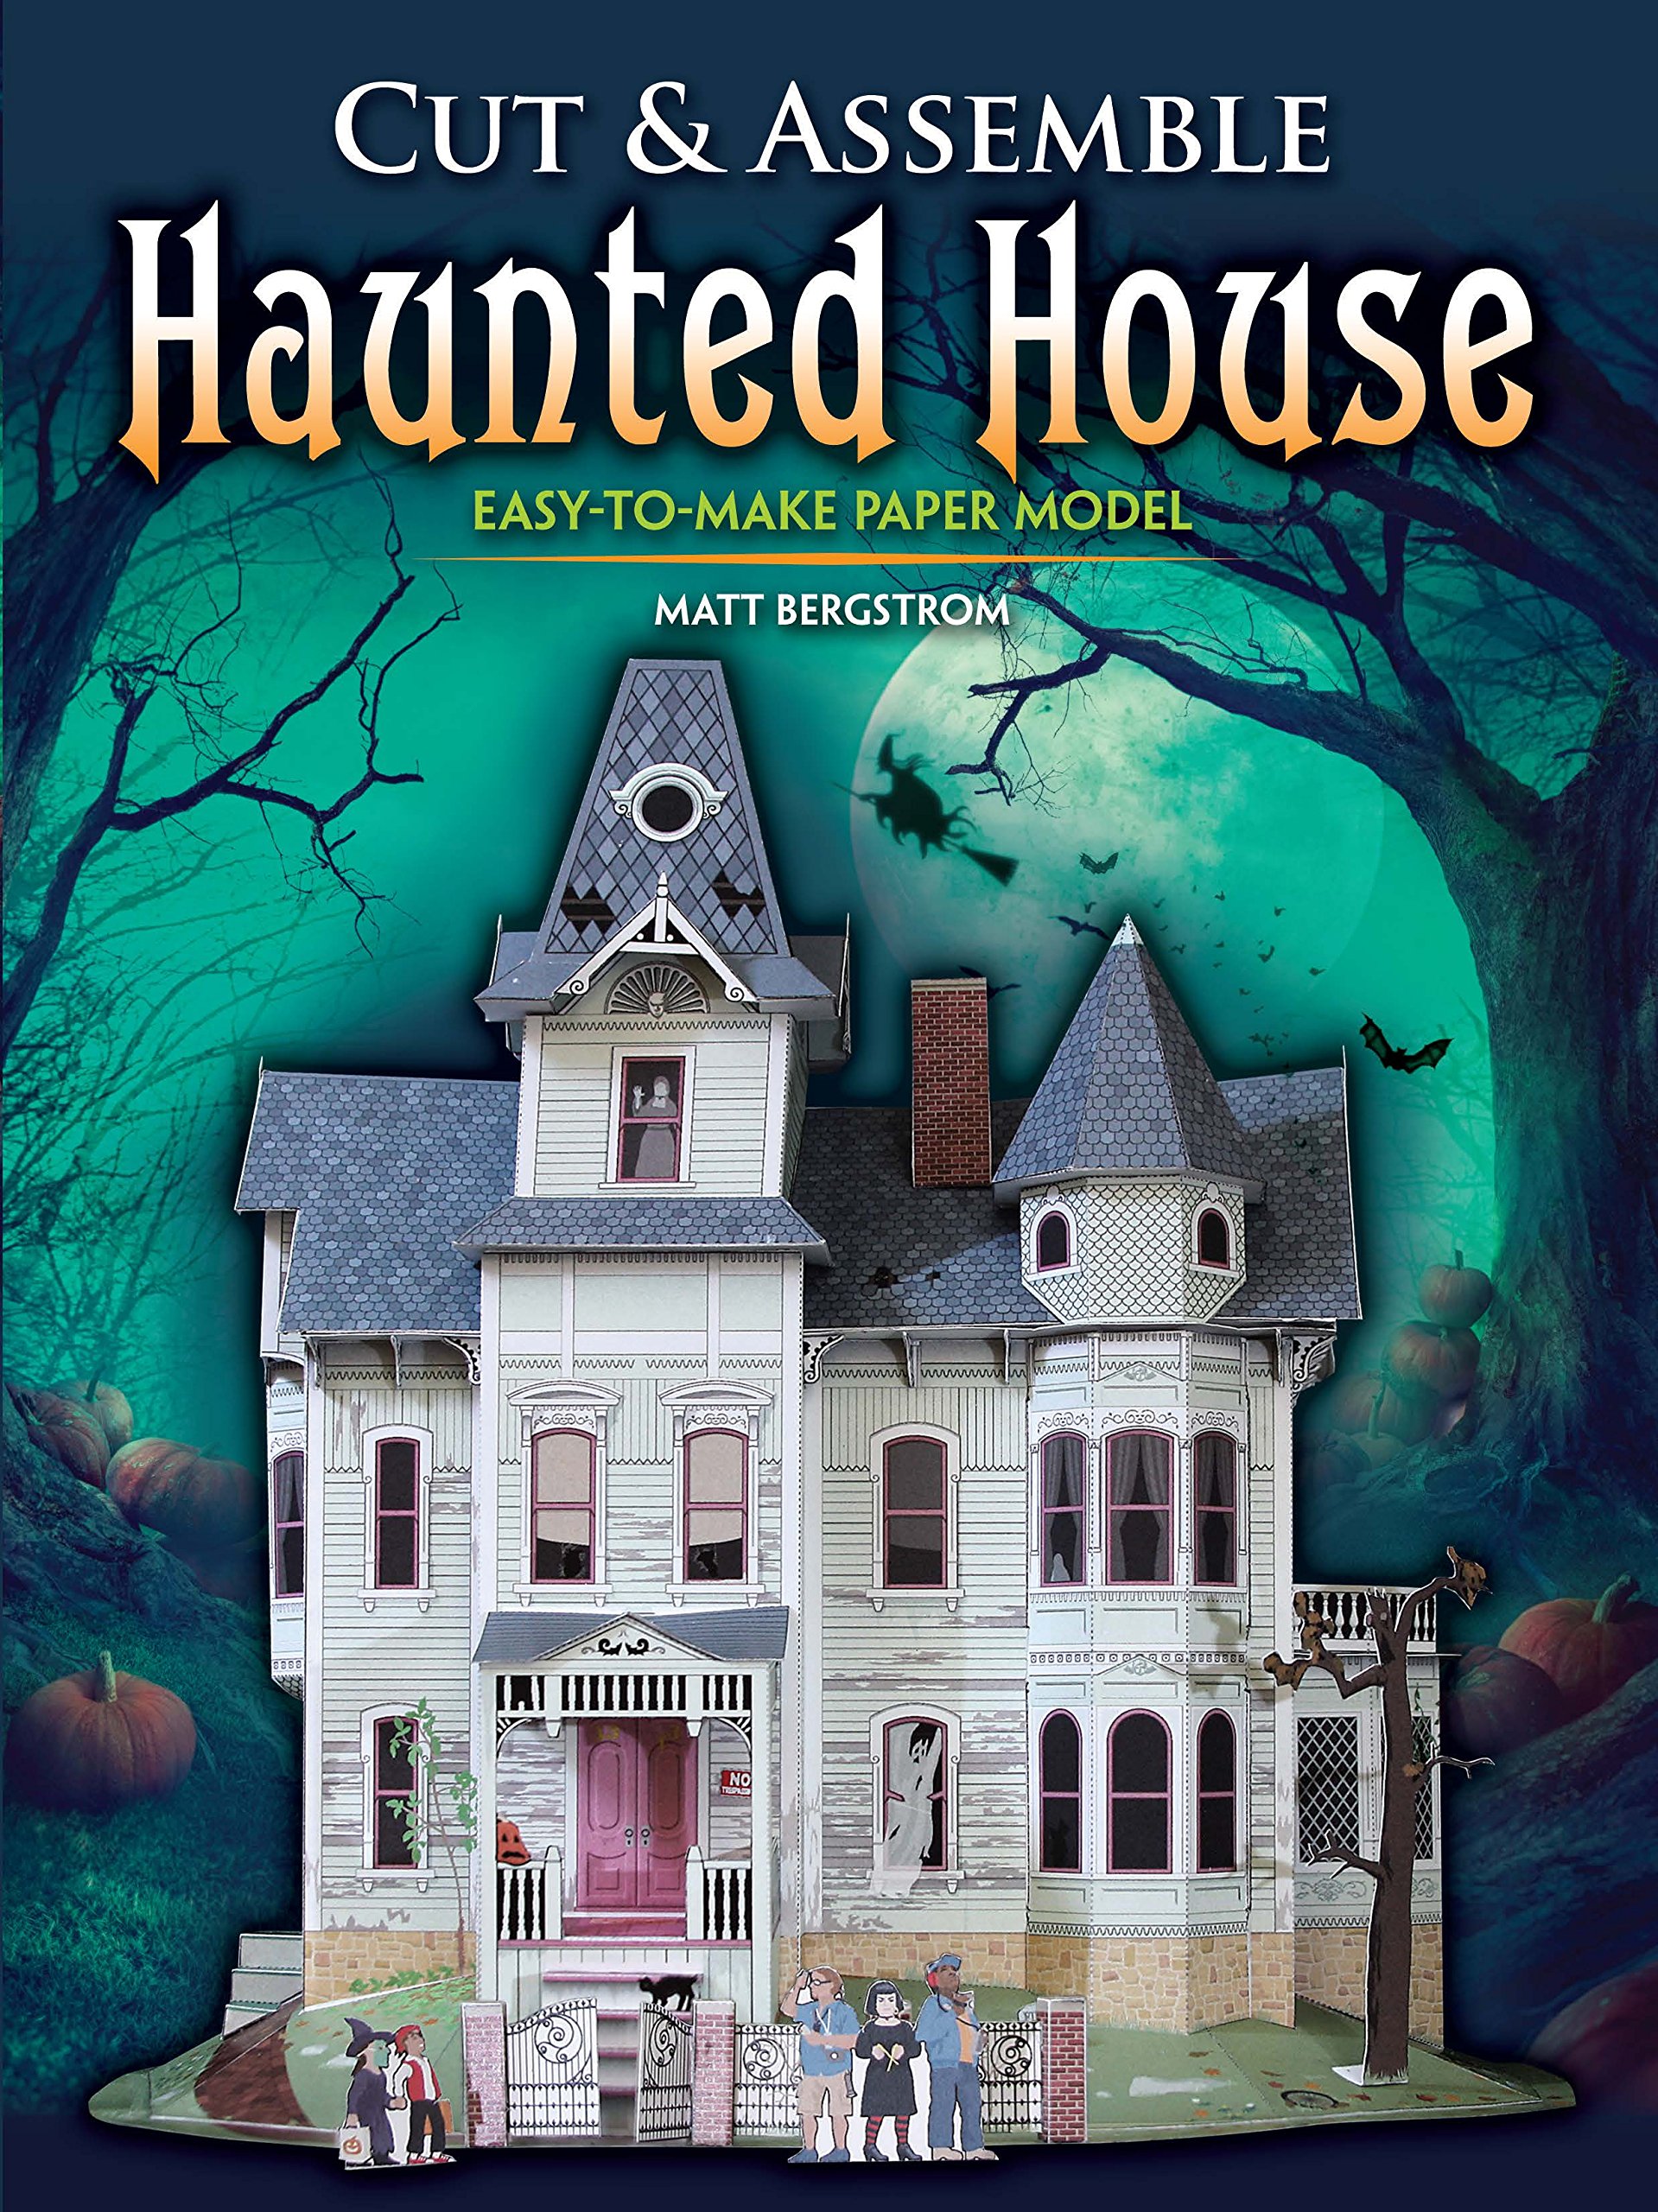
Cut & Assemble Haunted House: Easy-to-Make Paper Model
A deliciously creepy Victorian mansion is loaded with spooky fun, inside and out!
Enter an eerie world with this cut-and-assemble model, which allows you to see both sides of a haunted house.
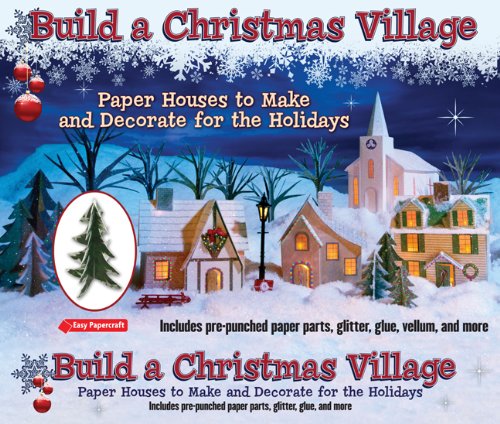
Build a Christmas Village: Paper Houses to Make and Decorate for the Holidays (Easy Papercraft)
Delight friends and family with an enchanting old-world village, festively decked out for the holidays.
It's simple! Just punch the pieces, fold, glue, and add glitter to make a steepled church; English Tudor Revival home with a Shaker roof; New England-style Colonial; a bow-wow-wow doghouse; snow-covered trees, and more!
My Detailed Video on Making a Paper House
Last Word
I have made several of these house over the past few days and am constantly changing the sizes and windows to make a whole village. These simple paper houses can be made to suit your crafting creativity. Nothing is set in stone and this step-by-step tutorial on how to make a paper house using your cricut is just the starting point!
There are so many ways to make a paper house but starting with printable paper house templates allows you to make all the adjustments you wish.
When you complete your project, please share it with me in my Facebook group - I love to see how others have made changes to the initial design. This is creativity at it's best.
Until next time, Happy Crafting...

Pinterest: Pinterest.ca/BettesMakes
Instagram: Instagram.com/BettesMakes
Group: Facebook.com/groups/BettesMakes
Facebook: Facebook.com/BettesMakes
YouTube: https://www.youtube.com/channel/UCzMHoceK1XiXi8IykicnUmQ
The password for the resource library is - love
Share this image to your favorite Pinterest Board so you can access this post quickly.
