Handmade Cards and Simple Shapes
Handmade Cards are truly trending - no longer will this holiday season be just a few emails and ecards! These personalized cards are building momentum because they touch the heart! The maker puts in the thought and the receiver gets the benefit.
Getting into card-making is such a wonderful feeling! Take a look at the cards on the racks of most stores (yes, including the dollar store). It is often very difficult to find just the right sentiment and when you do, the image is not always what you are looking for! Card shops are there to inspire you - look around to get your ideas and how to personalize your own makes!
With handmade cards, you are able to make them using a Cricut cutting machine or using your scissors! Cricut provides you with the ability to make more in a shorter period of time! I often do both, depending on the complexity of the card I am making.
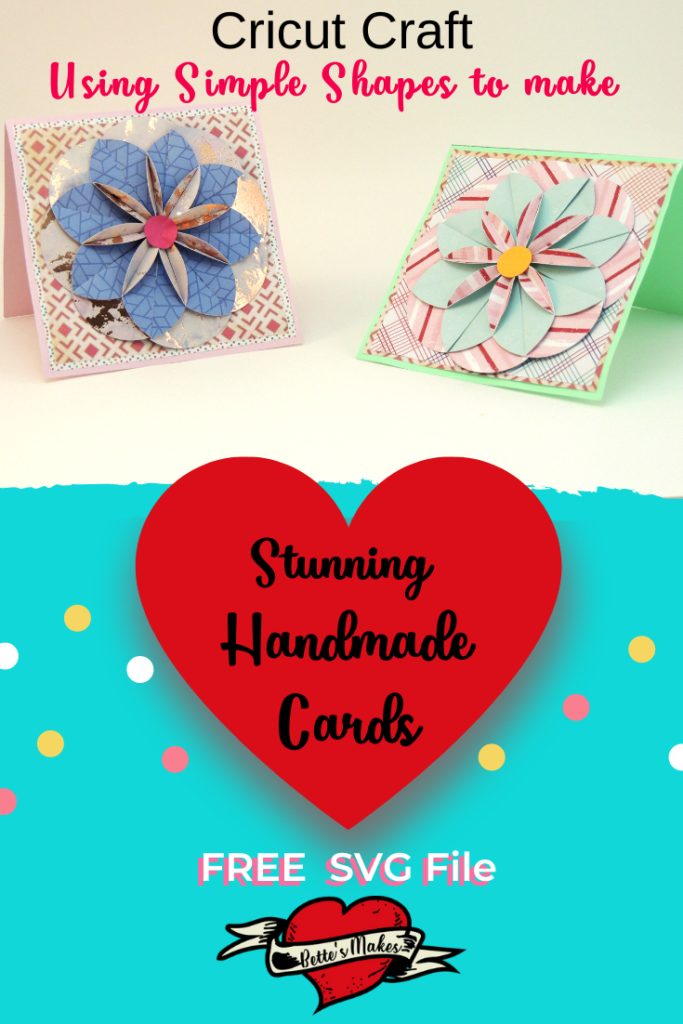
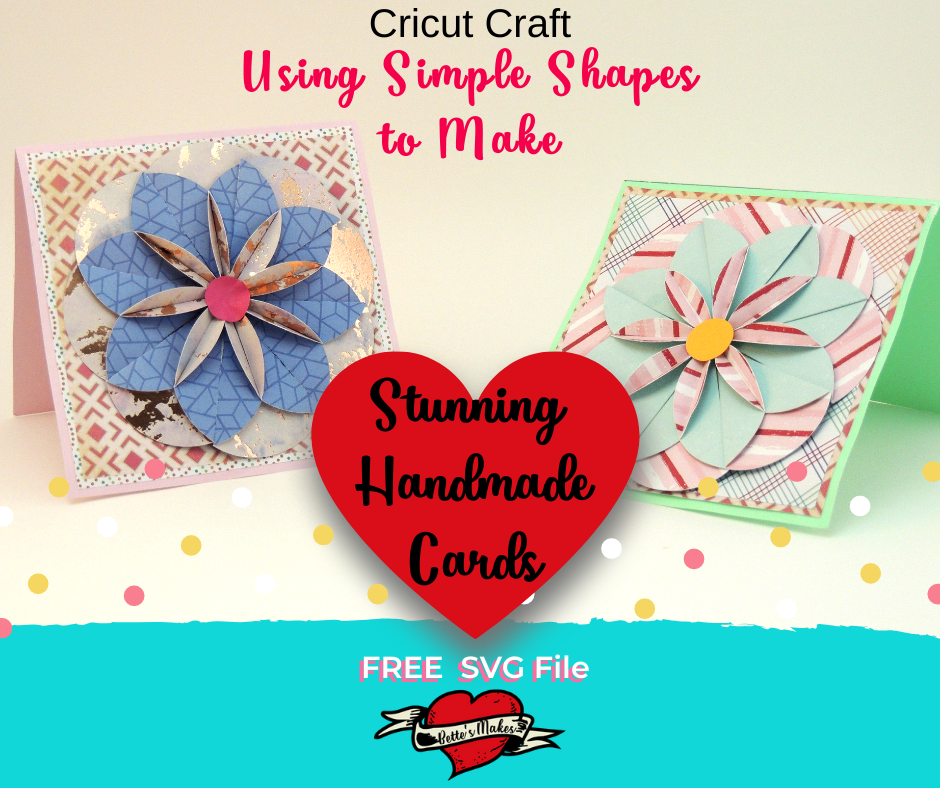
Today, we will be using some simple shapes to create a truly stunning handmade card!
The shapes are rectangles, squares, and circles - that is it!
I have added the templates into my resource library, so be sure to download them before we begin. If you do not have access to the resource library, all you need to do is subscribe to my newsletter to get the password. Trust me, this is well worth it. Each week I add new downloadables - all are free license as I have created them all myself.
Quick Links to Information in This Post
Here’s what you need to make your own Stunning Handmade Card. This post does contain some affiliate links for your convenience (which means if you make a purchase after clicking a link I will earn a small commission but it won’t cost you a penny more)! Read my full disclosure policy.
Materials Needed for Simple Shapes Handmade Card
Simple Shapes Handmade Card Step-by-Step
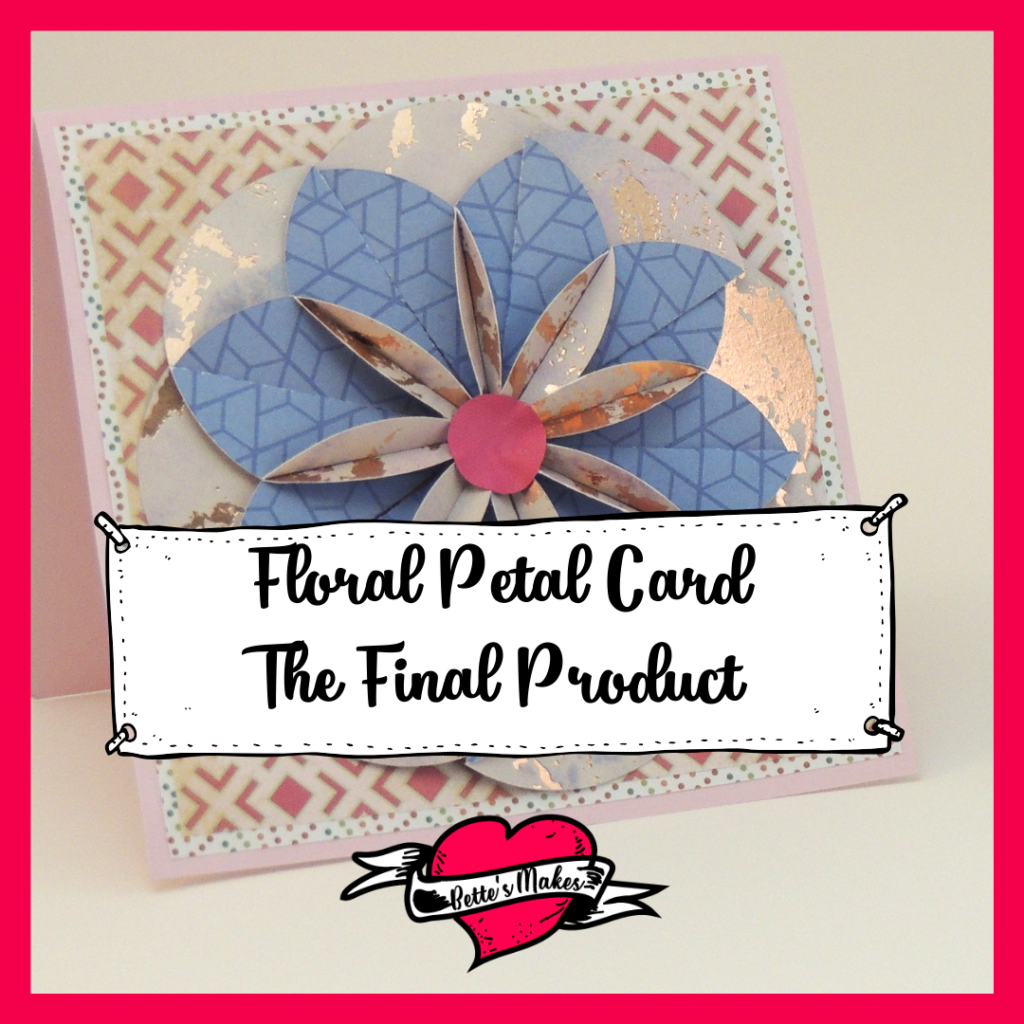
For this project we will only be using rectangles, squares, and circles. You can follow the video below for the steps in this project. The steps below will give you exactly what you need to do to make this stunning Floral Petal Card!
Step 1
Download the template for this project from https://bettesmakes.com/library. The file is call Floral Petal Card Kit. If you are using your Cricut to make this project, you only need to download the SVG file. If you will be hand cutting, then download the PNG file.
Once the file is downloaded, upload it to Design Space (you should have the design space app loaded onto your device for best performance).
Add the SVG file to your project.
Change the color of each element so it will cut on separate mats.
Step 2
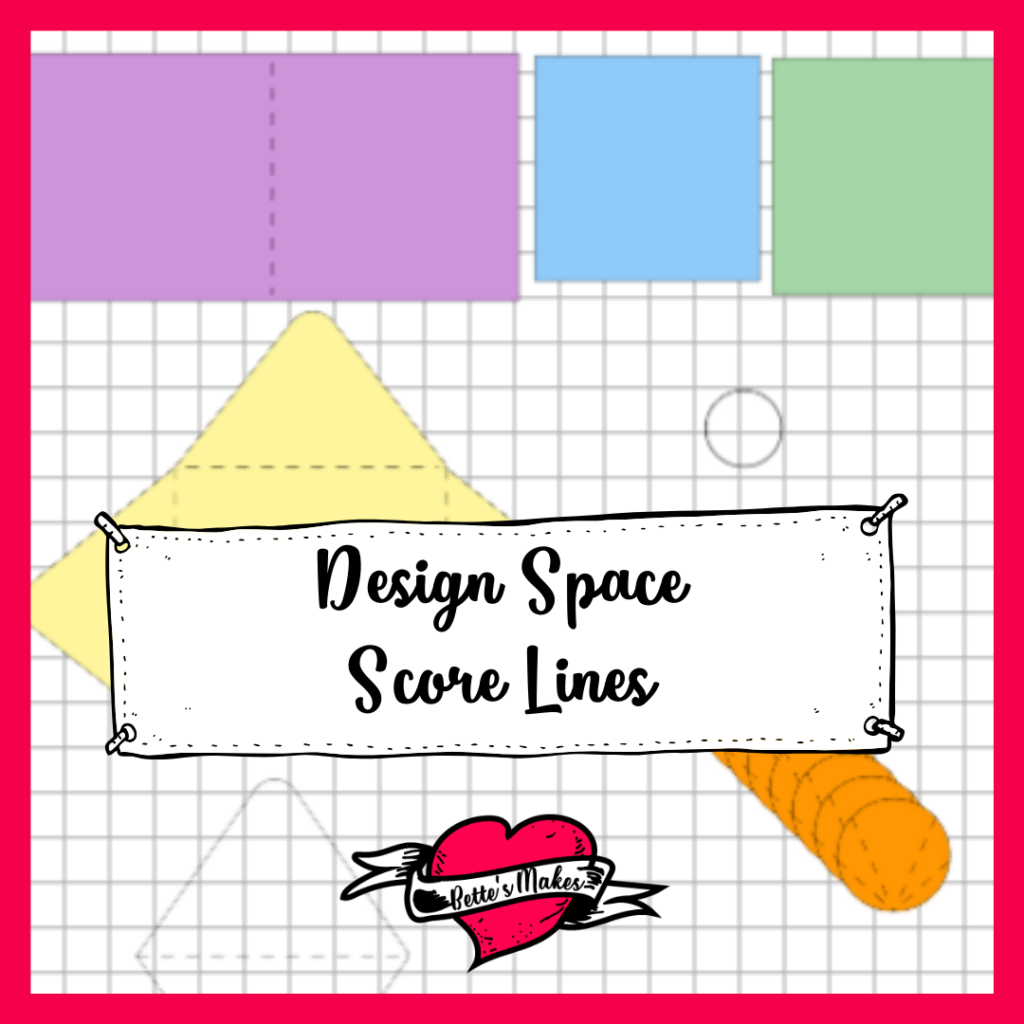
Change the appropriate cut lines into score lines as follows:
There will be 4 inner lines for the petals
The center line of the rectangle (the card) will need to be a score line
The top part of the envelope will need to have the 3 inner lines changed to score lines
The bottom part of the envelope will need the center line changed to a score line.
Step 3
Attach the score lines to the outer part of the shape they are nested in.
There will be 4 inner lines for the petals - attach these to the petal circle.
The center line of the rectangle (the card) score line - attach this line to the card rectangle.
The top part of the envelope with the 3 inner lines score lines will need to be attached to the top part of the envelope.
The bottom part of the envelope center line will need to be attached to the bottom part of the envelope.
Step 4
Make 7 copies of the petal using the Duplicate tool. You should have 8 petals in total
Step 5
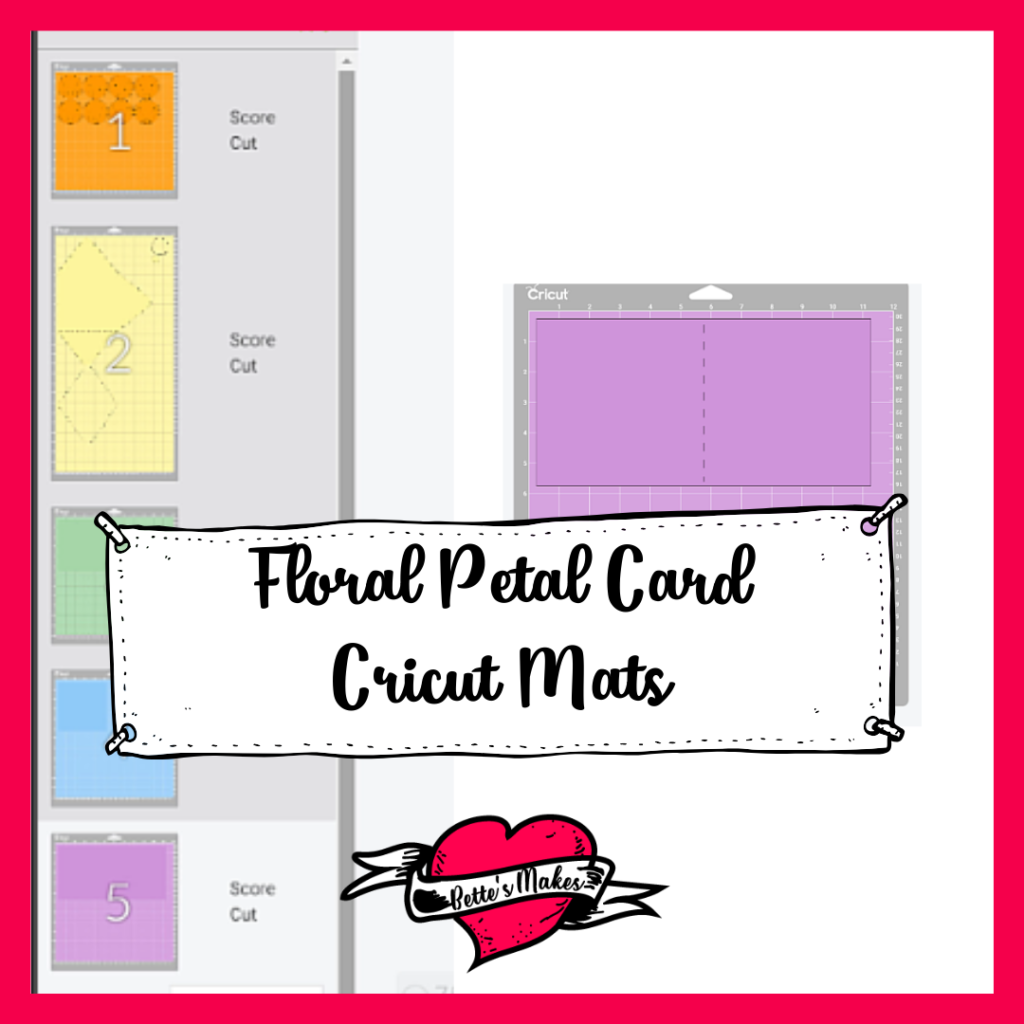
Save your project and then click on the Make It button.
Double check each mat to make sure everything looks in order.
Click Continue.
Remember to set the material type for the petals to medium card stock. You will be using a double-sided cardstock for the petals.
For the large and small square, you will be using scrapbook paper - you will need to change the material setting before cutting these pieces.
You will also have to change the material setting when cutting the other pieces of your project. The card and the envelope will be cut using medium cardstock.
Step 6
Once all of your pieces are cut, it is time to assemble the Floral Petal Card.
First, fold the card in half and burnish the crease.
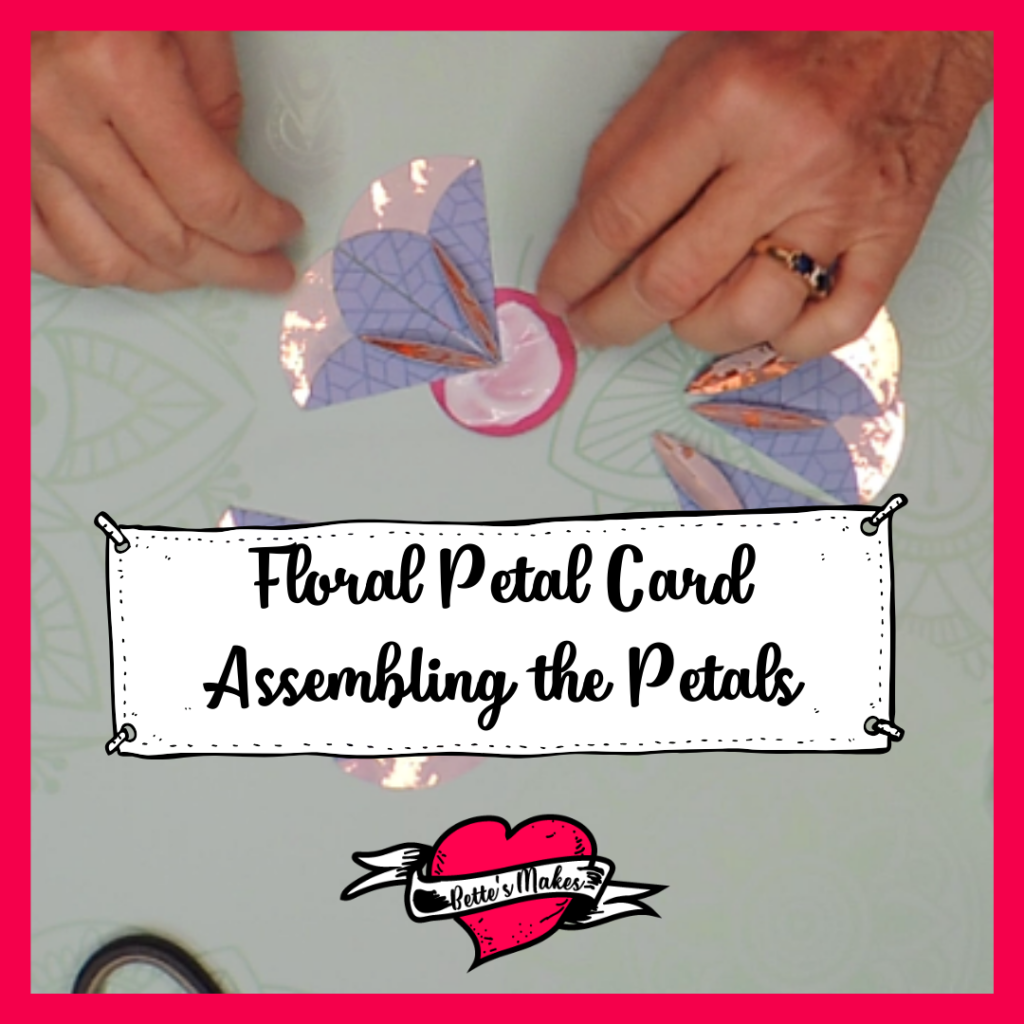
Next, take each petal individually and fold the outer score lines on each side in the same direction. This will give you a small fold.
The next petal fold will go in the opposite direction. Once the inner score lines are folded, you can tape down the center to hold the petal in place.
Repeat this for the remaining petals.
Step 7
Assemble the flower.
Take the larger of the two circles that were cut with the envelope and mark the center. This will act as a guide when gluing the petal pieces in place.
Cover this circle with tacky glue. Tacky because you want to be able to move the petals in place without having to pull things apart.
Place the pointed tip of each petal as close to the center as possible so that the petals form a flower.
Set aside to dry.
Step 8
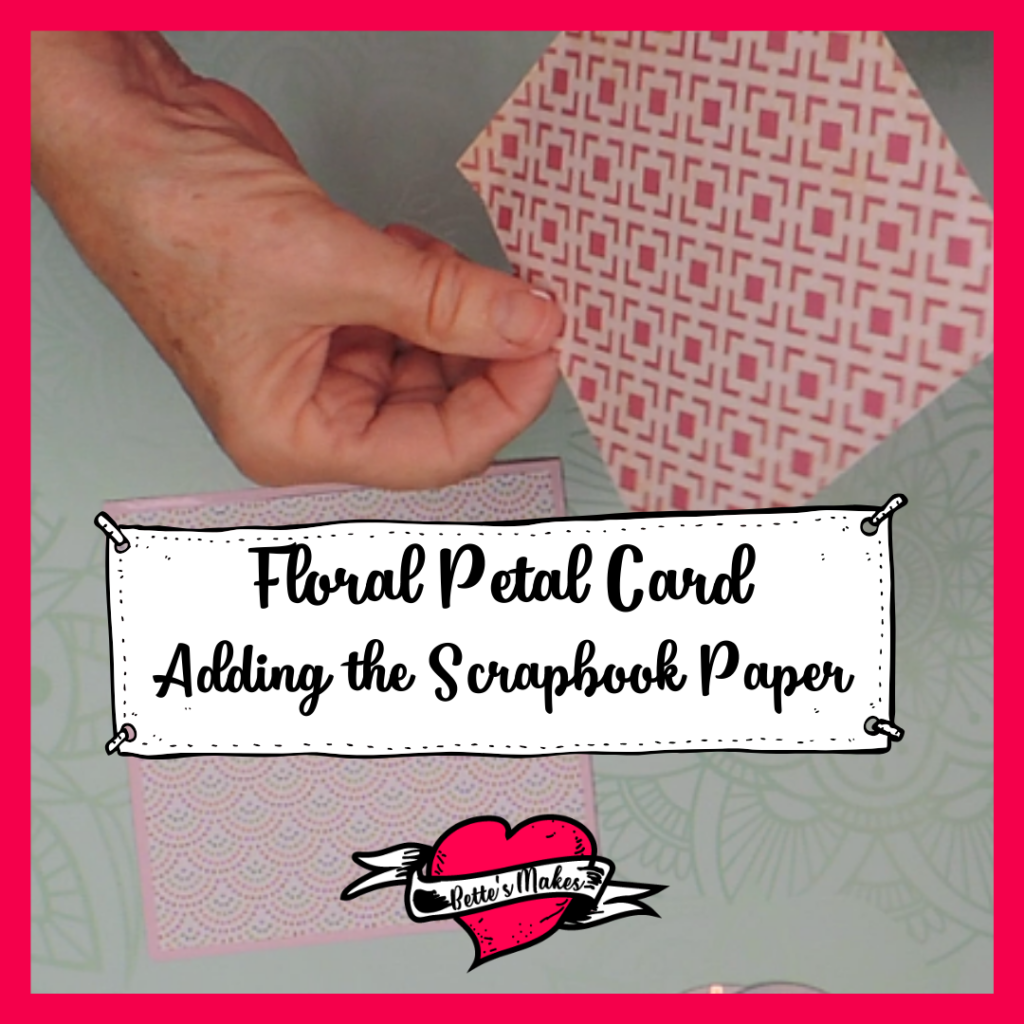
Place the scrapbook paper cuts onto the front of the card.
Take the larger of the two squares and center it on the front of the card, then glue in place.
Add the smaller of the two squares on top of the larger square. Be sure to center it, then glue it in place.
Step 9
Glue the flower in place.
I used a foam pad piece to make the flower stand out from the card. You can do the same or just glue the flower into the center of the card.
Step 10
Assemble the Envelope.
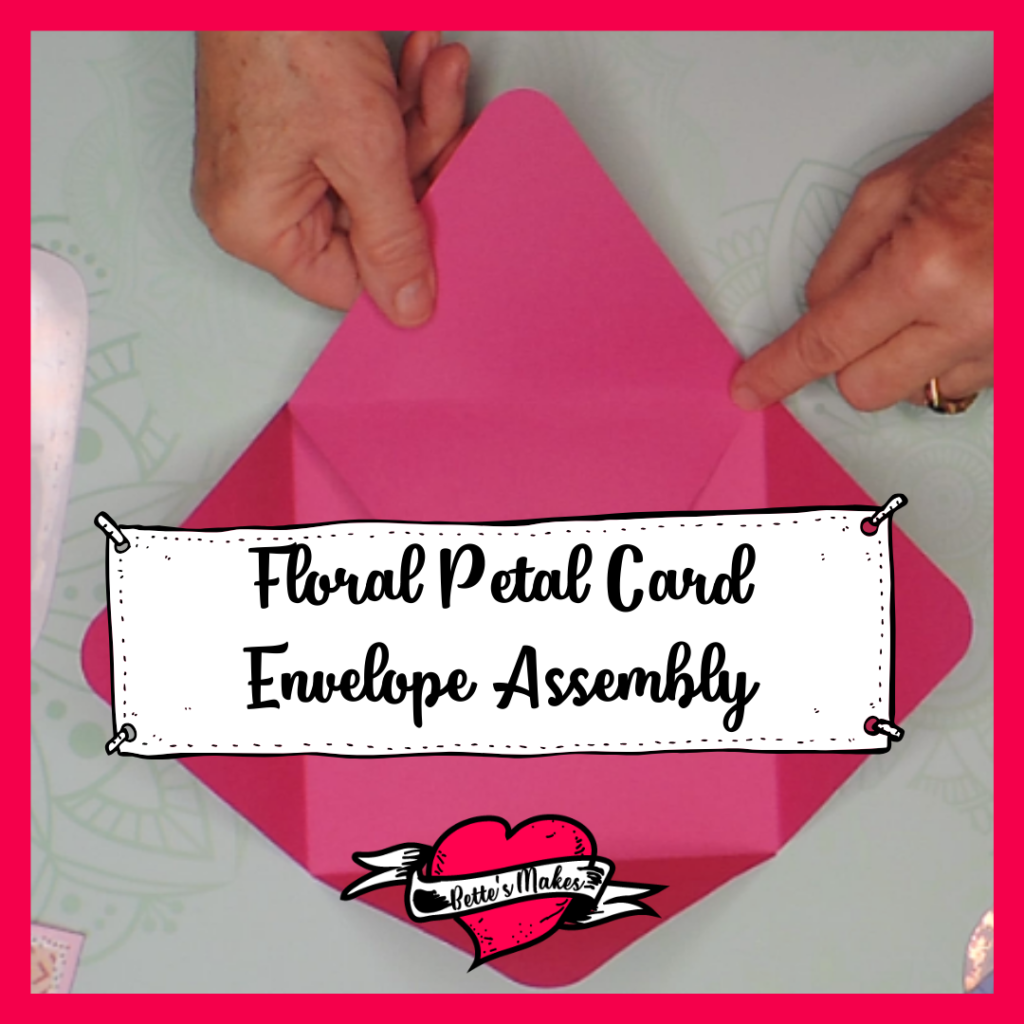
Fold and burnish all the score lines for the top and bottom of the card. Make sure you have the same sides folded inward. Some cardstock is shiny on one side only - this will allow you to have the shiny side on the outside of the envelope for both the top and the bottom.
Glue the bottom of the envelope in place. Match the bottom fold with the bottom edge of the envelope top.
Next, glue the left and right flaps at the center.
Finally glue the bottom flap onto the sides to form the envelope.
Step 11
Wait for everything to dry and write your greeting inside!
Additional Resources
There are tons of places you can go to find great ways to make cards. The best one I have found so far is to buy the various magazines that come out of the UK! My favorite is Simply Cards & Papercraft. You can find these at Joann's, Michael's, and Barnes & Noble (Indigo in Canada). There is nothing better than a real magazine!
BTW the directions in the magazines often do not make sense but if you persevere, you will eventually be able to figure it out.
I do hope you enjoy making this floral petal card!
Video - Simple Shapes Handmade Card
Last Word
I made a couple of these cards and have been displaying them at my live classes. After making the first one, the petals were easier to put in place. I must admit, I did struggle with the original direction that told me to fold the corners of the circle. I had a good laugh at that one!
Other than having fun designing the template and making the card - this project was perfect for the whole family to make.
I hope you take advantage of this great tutorial and video.
Until next time...
Happy Crafting!


Please join me on Pinterest:https://Pinterest.ca/BettesMakes
Join my Facebook group: https://facebook.com/BettesMakes
Follow me on instagram:https://Instagram.com/BettesMakes
Subscribe to my YouTube Channel: https://www.youtube.com/channel/UCzMHoceK1XiXi8IykicnUmQ
Please share this pin on your favorite Pinterest board so you can access this information any time you wish.
