What is Exclude?
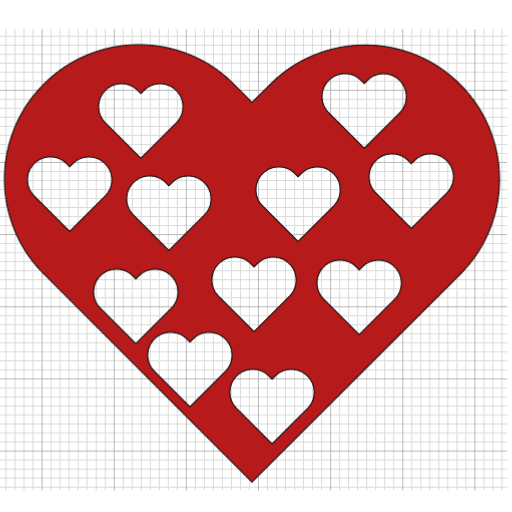
Is there a difference between Exclude and Slice?
I have heard a lot of talk about why would you even want to use Exclude when you can just use Slice. The truth is there is a BIG difference! Slice gives you one result (cuts a hole with a lot of extra pieces). While Exclude gives you a similar result but it is the top layer than is excluded from the bottom layer. Plus there are no left over pieces, just holes in your project.
Here is are a couple of idea that are an EASY trick you can use to combine Exclude and Slice to make beautiful projects.
You can watch the video in our Facebook Group: Https:facebook.com/groups/BettesMakes
Step 1: Start a New Project
There are no downloadables for this practice session.
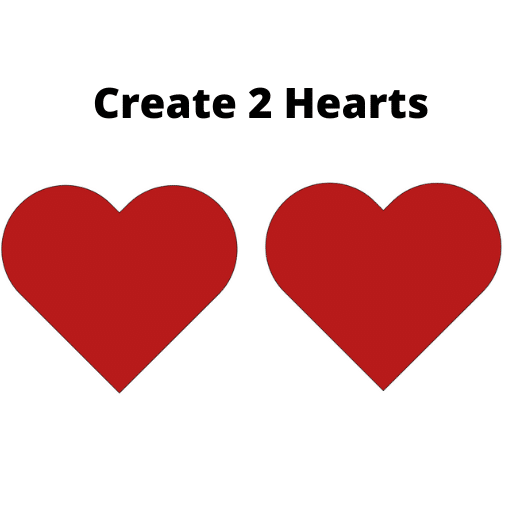
Step 2: Create 2 Heart Shapes
To have some fun here, make two heart shapes, make them fairly big (4 inches) and color them red.
Step 3:. Create a series of small hearts
In this step you will create a series of small hearts and make a pattern with them on top of one of the hearts. Once you have all your hearts in place, select them and weld them together.
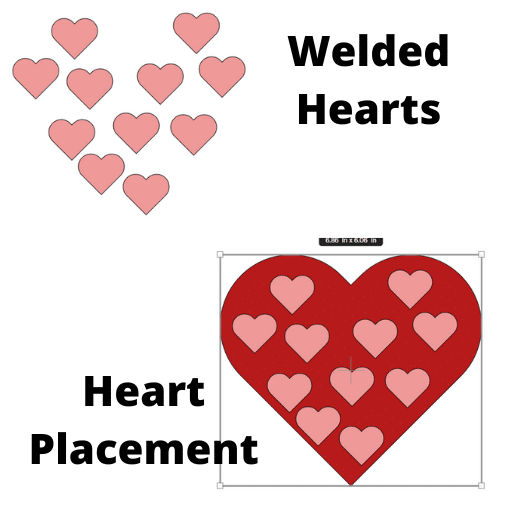
Step 4: Place the hearts over top of the big heart
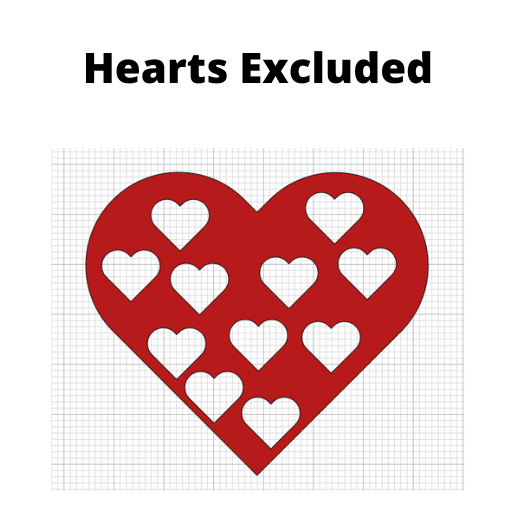
Once you have them together, select both and click on Exclude to cut holes in the heart. Could you have used Slice to do the same thing. The answer is YES but this way you do not need to delete any extra parts.
Get Your Annual Pass to the Creative Crafters Club
Step 5: Using Exclude and Slice Together
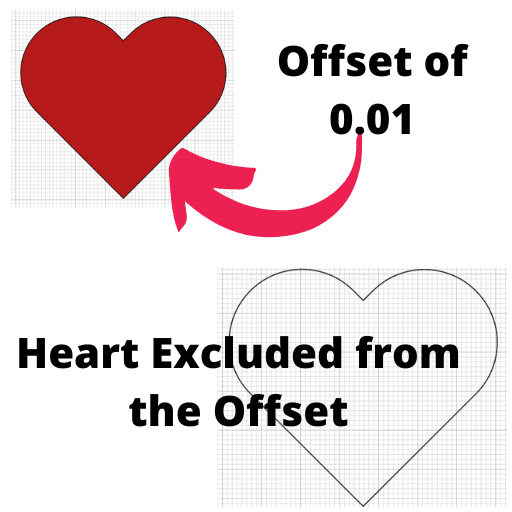
This time we will use the other heart we created and add an Offset of 0.01 and click Apply - this will leave a narrow black edge around the heart. With the heart and the offset selected, click on Combine, Exclude. This will leave you with a thin heart outline.
Step 6: Removing a piece of the Heart
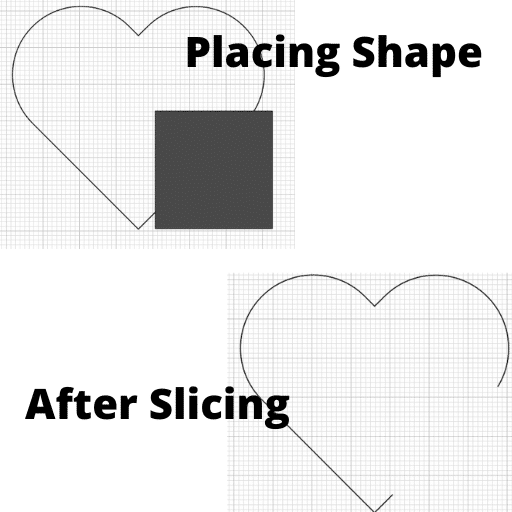
We want to remove a small section on the right hand side of the heart so we can place some text in that space. In order to do this we first need to add a square shape to the Canvas and then place it over the area we want to remove.
You may have to adjust the size of the square to fit.
Once the square is into position, select the heart and the square and click on Slice.
Remove the extra pieces so that you only have the heart outline with a gap on the right hand side as shown in the diagram below.
Step 7: Add Text to the Gap
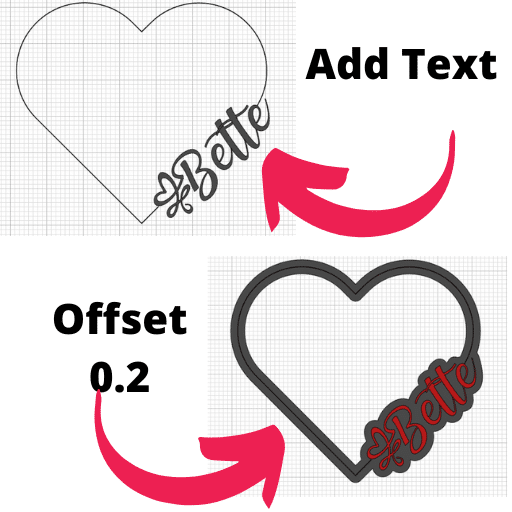
Click on the Text button and type in your name. Change the font to one you want to use. I used Tiberias for mine but you can use anything you want.
Rotate the text so that it fits in the gap - you may have to make the font bigger so that it stretches from both end points (you do not want any spaces, the text must touch each end.
Step 8: Getting the Design Ready
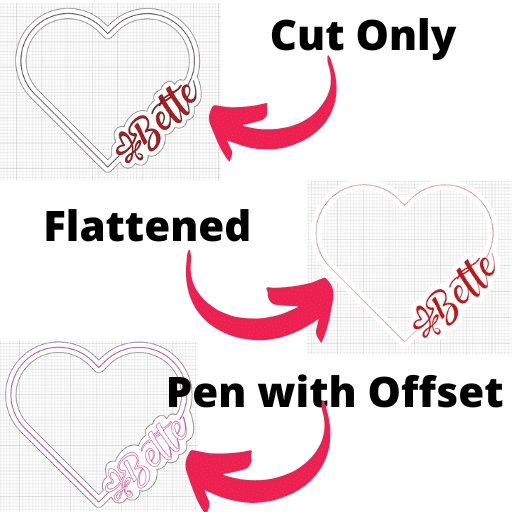
If you are going to print this project, you will want to change the offset color to white (white does not print).
You can then decide how to you want your design to be made. I generally flatten my design and use Print then Cut.
Another option is to Weld the Text and the Heart Outline together and then change it to Pen. You can then Attach the Offset and the Pen together for a totally different way to present your project.
Using s Combination of Tools, you can make Exclude work for you. The one thing you need to remember is that the Top Layer is Excluded (Erased) from the Bottom Layer.
Make sure you join our Facebook Group so you can ask any questions!
1 Response to "Using Exclude for Projects"
Thank you so very much for sharing your unlimited knowledge with us! I hope to practice this one!