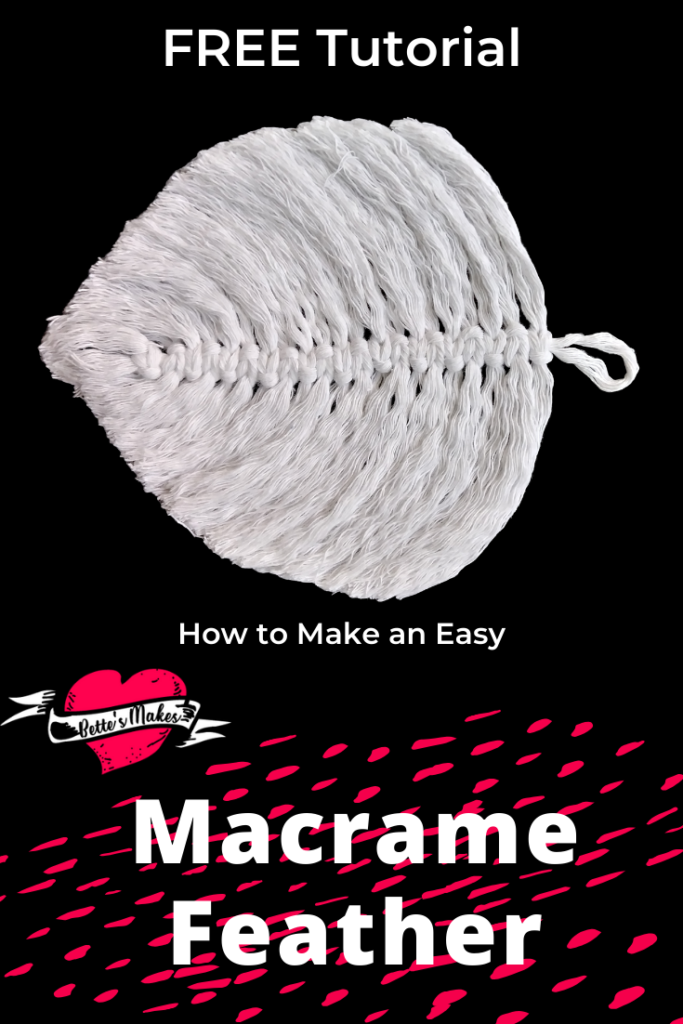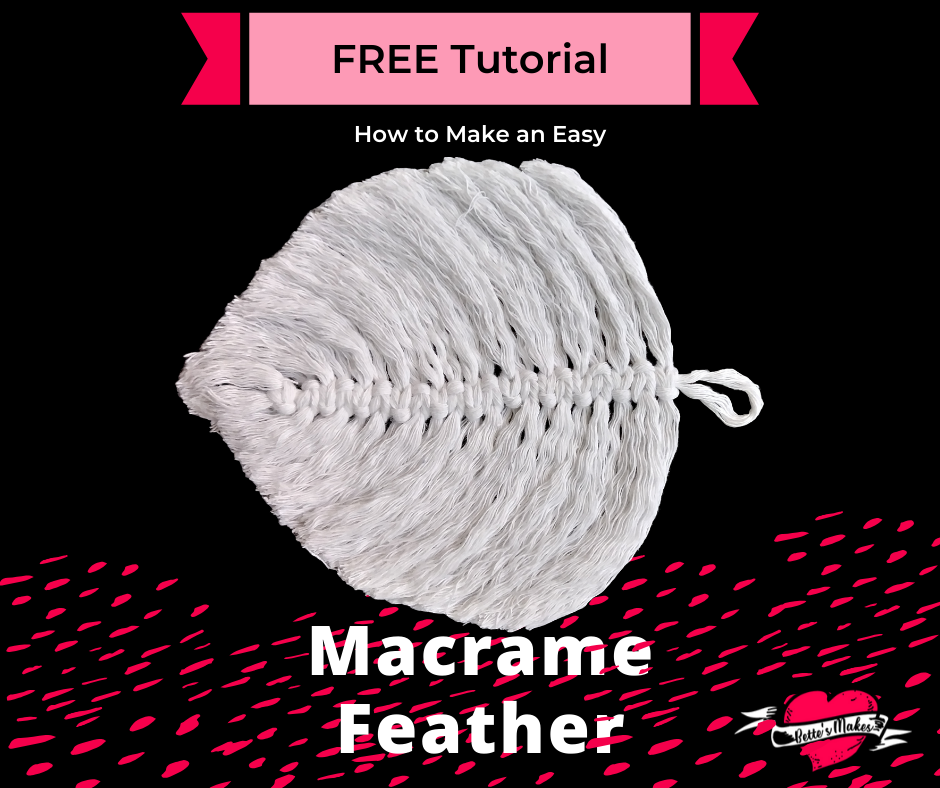
Macrame Feather Inspiration
Macrame feathers are all over Pinterest with many DIY craft boards displaying the beautiful work of many different artists. Today, you will be given the opportunity to be one of those artists displaying a gorgeous easy macrame feather image, one that you have created yourself.
I love feathers and have often collected them from the ground left behind by molting birds. I love the shape and the fact that you can upcycle these into amazing crafts. Making my own macrame feather is even better!
Quick Links to Information in this Post
Here’s what you need to make your own Easy Macrame Feather . This post does contain some affiliate links for your convenience (which means if you make a purchase after clicking a link I will earn a small commission but it won’t cost you a penny more)! Read my full disclosure policy.
Resource Library Information
Today, we are going to make a macrame feather (these are so beautiful). I added some templates for feather shapes to the resource library. You will want to have these so you can shape your project with perfection. You may also be interested in yesterday’s article on Floating Die-Cut Handmade Cards – it was a super fun project!
Easy Macrame Feather Materials
- Soft Rope (I also tried some 4 ply yarn but had difficulty with unraveling the spin, the result was OK but it was a lot of extra work pulling the strands apart) that has at least 3 strands that can be easily unraveled.
- Scissors. I suggest you use fabric scissor as they will likely make cutting the rope fabric a lot simpler.
- Ruler or measuring tape.
- Spray Glue or stiffener. You need this to hold the feather together and in the proper shape.
- Hard brush or metal brush for smoothing out the rope strands.
- Template for the feather shape from the resource library.
Easy Macrame Feather Step-by-Step Directions
Step 1 – Assemble all of your tools and download the feather shapes from the resource library.
Step 2 – Using your scissors, cut a 20″ piece of rope and separate the strands. You will be using 1 strand for the center of the feather.
Step 3 – Cut (15) 9″ pieces of rope. Separate all the strands and put them to one side. You may not need it all but it is better to have some extra on hand just in case!
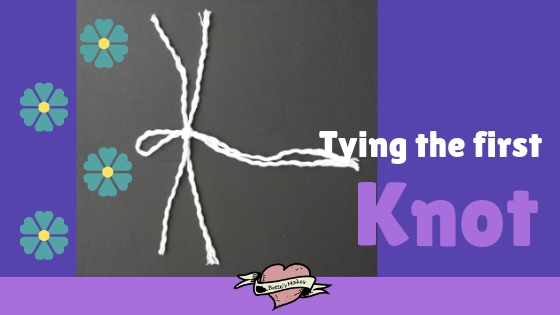
Step 4 – Fold the long strand in half and place it vertically on your table with the loop at the top and the loose ends at the bottom. This will form the center of the feather and also provide a loop at the top for hanging it up.
Step 5 – Take 2 short pieces of rope and fold them both in half. Take one fold and slide the loop side under the feather center rope going from left to right (only have 2″ of the loop showing on the right side and the ends remaining on the left side.
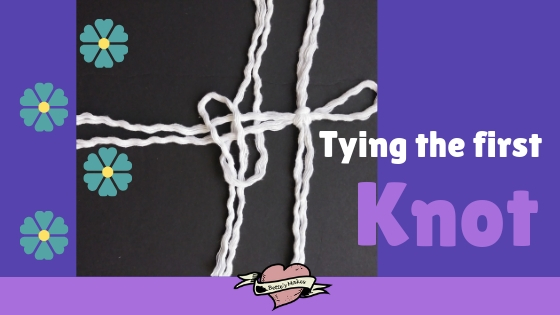
Step 6 – Take the second piece of short rope by the loop end and push it up (from the bottom) into the first short rope loop. Pull it up and over top of the two end pieces of the first sort piece. You should be able to see the rope ends showing through the loop (of the second piece).
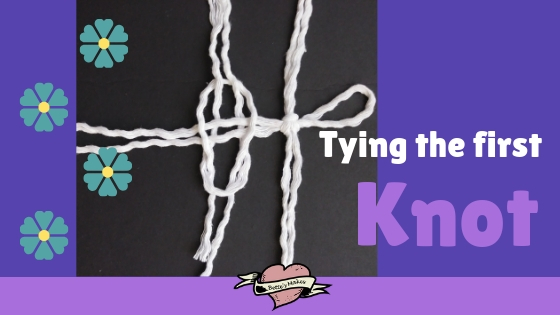
Step 7 – Pull the two ends on the left side up through the second loop.
Step 8 – Pull the two ends on the left and the two ends on the right tight so they are snug against the center of the feather. Push up the knot towards the top but leave enough room for a loop to hang the feather when it is finished.
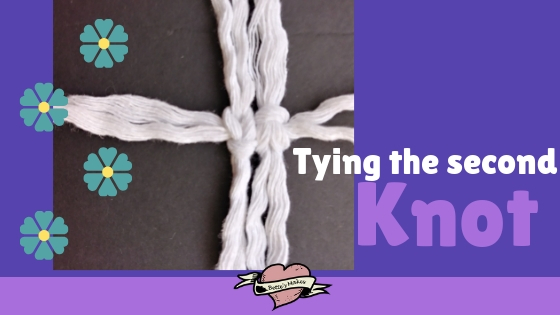
Step 9 – Repeat Step 5,6, and 7 but start on the opposite side (from the right).
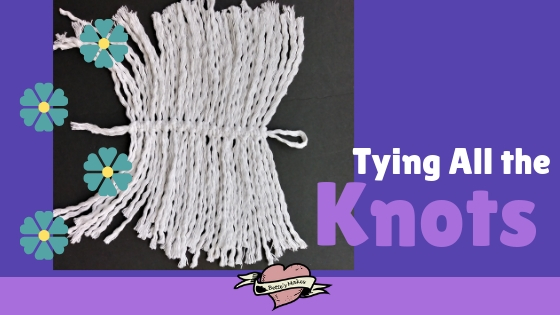
Step 10 – Repeat steps 5 to 9 until you come close to the end of the feather center.
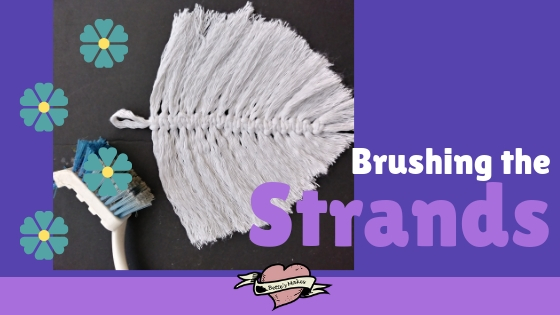
Step 11 – Take a metal or hard prong brush and brush the strands until they are wispy and soft looking. This will give a great feather look when you have finished the project.
Step 12 – Shape the ends into a feather shape. You will want to use one of the templates from the resource library for shaping ideas.
Step 13 – Spray your shape with glue or stiffener. You will want to let it dry and spray the other side as well.
Step 14 – Once both sides are dry, trim the feather into the shape of your choice. I used a fat feather template for my feather but you could opt for a thinner one or traditional shape.
Step 15 – Optionally, you can decorate or paint your new feather.
Easy Macrame Feather Books to Read
Nothing is better than a book or ebook to show you other projects you can do using the same techniques described in this post. Thinking outside just macrame feathers, there is so much you can do to make macrame jewelry as well. Look at these wonderful book picks!
- Macrame & Hishi Jewelry with Feathers and Shells (Creative American Craft Series, HA 49)
- Bohemian Macramé: Unique Macramé Jewelry Projects
- Micro-Macramé Jewelry: Tips and Techniques for Knotting with Beads
Easy Macrame Feather Video Inspirations
DIY | Most POPULAR Macrame Earrings on INSTAGRAM | Macrame Jewelry
Celtic Macrame Bracelet DIY | EASY DIY IDEA
Quick Macrame Tutorial on How to Wrap a Stone [DIY]
Last Word
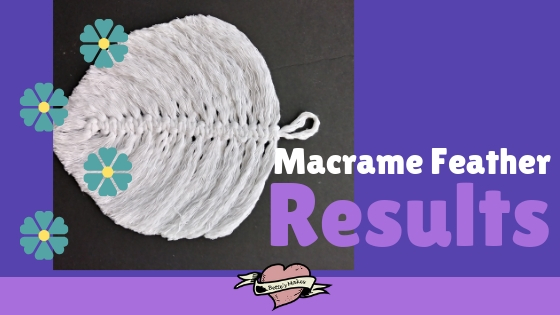
This easy macrame feather was just that, easy to do! I actually made 3 different feathers in just a few hours. The biggest time spent was waiting for the spray glue to dry! I have 2 of the macrame feathers hanging on my craft room wall!
The best part of this craft is that I had all the materials at hand, no need to go out and find anything! You can actually use kitchen twine or leftover 3 ply wool and get an amazing macrame feather project completed.
If you haven’t already visited my resource library, it is time to go there now and download the feather shapes for this project. There are many other projects listed there and all are FREE to my crafting community!
Did you make a macrame feather? Was it not so much fun to make? This craft is suitable for kids as well, so get the whole family into it! AND, don’t forget to share your results!
Until Tomorrow…
Bette
Please Share this pin on one of your Pinterest Boards to help me share this project with as many people as I can. Thanks for helping and Happy Crafting!