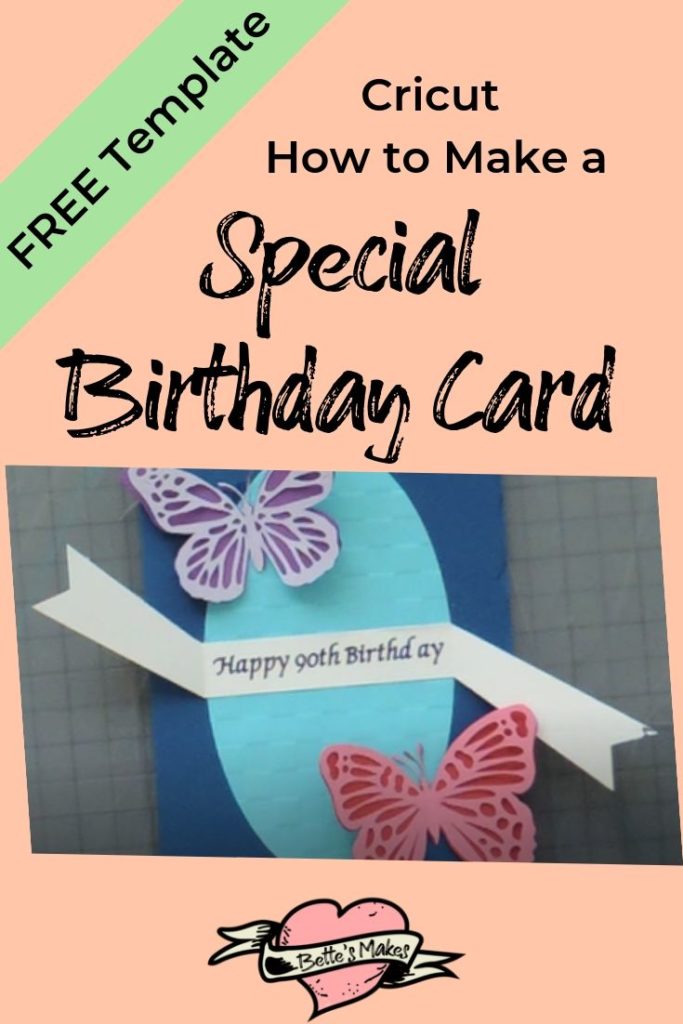
Cricut Cutting for that Special Birthday Card
Using my Cricut to make a birthday card is always fun! My Mother-in-Law is soon to turn 90 and making her a card was at the top of my list. She is a very active person who still drives, plays golf, does aqua fit and generally runs circles around the rest of the family. The creative juices had to flow for this one as she is an accomplished artist and has a critical eye! So far my mother-in-law has loved each card I have made for the family and I want to make sure the love continues!
I have made other birthday cards and created posts about them in the past. It seems that cards are always a lot of fun and even more fun when I put my Cricut Maker into action! Check out The Best Mother’s Day Card EVER!
Cricut and paper crafts go hand-in-hand when it comes to making some of the most beautiful cards. Many people love die-cuts and stamping (as do I) but did you know that everything you do by hand can almost always be done using your Cricut?
I like mixing it up and when a die-cut is needed (I can use my Sizzix), I generally create the same type of design in Illustrator to make my own cut files to use. Today I did a half and half type of project where I used a design in Design Space and an SVG file to make the embellishments.
Quick Links to Information in this Post
Resource library information – for each post, a new template, cut file, pdf, ebook. pattern or other file is placed into my resource library. All the downloadables are FREE to my readers! Just fill out the form below to get the password and lifetime access to the resource library.
Here’s what you need to make your own Birthday Card. This post does contain some affiliate links for your convenience (which means that if you make a purchase after clicking a link, I will earn a small commission, but it won’t cost you a penny more)! Read my full disclosure policy.
Materials Required – Cricut Cutting Birthday Card
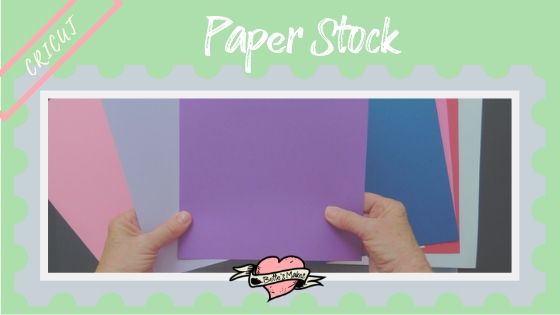
- Cardstock, at least 5 colors
- glue
- Scissors
- Cutting machine
- Weeding tool
- Template downloaded from my resource library
If you do not have all the supplies listed, click here to get some special deals.
Cricut Birthday Card Guide
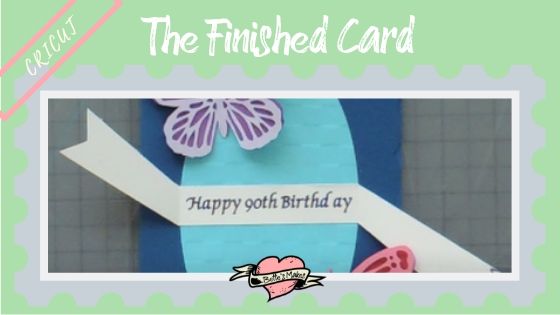
As I mentioned before, using my Cricut is the highlight of my day! This card has some intricate pieces but it was not difficult to put the card together. The one thing I did not do is write a saying on the inside of the card, I left it blank so you could add your own special message.
Step 1
Download the SVG or PDF files for this project from my resource library Open design space and add the template files. You may also search for the Butterfly card in the projects library in design space.
Step 2
In this step, you are going to add your own text to the banner for the card. This means adding a text layer, adjusting the font and size, then placing the text in the right position.
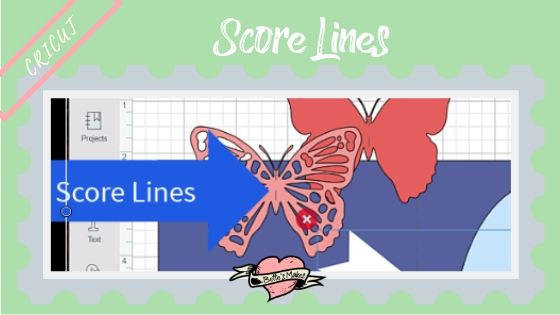
After you have added the text in the right position, click on the attach button on the bottom right of the screen. This way the text will not float off onto another project mat! One other point here, check to make sure the text is set to draw and the banner is set to cut. Also, check for the score lines – make sure they are set to score. Sometimes when you bring an SVG file into a project, the score lines have turned solid – make your changes, if necessary.
One last task in this step is to choose colors for your cuts. You may want to choose a different color for the butterflies – darker for the background and lighter for the foreground. Be sure the score lines are score lines right down the middle of each butterfly piece (important!)
Step 3
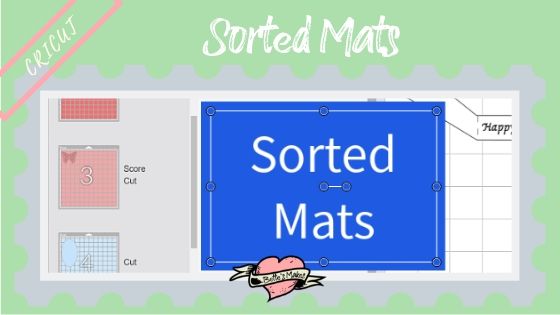
At this point, you are ready to “Make” your card. Click on the Make It button from the top right of the screen and design space will sort your project into different colored mats. These colors are not cast in stone, they are simply a way to differentiate the cuts.
Scroll down through the mats and check what is being done on each mat. For the butterflies, you will want to check for score and cut. For the card and envelope, check for score and cut. For the banner, check for draw, score, and cut.
Step 4
Choose the paper (cardstock) you would like to use for your card. I generally choose my paper and put it in the order it will be processed by the Cricut. When you watch the video, you will see what I chose for the project. This time, I picked the same colors as I put into the design in Design Space.
Once you have your cardstock ready, everything looks good as far as draw, score, and cut are concerned, then it is time to click the continue button (bottom right).
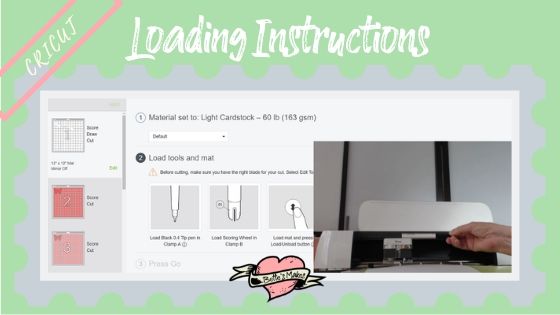
Step 5
Choose your connection to your Cricut and follow the instructions on the screen for preparing your card.
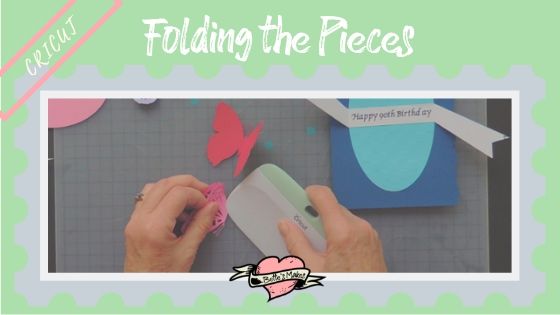
Step 6
Assembling the card is the fun part of this project. First, fold all the score lines and burnish them to make each fold nice and crisp. You will need to fold the envelope, the card, the banner, and each butterfly part.
Step 7
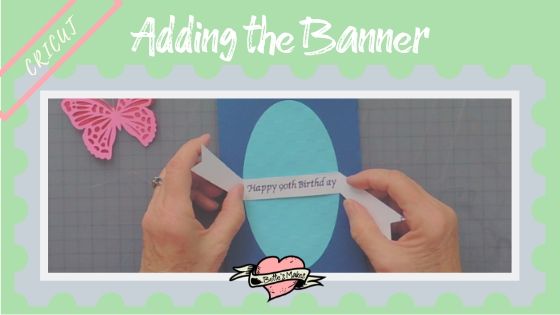
It is now time to glue the oval to the front of the card. You can glue it down directly, or if you prefer, you can add foam blocks and have the oval “float”.
Now let’s add the banner! The banner has been sized so that the center will be glued to the middle of the oval. The wings will fold in (this is so you can fit the card into the envelope). Glue the banner down in the middle only.
Fun with the butterflies – in the center of each of the two butterflies, put a spot of glue in the center and glue the design piece on top of the solid piece, then bend the wings and let them dry. Once dry, glue the center to the card. Make sure you place one butterfly at the top of the card, and one to the bottom of the card. I usually put one at the top left and the other at the bottom right.
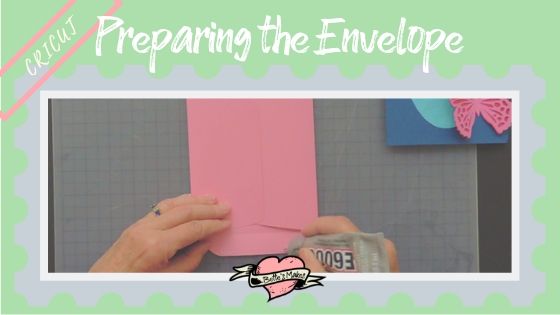
Step 8
The last step is to glue the envelope together. You will first glue the side flaps in place, then the small bottom flap. You will need to let this dry for an hour or so before inserting the card.
Step 9
Use your imagination and add your greeting to the inside of the card. I suggest you add a few embellishments on the inside (you could add another butterfly). Sign the card and get ready to give it to someone special.
Great Reading for Using Your Cricut to Make Cards
Books are a great place to research any type of project. Although there are not many books on the market focusing on Cricut or other cutting machines, each of these books brings ideas to light and they can be adapted for use on any cutting machine.
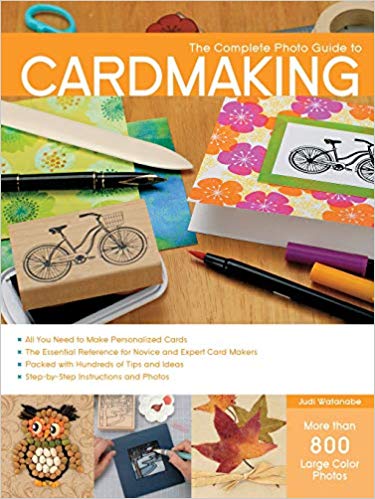
The complete photo guide with more than 800 large color photos.
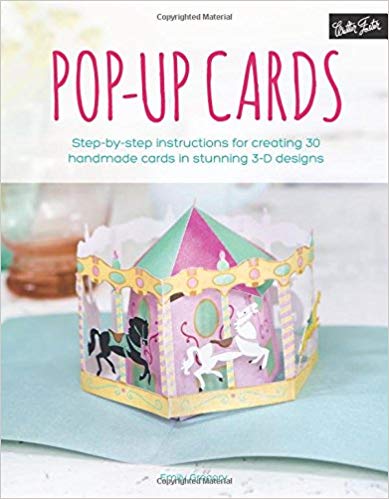
Step-by-step instructions for creating 30 handmade cards in stunning 3-D designs

Coordinated collections for scrapbooking, card making and gifts.
Watch the Video on How to Make this Birthday Card
Last Word
Cricut cutting and making birthday cards is not a difficult task if you have the right template and right paper at hand. This card uses cardstock of any thickness so you do not need to stress. The color choices are your biggest decision!
If you have not done it already, download the templates for this project from my resource library. Once you sign up for my newsletter, you will have FREE access to all my downloadables, templates, cut files, patterns, and much more.
Until next time, Happy Crafting!

Pinterest: Pinterest.ca/BetteMakerCreations
Instagram: Instagram.com/BettesMakes
Group: Facebook.com/groups/BettesMakes
Facebook: Facebook.com/BettesMakes
YouTube: https://www.youtube.com/cc/BettesMakes
PS the password for the resource library is love
Please pin this image to your favorite board so you can refer to it often. I truly appreciate the pin!