DIY Paper Flowers: How Make 3 Incredible Sunflowers
Sunflowers and DIY Paper Flowers
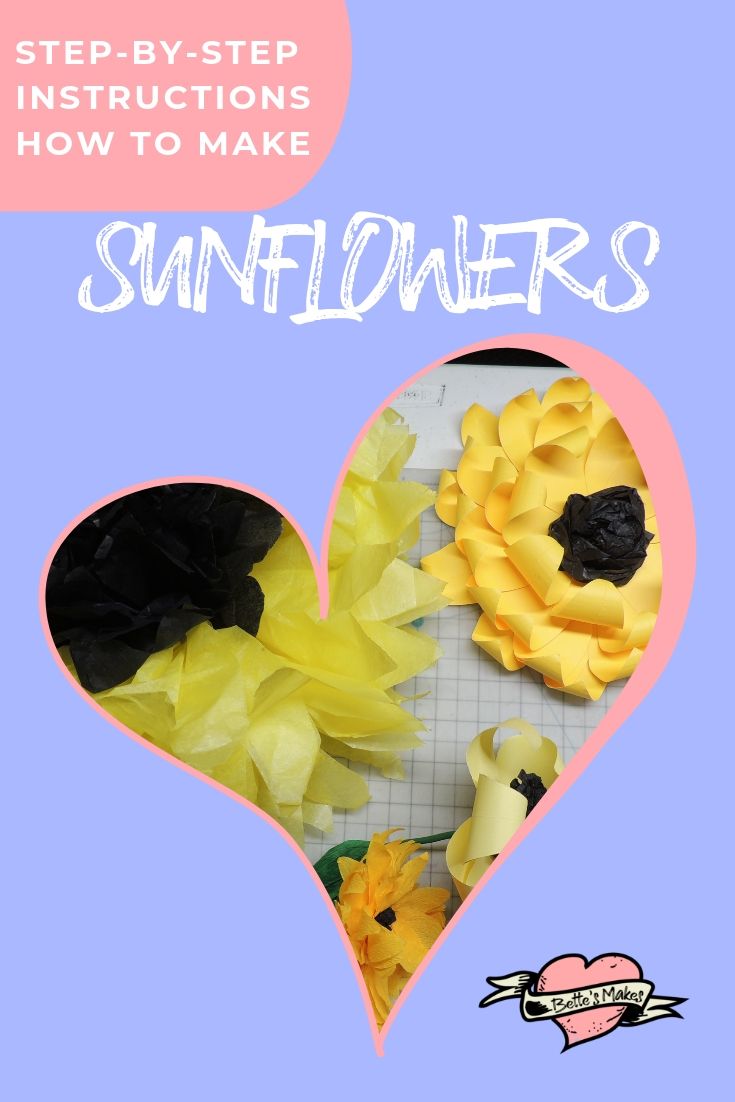
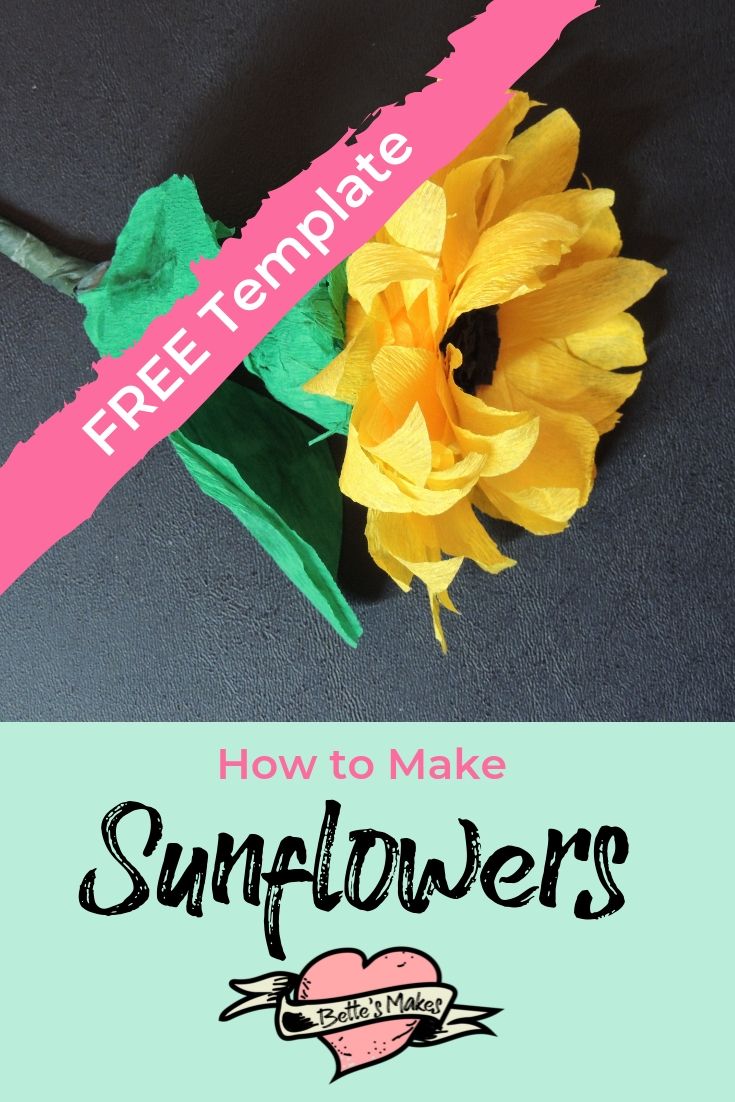
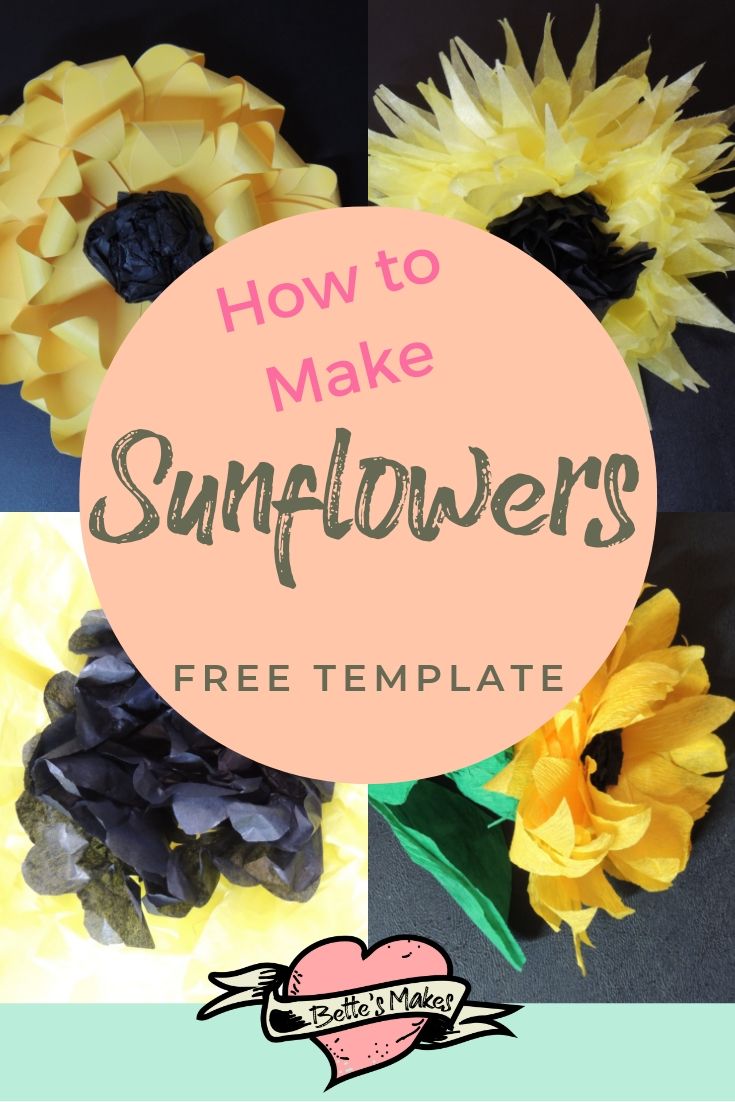
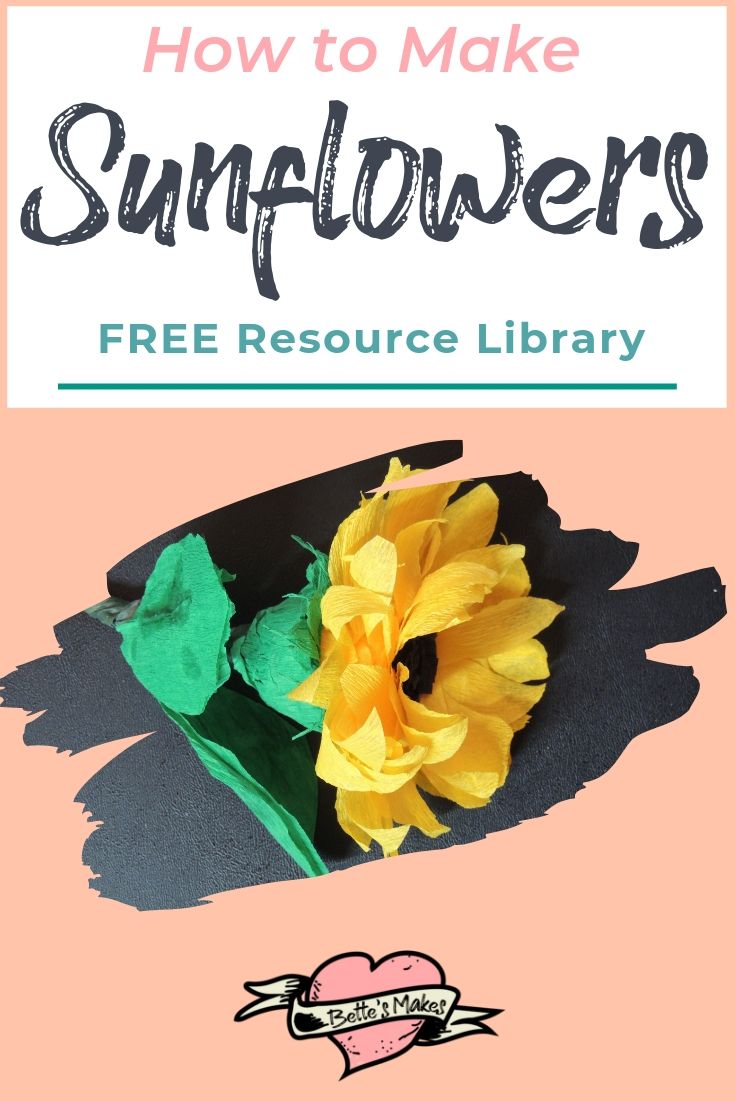
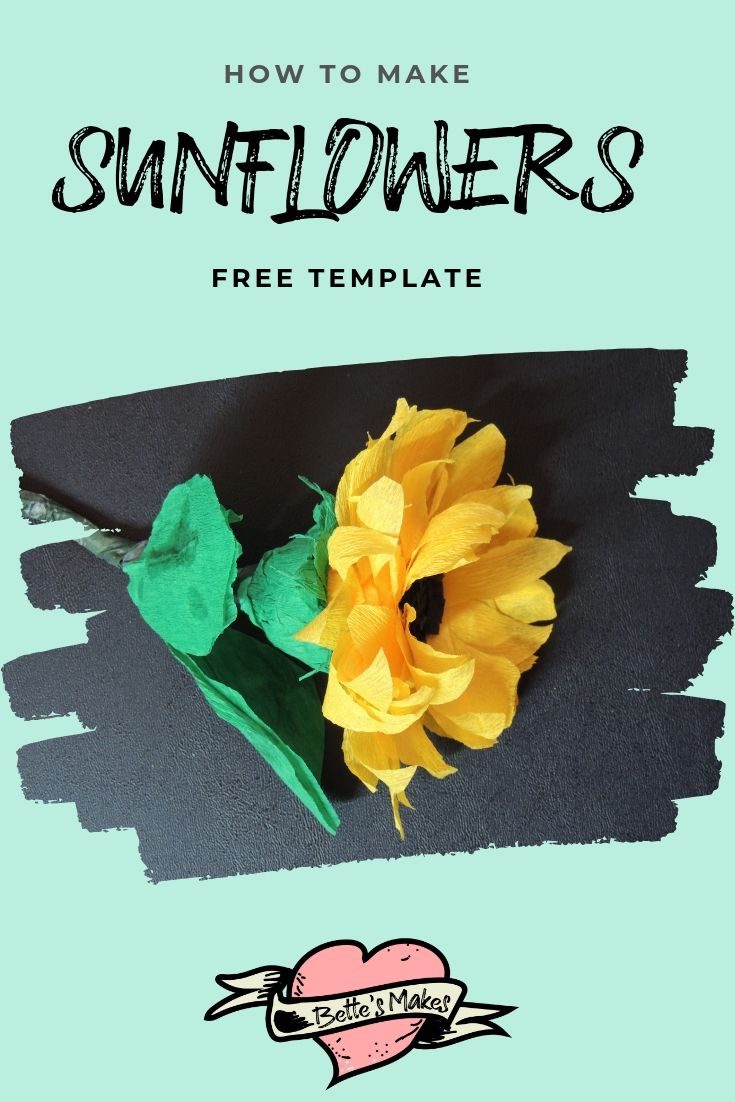
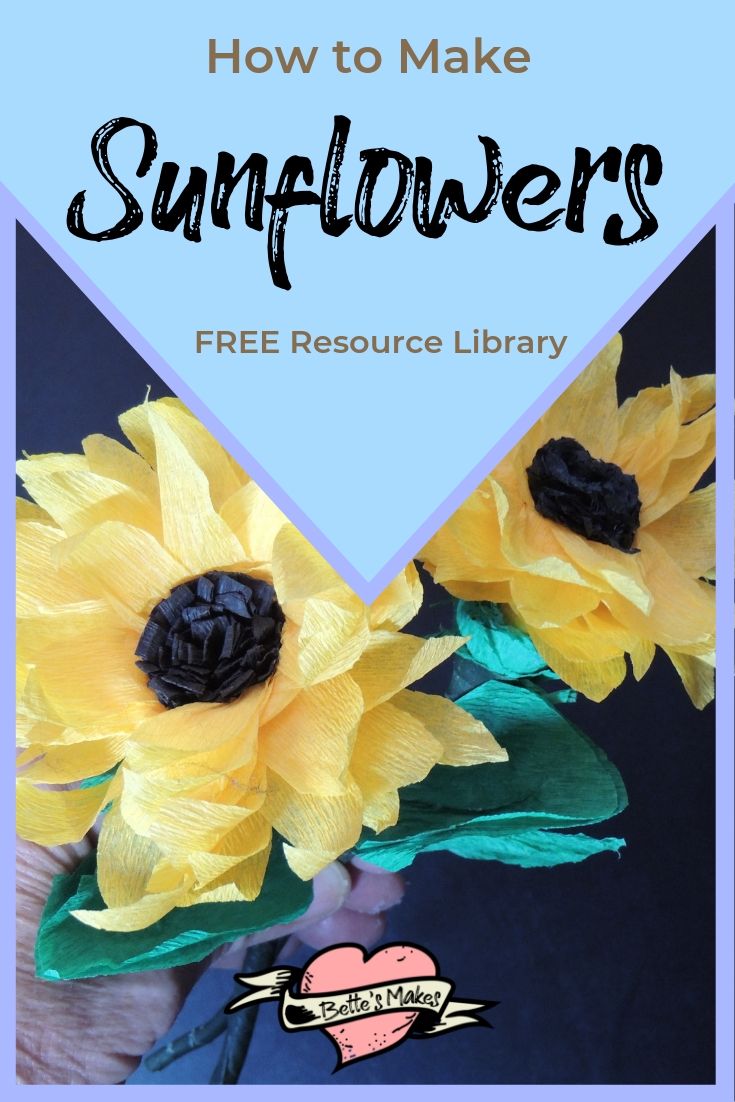
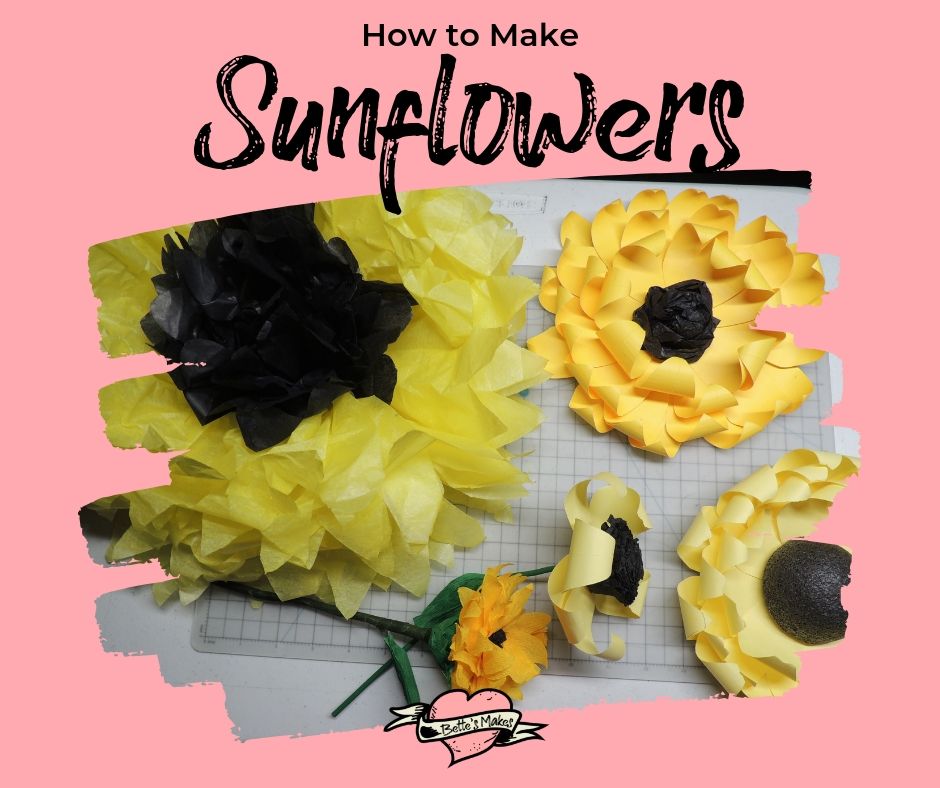
Sunflowers generally bloom around the end of July and well into August but who can resist making these incredible flowers all year round? If you love DIY Paper Flowers then you will absolutely fall in love with making these 3 gorgeous sunflowers. Each sunflower uses a different technique and the results are stunningly beautiful.
Most often you will learn about one type of method but in this post, I have decided to experiment with three different types of sunflowers. Each has it's challenges and it was fun to see where I had to make adjustments to create something worth keeping. There are many great YouTube videos on how to make sunflowers and each go into depth with one way of doing it. I truly wanted you to see 3 ways of achieving gorgeous results so you can pick the method you prefer.
Quick Links to Information in this Post
You will find other posts that focus on DIY Paper Flowers as I love making them. You can read about them here:
Making a DIY Paper Lily
Simple & Easy to Make Peony
How to Make a Giant Crepe-Paper Rose
Making a Carnation with the Top 7 Simple & Cheap Tools
Each of these posts have free templates and downloadables for you to use. Just make sure you sign up for my newsletter to gain access.
Here’s what you need to make your 3 sunflowers. This post does contain some affiliate links for your convenience (which means if you make a purchase after clicking a link I will earn a small commission but it won’t cost you a penny more)! Read my full disclosure policy.
Materials for Making 3 Unique Sunflowers
All of the materials you will need for each sunflower is listed here. For the templates, you will need to visit my resource library. All of these makes are inexpensive and can be done completely by hand. If you own a cutting machine, then the cardstock sunflower will be much easier to make.
Tissue Paper Sunflower
Crepe-Paper Sunflower
Cardstock or Bond Paper Sunflower
Sunflower Making Guides
Tissue Paper Sunflower
Don;t forget you can watch my Youtube video for all the steps - you can see the videos for all these projects below.
Step 1
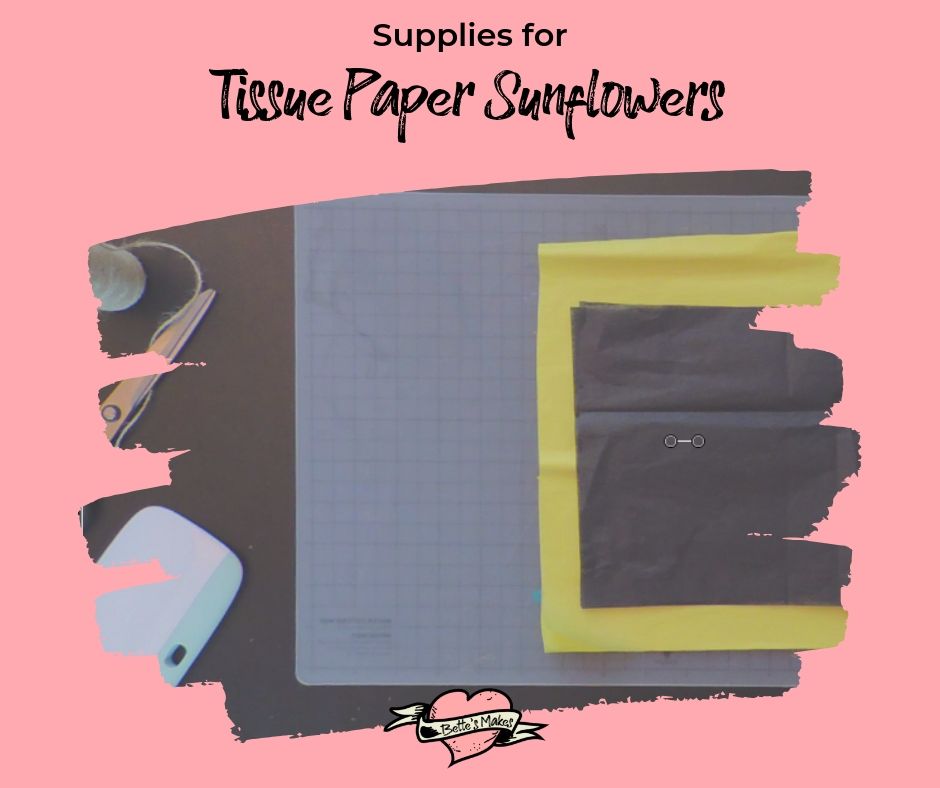
Assemble all of your supplies together. You need 7 sheets of yellow tissue paper and 3 sheets of brown or black tissue paper.
Stack the yellow tissue paper and cut to 10" x 10" for a small sunflower or leave them full size (maximum 20" x 20"0 for a large sunflower.
Stack the brown or black tissue paper and cut the stack to 7" x 7.5" for a small sunflower or 10" x 12" for a large sunflower.
Step 2
In this step you will be folding your tissue paper in accordion style.
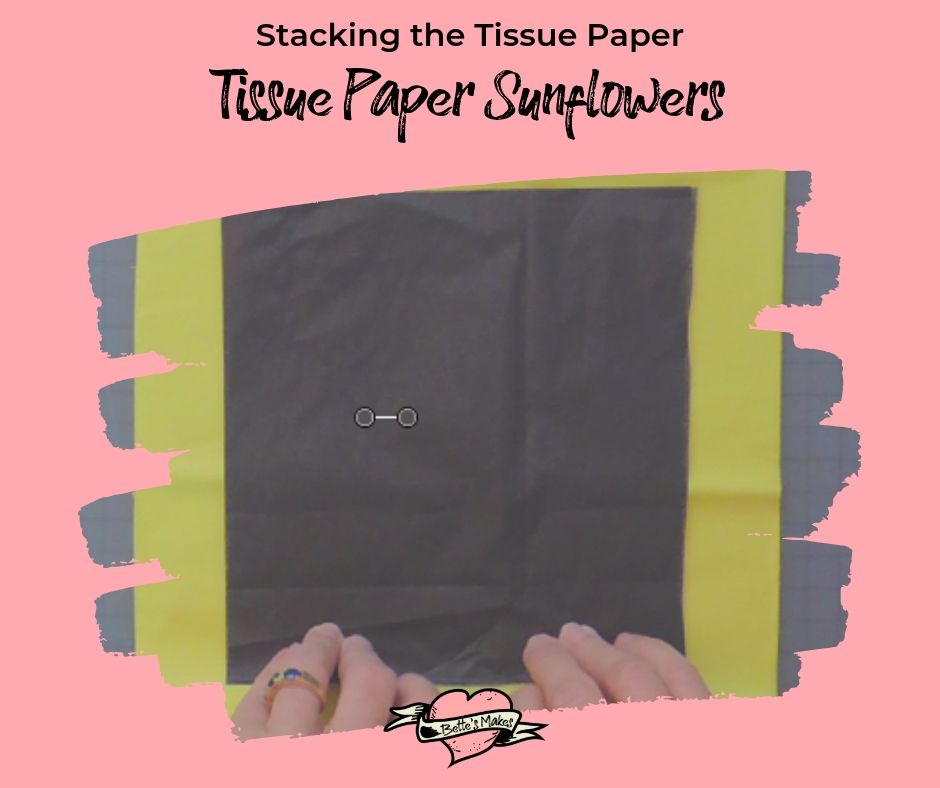
Stack the yellow tissue paper then take your stack of brown or black tissue paper and center it on top of the yellow tissue paper.
Now, make accordion folds back and forth (approximately 1/4" for the small sunflower or 1/2" for the large sunflower. You want to make sure the darker tissue paper is folded into the yellow and not left loose.
Step 3
In this step we will be cutting the petals and center of the sunflower.
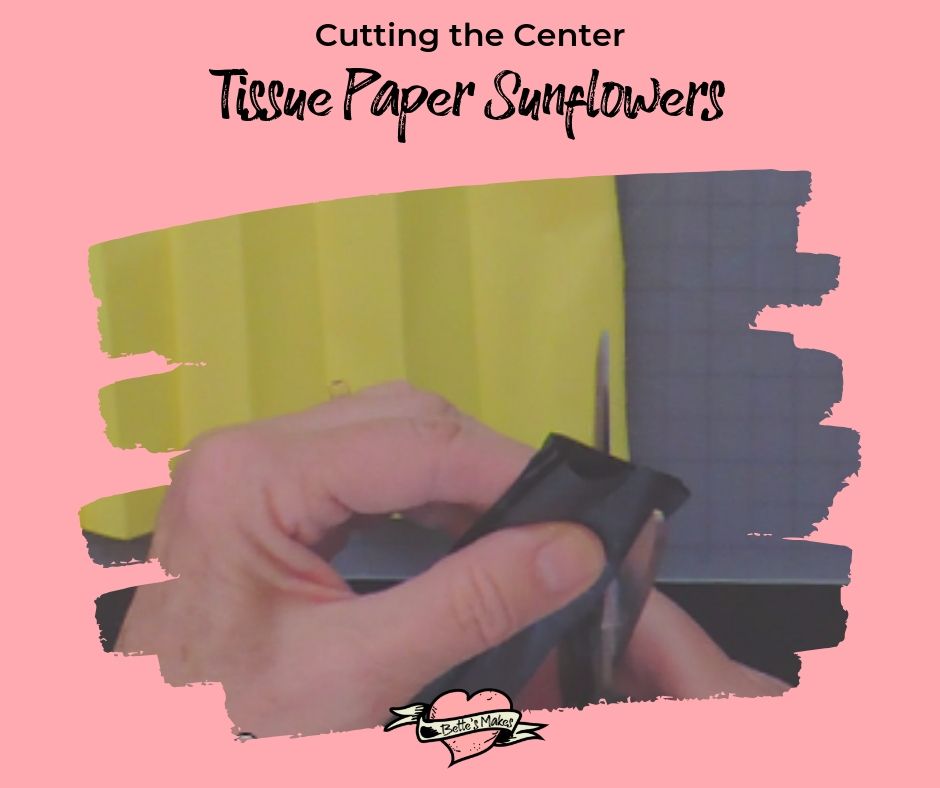
Open up the accordion folds and carefully remove the brown or black tissue from the center but keep it in a stack.
Refold the dark tissue paper back into an accordion shape and then cut the ends so they are rounded.
Refold your stack of yellow tissue and cut the petal ends - you can cut them into sharp points or rounded curves.
Step 4
Assembling your sunflower!
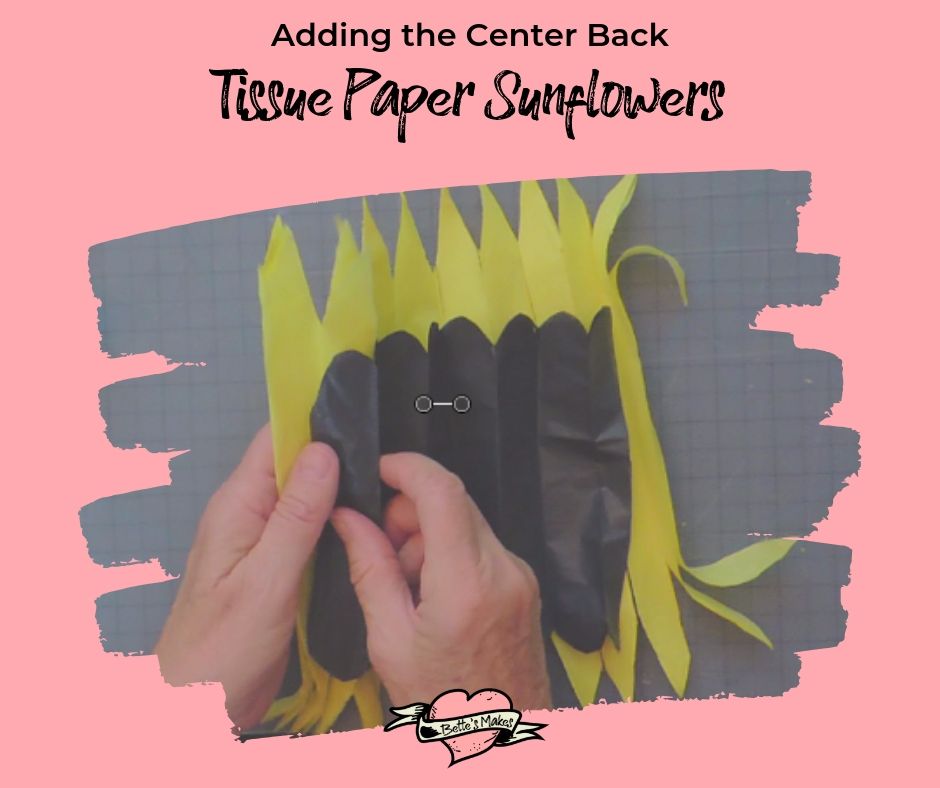
First, place the dark tissue back on top of the yellow tissue (match the folds) and then close the accordion.
Take the whole double stack and fold it in half and crease the center fold. This crease will mark the spot where you want to tie your string.
Tie your string around the middle and pull tight, but not too tight as you do not want to rip any of your tissue layers.
Step 5
Opening up the display for the final look!
Open one half of the accordion and start separating the dark tissue layers by pulling the up and towards the center. Be careful not to pull too hard - just gently work them to have the tissue stand up in the middle.
When you have finished with the dark 3 layers, start the same process with the yellow tissue. As the layers are separated you will start to see the petals forming.
Continue separating the second half of the accordion until the entire flower has formed.
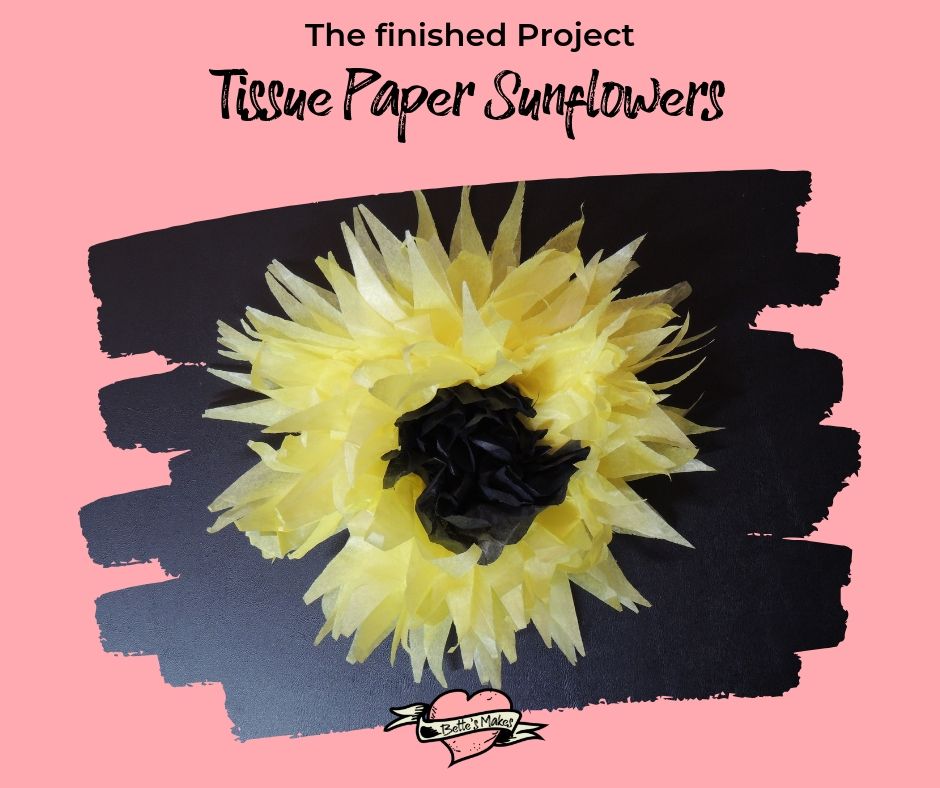
Congratulations! Your first flower is complete!
Crepe-Paper Sunflower
Don;t forget you can watch my Youtube video for all the steps - you can see the videos for all these projects below.
Step 1
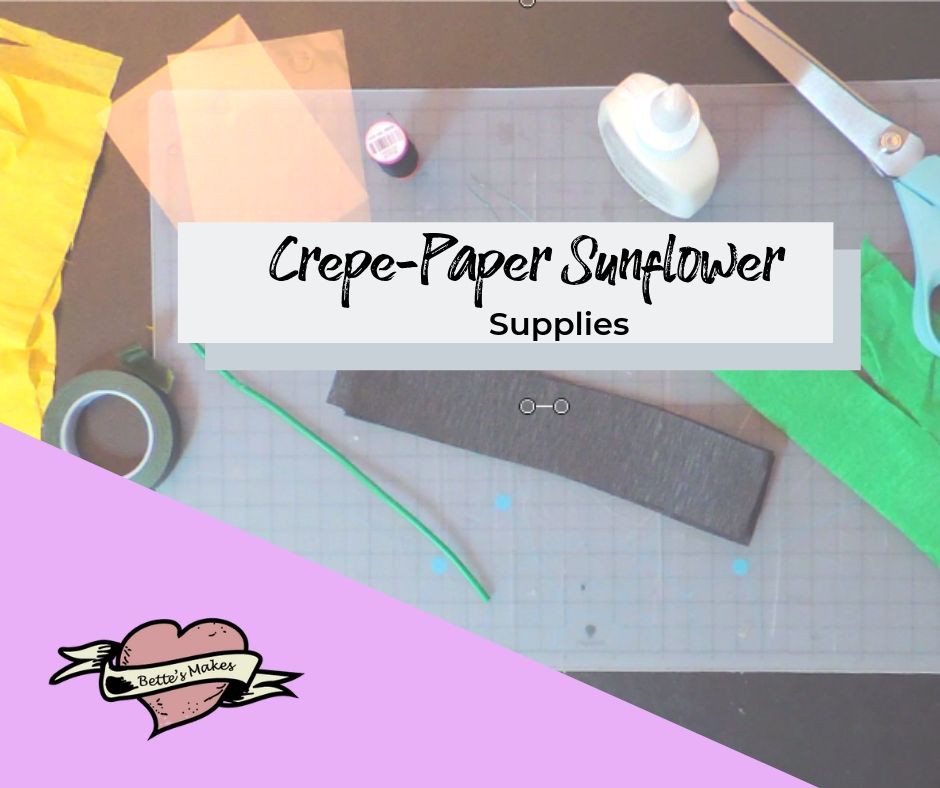
Assemble all your materials.
Cut your yellow, green, and black strips of crepe-paper as follows:
Yellow - 3 strips 12" long and 3" high (for the petals)
Green - 2 strips 3" long by 2.5" wide (for the leaves) AND 2 strips 12" long and 3" high (for the calyx)
Black - 8 to 12 strips 12" long and 2" high (for the stamen)
Step 2
Let's make the Stamen!
For this first part of the project you will need your stem and the black strips of crepe-paper.
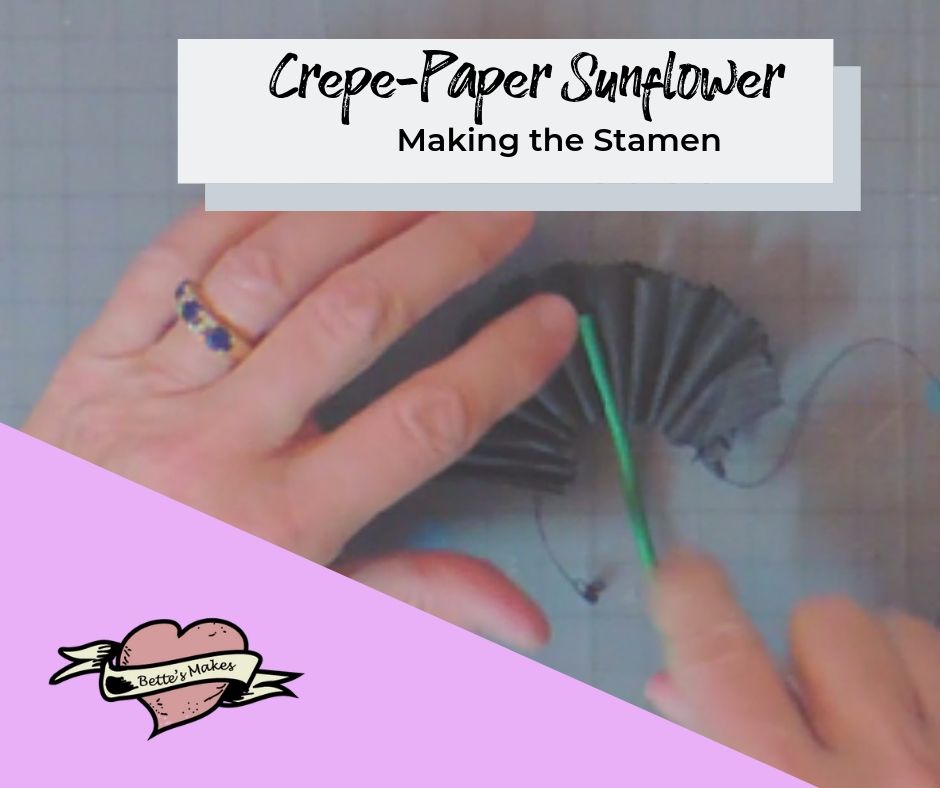
We will start by stacking the black strips of paper then folding the stack in half height-wise.
Next, fold what you have in half length-wise, then in half again. This will make a fairly thick stack ready for cutting.
Take your scissors and cut thinly spaced short cuts on the open edge. Make cuts all along the top edge for the full length of the stack. This will make the center stamen for your sunflower.
Open up the stack. You are now ready to place the stem and glue the stamen together.
Add glue to the uncut edge of the black strip including the top of the stem. Roll the stem up into the cut paper. See the image for directions. Make sure it is glued in place then set it aside to let it dry. This may take a few minutes or longer, depending on the glue you chose to use for this project.
Step 3
Adding the Petals.
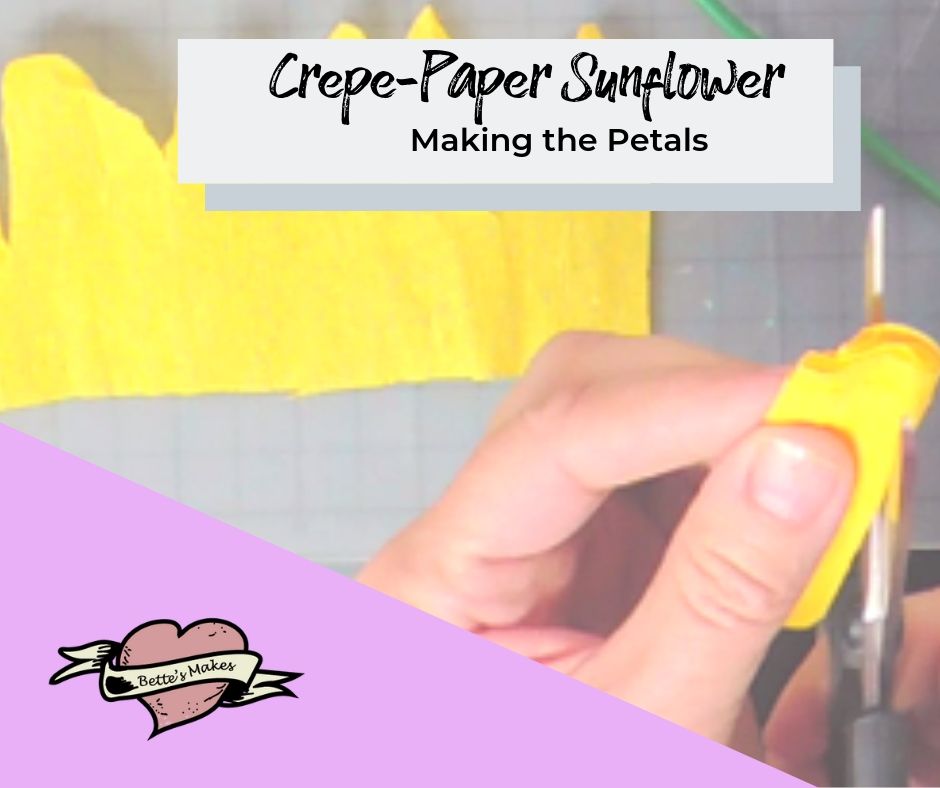
Stack the yellow strips of crepe-paper then fold them in half length-wise. Fold it again, then again. Keep Folding until the stack is the size of the petal you wish to use.
Using your scissors, cut the top of the folded crepe-paper to make a petal shape.
Unfold the yellow crepe-paper then using your dowel, curl the ends of each petal towards you. This will make the flower look more realistic.
Once you have curled all the petals, you will be gluing the petals to the outside of the stamen.
Start with one strip of petals and secure one end to the bottom of the stamen. Continue to glue the bottom edge of the petals around the stamen.
Continue the same gluing process with the second and even third set of petals. Set aside and allow the glue to dry.
Step 4
Making the Leaves
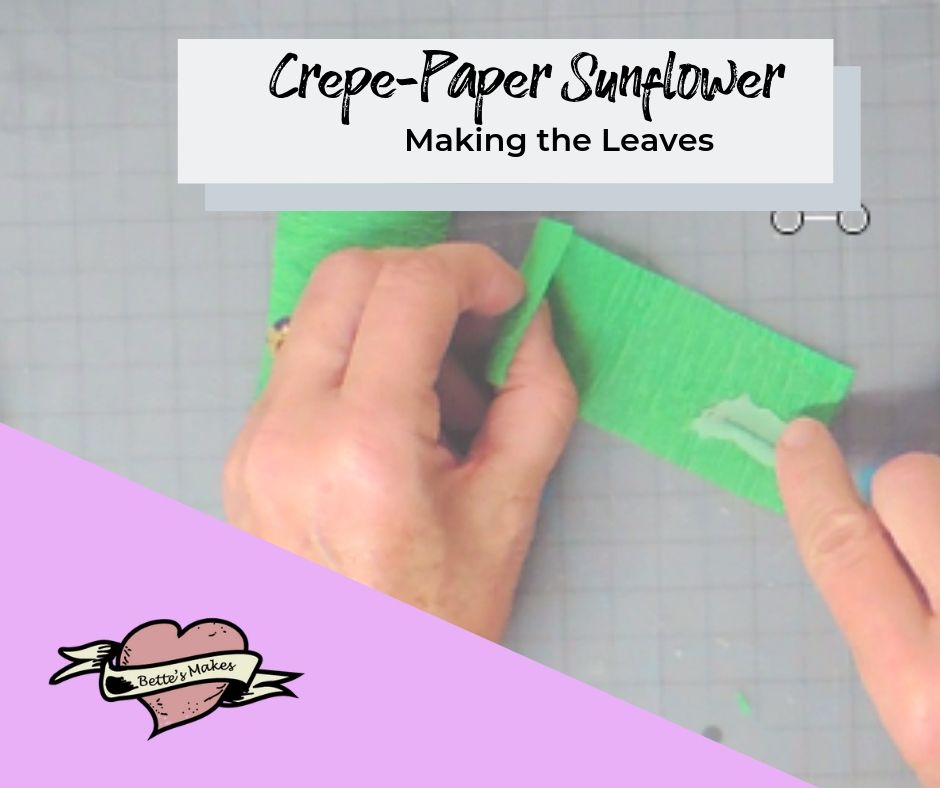
Make sure you have cut the plastic the same size as half the leaf crepe-paper.
Take one of your wire stems and glue it half-way up the long side of the plastic.
Next, glue the green leaf crepe-paper to both sides of the plastic. You will end up with a stack such as crepe-paper, plastic, stem, crepe-paper,
Holding the stack together, cut out the leaf shape, then set aside to dry.
Repeat the process for the second leaf.
Step 5
Adding the calyx.
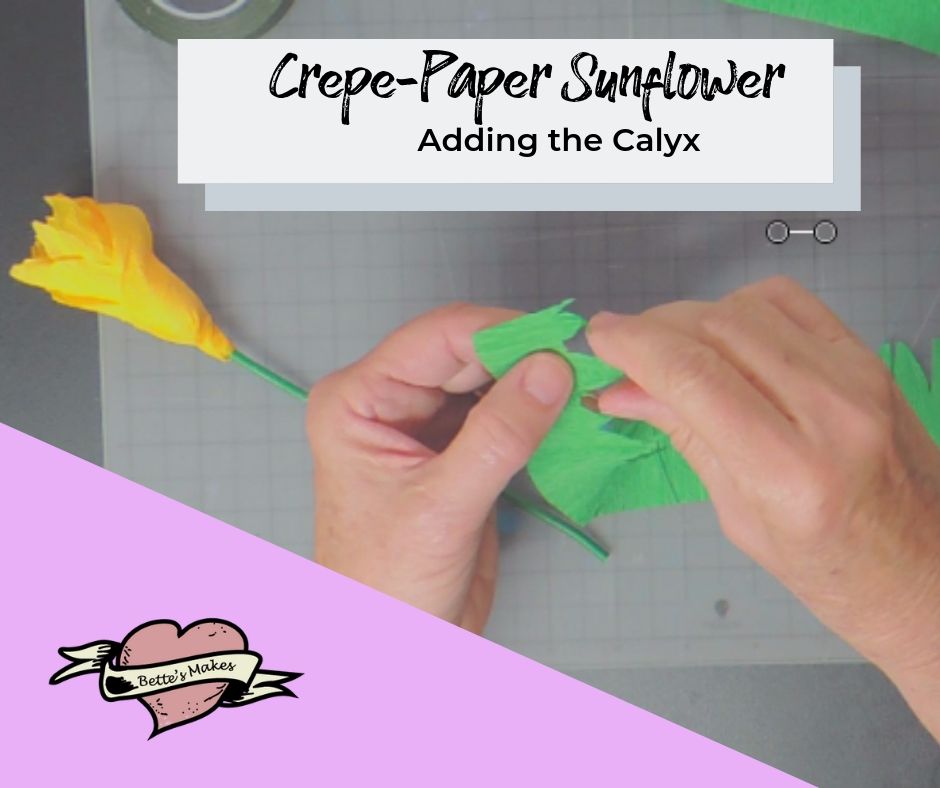
Take the strips of green crepe-paper and stack them together. This will make cutting a lot easier.
Now fold the paper in half (length-wise) and then in half again.
Cut big Vs into the top part of the paper. Once you have cut Vs from one end to the other, unfold the paper.
Take each point you made and twist each end so it is tightly twisted. Do this for every point on both strips of crepe-paper for the calyx.
You are now ready to glue to calyx in place. Add glue to one end (at the uncut part) of the calyx and glue it to the bottom outside of the petals. Continue gluing all the way around the petals and when finished with the first strip of paper, do the same for the second strip. This will make a many layered calyx for your sunflower.
Step 6
Finishing Up!
The final touches! We will begin by adding the leaves to the stem. Here is where you will be using your floral tape.
Start just underneath the calyx and twist the floral tape around the top part of the stem.
Place the first leaf where you would like it to be and continue twisting the floral tape around to hold the leaf stem in place.
Repeat the tape process for the second leaf.
Starting back at the top of the flower (the bottom half of the calyx), wrap the floral tape around the stem and work your way down to the bottom on the stem. Tape off the end making sure you are always twisting in the same direction.
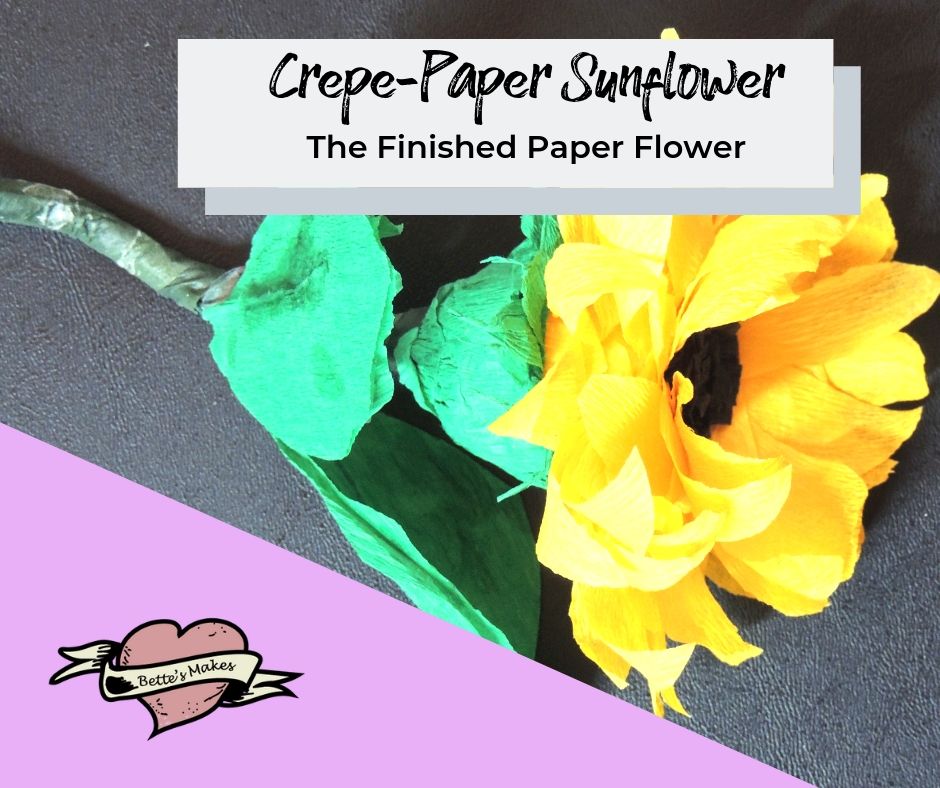
You have now completed your second sunflower!
Cardstock or Bond Paper Sunflower
Don;t forget you can watch my Youtube video for all the steps - you can see the videos for all these projects below.
Step 1
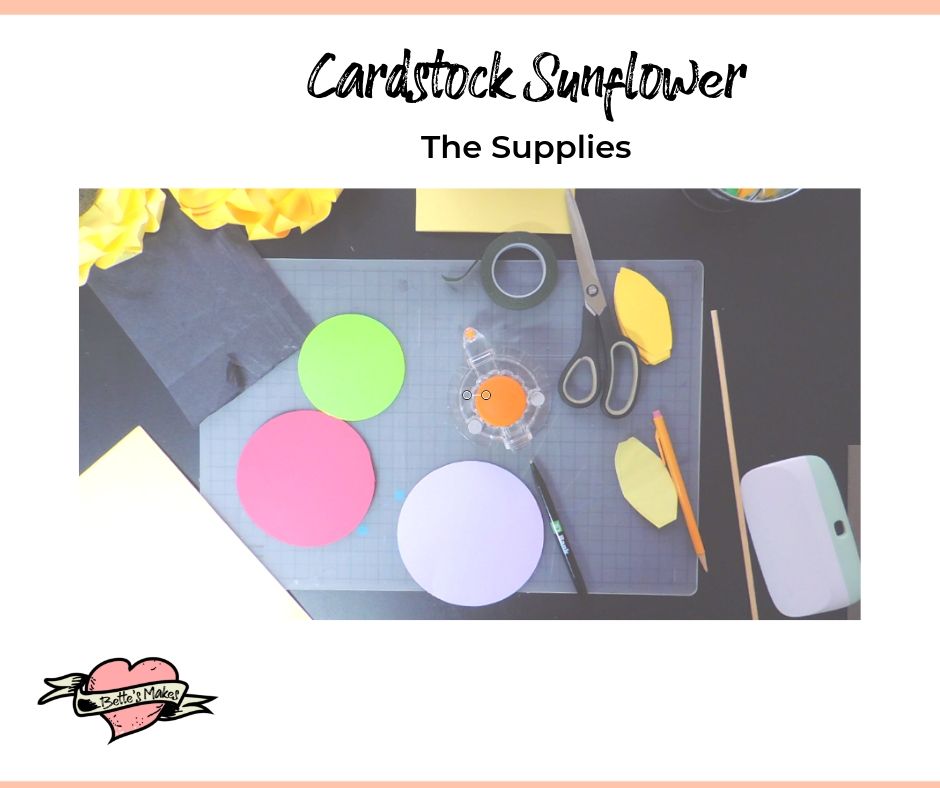
Assemble all of your materials together and download the template from my resource library.
Upload the template to Design Space if you are cutting with your Cricut machine. Cut all of the leaves and the center circle. Use a different color paper for the center circle. I used green for the circle and yellow for the petals. I suggest using cardstock but you can also use bond paper. Just make sure you use the right strength mat when cutting.
If you are cutting by hand, print the pdf then cut your circle and petals. For the petals just use one shape and fold four pieces of bond paper in half 3 times to get enough petals. You should then trace out 3 petals shapes on the top, then cut through all the thicknesses.
Step 2
Assembling the Petals.
Take your dowel and curl each petal towards you. This will give your sunflower a more realistic look. You should have between 32 and 40 petals for this project.
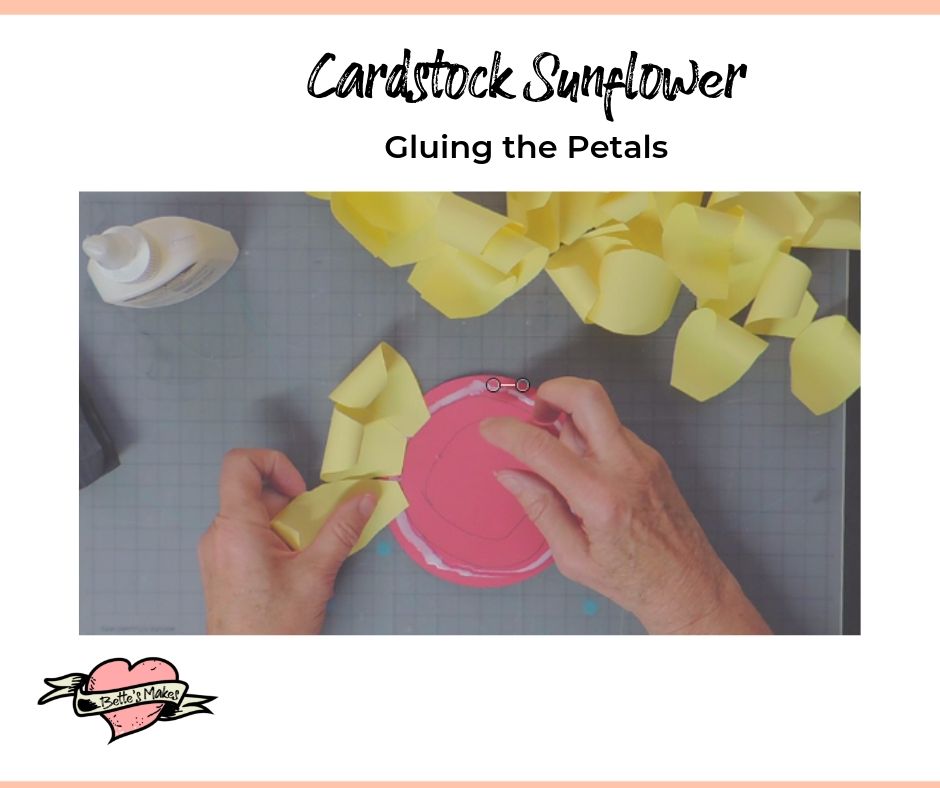
Draw two circles on your cut circle, one approximately 1/2" in from the outer edge and the second one 1" in. These will be the guides for gluing your petals in place.
Place a bead of glue around the the top of the circle, then place the petals, one at a time, around the outside trying to not overlap them but following the first hand drawn circle (the guide).
Place another bead of glue around the bottom edge of your first set of glued petals. Place another round of petals making sure the top part of the petal is placed between the tops of the first round. This way the petals won't look like they are on top of each other but staggered. This gives a nice effect.
Continue to set beads of glue at the bottom of the previous round of petals and placing a new row in place until you have used all or most of your cut petals. You could have as little as 3 rounds of petals.
Step 3
Making the stamen and finishing up.
One of the keys to making a realistic sunflower is how you make the stamen. Sunflowers have seed pods in the center so the stamen is fairly large. For this project we will be using tissue paper for our stamen.
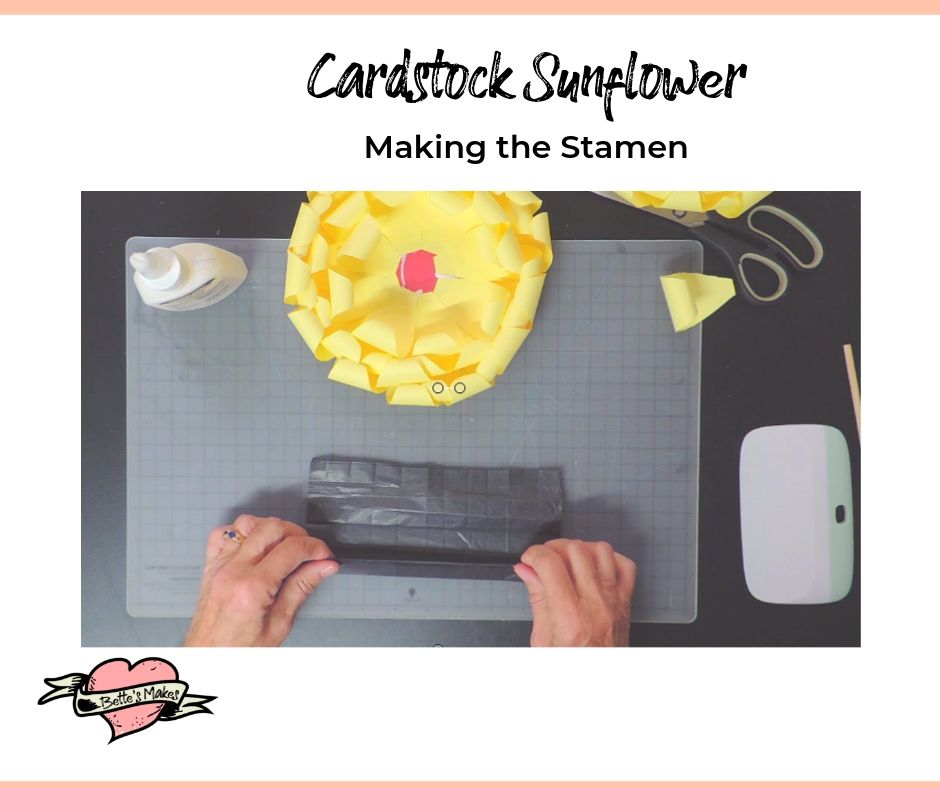
Cut the tissue paper into stips that are 2" high and approximately 12" long. Cut several as the stamen needs to be thick. I suggest cutting 8 layers at a minimum.
Stack the tissue paper on top of each other then fold it in half height wise. Next fold the paper in half lengthwise at least twice.
You will be cutting the unfolded top part of the paper so it looks shredded. Cut the paper in short thin cuts from one end to the other.
Unfold the paper, then apply glue along the uncut edge and make a fairly loose roll - try to keep the bottom edge straight. You should end up with a large roll.
Apply glue to the bottom of the roll and place it in the center of your flower. Spread open some of the cuts to give the flower a finishing touch.
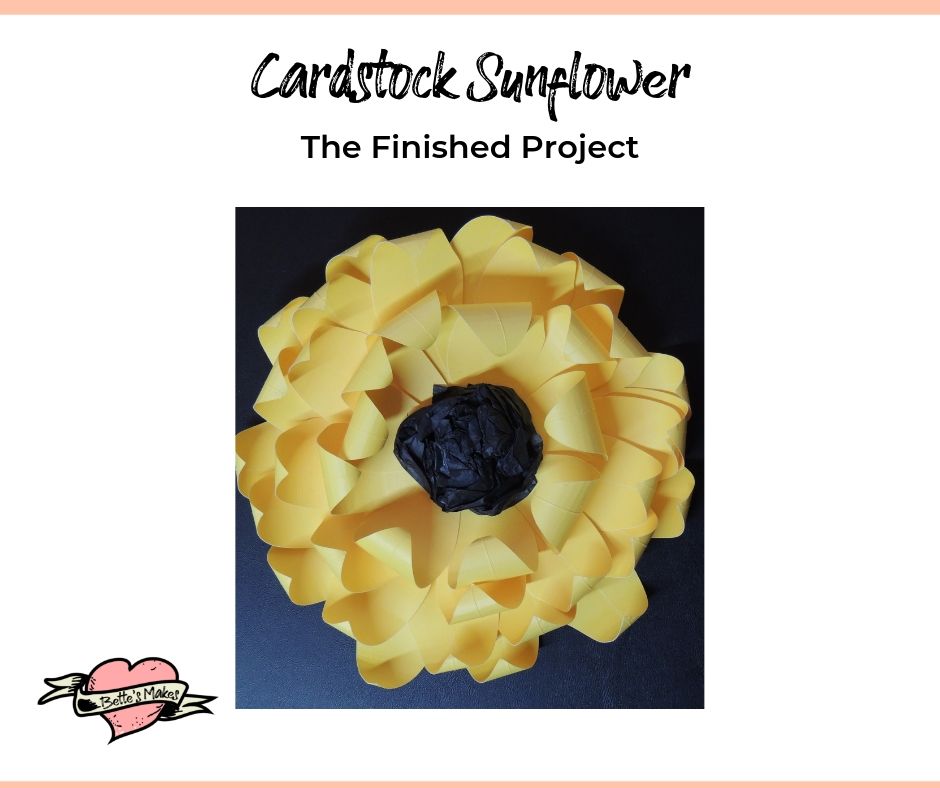
You have now completed your third sunflower! Congratulations!
Video Guides for Making Sunflowers
Tissue Paper Sunflower
Crepe-Paper Sunflower
Cardstock or Bond Paper Sunflower Using Your Cricut
Last Word
Each of these sunflower projects were easy to put together! I found that I loved the crepe-paper sunflower the best and so I made a few of them. The wall sunflowers were also gorgeous! The style you choose is entirely up to you and how you want to use them for your home decor.
I know these are perfect family fun projects you can do over and over again. You can even change up the colors to make red and orange sunflowers! Last year I had both those colors in my garden (must have been a special variety). I found they were the most photographed flowers in the neighborhood!
Will you be making these flowers? If you are, please share your results with me in my Facebook group (https://Facebook.com/groups/BettesMakes).
Until next time, Happy Crafting!
BTW don't forget to visit my resource library and get your downloads for today's project. You will also find other files you will be able to use and there is no charge (FREE) for anything you find in the library.
Please pin one of these images to your favorite Pinterest board so you can keep this post handy the next time you want to make a sunflower. Your pins are truly appreciated.
