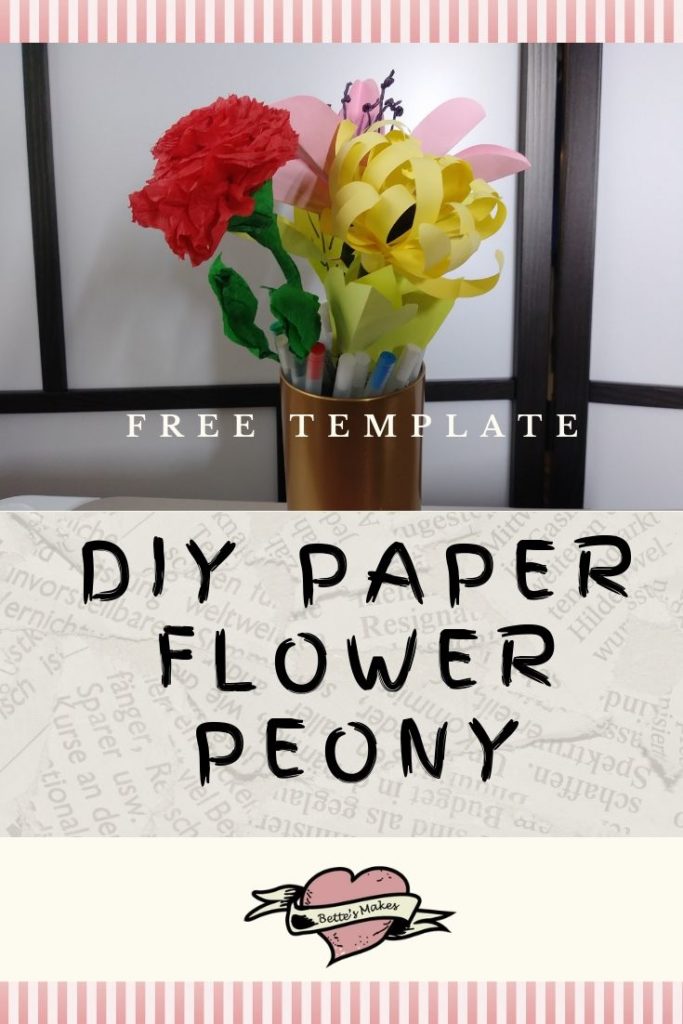
DIY Paper Flowers, making a Peony is the second project in this series of using The Top 7 Simple & Cheap Tools You Need Right Away to get Started with Paper Crafting. This peony takes very few items to make and under 1 hour to complete and show to the world! Don’t get me wrong, I still love my Cricut Maker and my Cricut Explore 2 and I do use them almost every day but I also create crafts that do not require any machines at all.
Every week I add new files to the resource library. Once you have signed up, you will be emailed the password and the library is open to you for FREE. Be sure to check out some of my previous articles and see which downloadables have been attached to the post. Currently, the title of the post is how you will find the right files. I will be changing this in the future.
Quick Links to Information in this Post
- Materials for Making the Peony
- DIY Paper Flower Peony Step-by-Step Directions
- A Little Video Inspiration Creating Your DIY Paper Flowers Peony li>Peony Template
Resource Library
My resource library is the place to go to get all of my FREE downloadables – templates, PDFs, Cut Files, Patterns, and more. Be sure to sign up to get access to all my files. Visit https://BettesMakes.com/library to get started today.
Here’s what you need to make your own DIY Paper Flower Peony. This post does contain some affiliate links for your convenience (which means if you make a purchase after clicking a link I will earn a small commission but it won’t cost you a penny more)! Read my full disclosure policy.
Today’s Project Using The Top 7 Simple& Cheap Tools
The project for today is a Peony. This DIY Paper Flower is simple to make and kids will love making them too. You will not need to spend on expensive papers as you can even use printer paper. As you are probably aware you can buy printer paper almost anywhere and you will only be using 2 sheets of paper for this make.
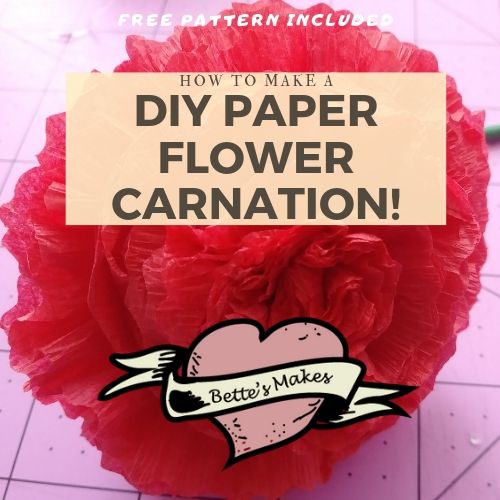
Our first project, the carnation, was simple to make as will the third project – a fantastic lily. I plan to release the third project next week. So check back often to find new fantastically easy projects to make
Materials for Making the Peony Using The Top 7 Simple & Cheap Tools
We will not be using a cutting machine for any of the projects as you can make beautiful paper crafts without one. The materials listed below are ones that do not appear on my downloadable sheet.
All the materials listed in the downloadable The Top 7 Simple & Cheap Tools You Need to Get Started with Paper Crafting.
In addition, you will need:
- Floral Tape
- Crepe Paper or Crepe-Paper Streamers

DIY Paper Flower Peony Using The Top 7 Simple & Cheap Tools (Project 2)
For this project, number 2 of 3, we will be making a paper peony. You will need crepe-paper squares or use whole sheet crepe-paper and cut the pieces as needed.
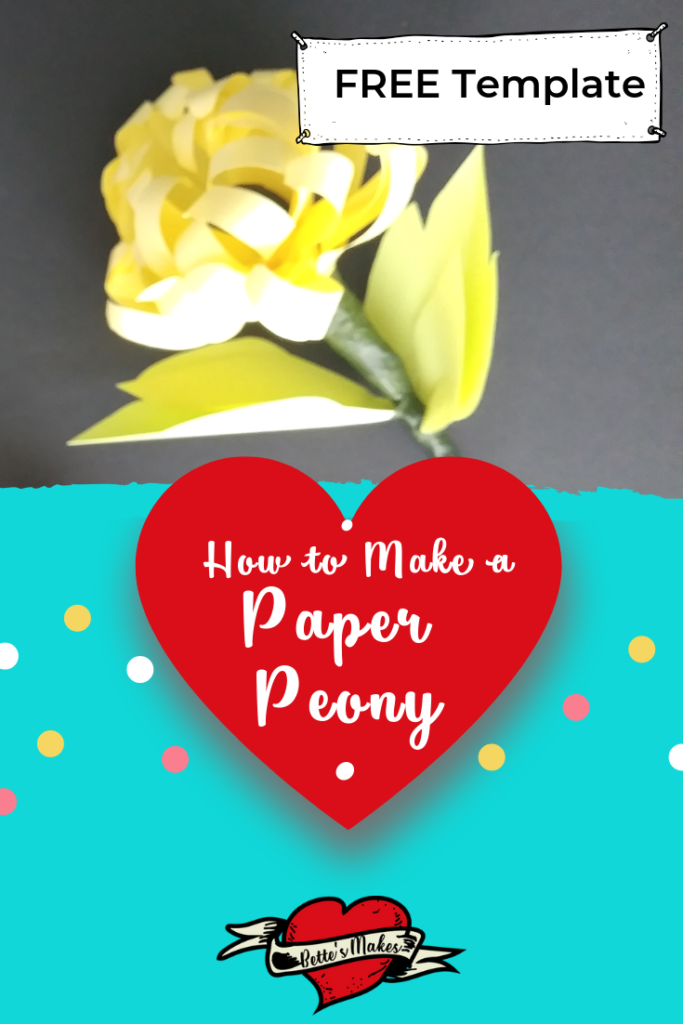
This Peony is very simple, yet elegant when you have added all the finishing touches. For this project, I only used 2 sheets of 65lb bond paper which I purchased at Wal-Mart. I also used Floral Tape from the Dollar Store (where I also purchased my glue and my garden twist ties). The only other tools I used here was a pair of scissors, a pencil, and a dowel. See my Top 7 Simple & Cheap Tools You Need Right Away to Get Started with Paper Crafting for the other tools you may want to use.
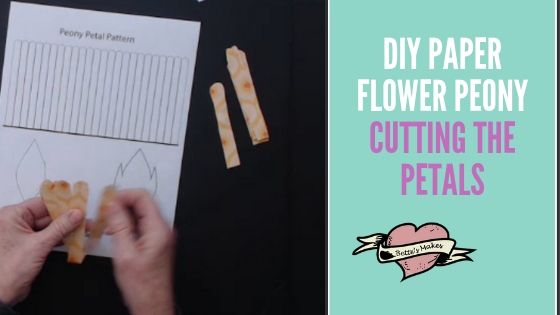
Step 1 – Cutting Out the Petals
I tried doing the petals in a roll but the results were disastrous! Using single petals made the flower much easier to handle. You can download the flower template from my resource library. While you are in the library, pick up the template for the leaves, and The Top 7 Simple & Cheap Tools You Need Right Away to Get Started with Paper Crafting.
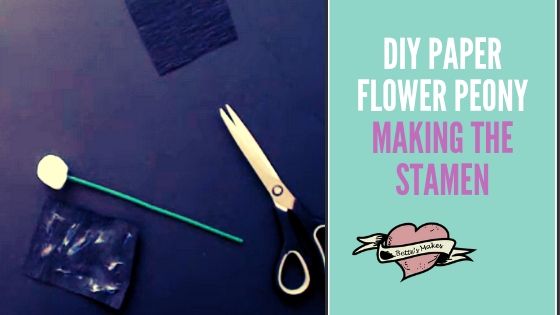
Step 2 – Making the Stamen
Cut two 4″ square pieces to black crepe-paper, We will be making a ball style stamen for this project. Poke your Garden Tie into the center of the cotton ball then cover it with one of the pieces of crepe-paper and secure it to the garden tie. Once that piece is secure, cover the “stamen” with the second piece of crepe-paper and secure it in place. I used glue and floral tape to secure my stamens
Step 3 – Adding the Petals
Cut out each petal from your sheet of paper. You can cut out more if you want a thicker more dense peony. I prefer denser flowers but a single sheet flower also looks great. Take each petal and place it with 2″ below the stamen and glue it in place. Go around the stamen with each petal and secure it in place as you move around. Try and make sure you do not have each petal directly behind the other. To secure the petals in place you can use glue (which I did) and/or floral tape (I used this as well). When you have finished placing all the petals in position and secured them you will want to add floral tape from the top right to the bottom of your “stem”.

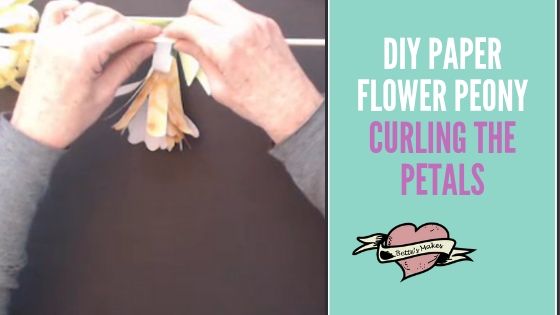
Step 4 – Curling the Petals
Using your dowel or round pencil. Roll the top part of the petals towards the center of the flower. Peonies curl to the middle, not the outside. Curl them tightly, then adjust to make it the flower look great. You should be able to see the stamen as ad addition, not the main feature.
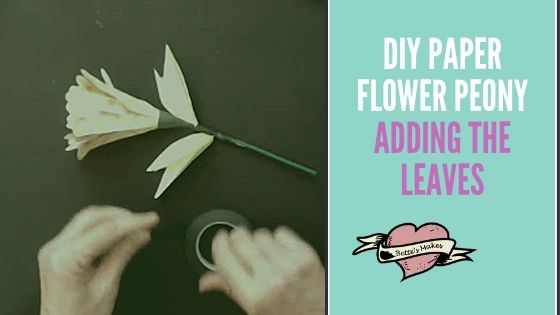
Step 5 – Adding the Leaves
I like the look of doubled leaves. After cutting out the leaves, place the smaller one inside the larger one, then fold in half and score it. Since this is 65 lb bond paper, you will not need any reinforcement of the leaves. Place the leaves where you want them on the stems then secure them with floral tape. Put another layer of floral tape from the top to the bottom of the stem – this will secure the leaves and make the peony look professional.
Step 6 – Take a Photo
Take a photo and share it with me in the comments below or on my Facebook Group – I love to see the results from others makes, I learn so much from everyone!
A Little Video Inspiration Creating Your DIY Paper Flowers Peony
Last Word – DIY Paper Flowers, the Peony
DIY Paper Flowers are always fun to make. This peony was really simple and yet the results were beautiful. I ended up making more than one so I could fill my vase! These peonies are perfect for decorating your home for parties and more.
Don’t forget to get your copy of Top 7 Simple & Cheap Tools You Need Right Away to Get Started with Paper Crafting – it is a FREE download from my resource library. If you have not yet signed up, just fill in the form below to get access!
Happy Crafting…

PS the password for the resource library is love
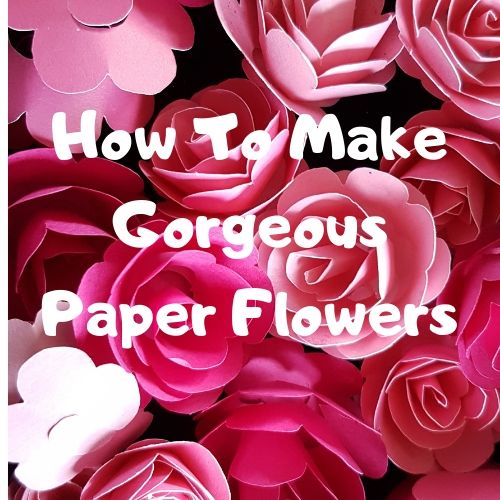
More DIY Paper Flower Projects for you to Enjoy…

DO YOU WANT TO REMEMBER THIS? SAVE HOW TO MAKE A PEONY WITHOUT EXPENSIVE TOOLS TO YOUR FAVORITE DIY PINTEREST BOARD!