Easy Make Lily of the Valley
The Perfect Personalized Wedding Invitations!
DIY paper flowers are an incredibly satisfying way to decorate your home! These can be used all year round without worrying about how long they are going to last. I know I love having fresh flowers but in reality they fade quickly so making your own bouquet to replace the fresh ones really keeps a smile on your face. Some paper flower tutorials are very complicated looking but very easy to
put together. This Lily of the Valley DIY paper flower template is truly simple and a lot of fun to make
You can find the template for this project in our resource library - look for asset #341
Here’s what you need to make your Lily of the Valley. This post does contain some affiliate links for your convenience (which means if you make a purchase after clicking a link I will earn a small commission but it won’t cost you a penny more)! Read my full disclosure policy.
Quick Links to Information in this Post
Lily of the Valley Step-by-Step Guide
Cricut Maker or Cricut Air 2 or Joy
Crepe-Paper (or Tissue Paper)
Floral Tape
Floral Wire
Glue
Scissors
Asset #341 from my resource library
Lily of the Valley Step-by-Step Guide
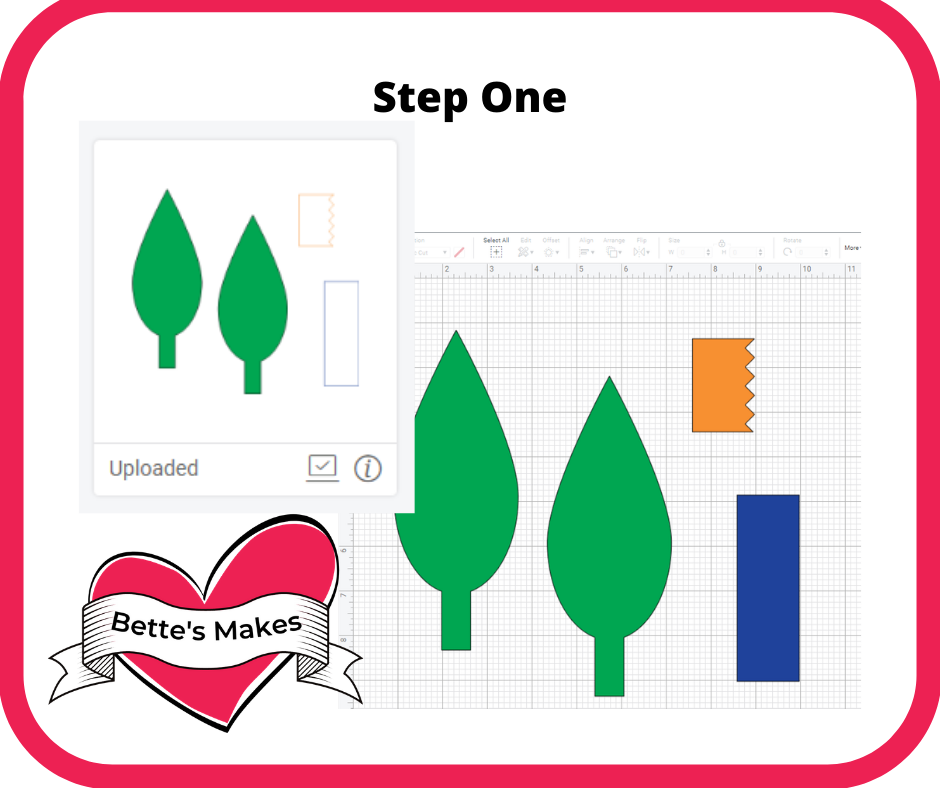
Step One - Download the Template
To start you will want to download the template (asset #341) from my resource library.
Unzip the file and upload the SVG file only to Cricut Design Space
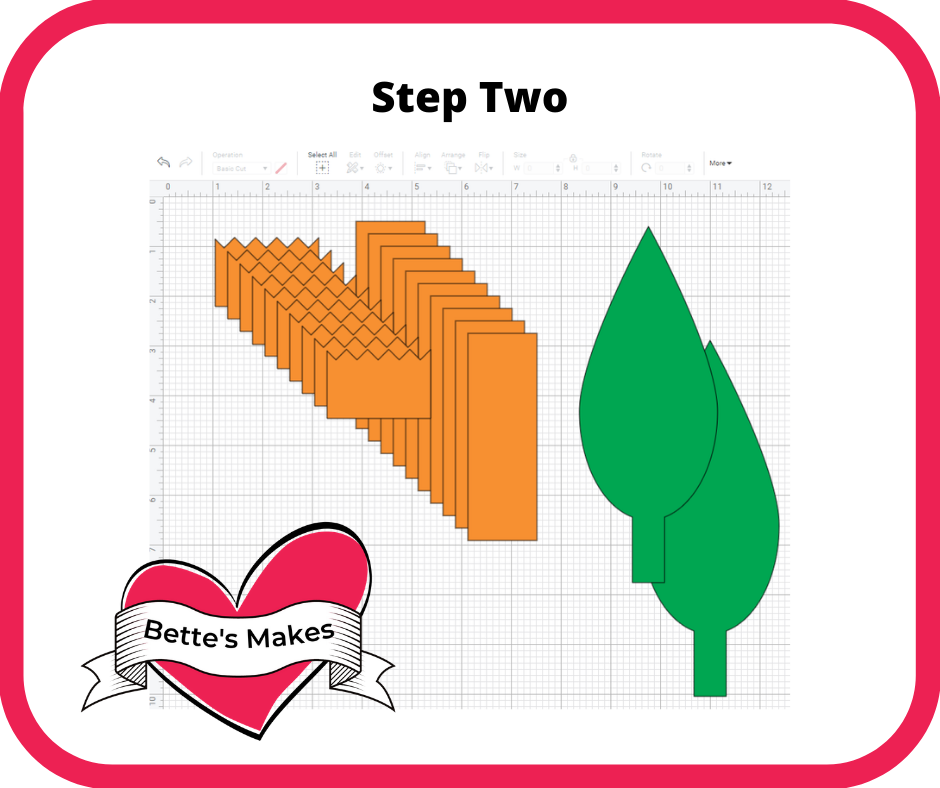
Step Two - Duplicated Flowers and Stamens
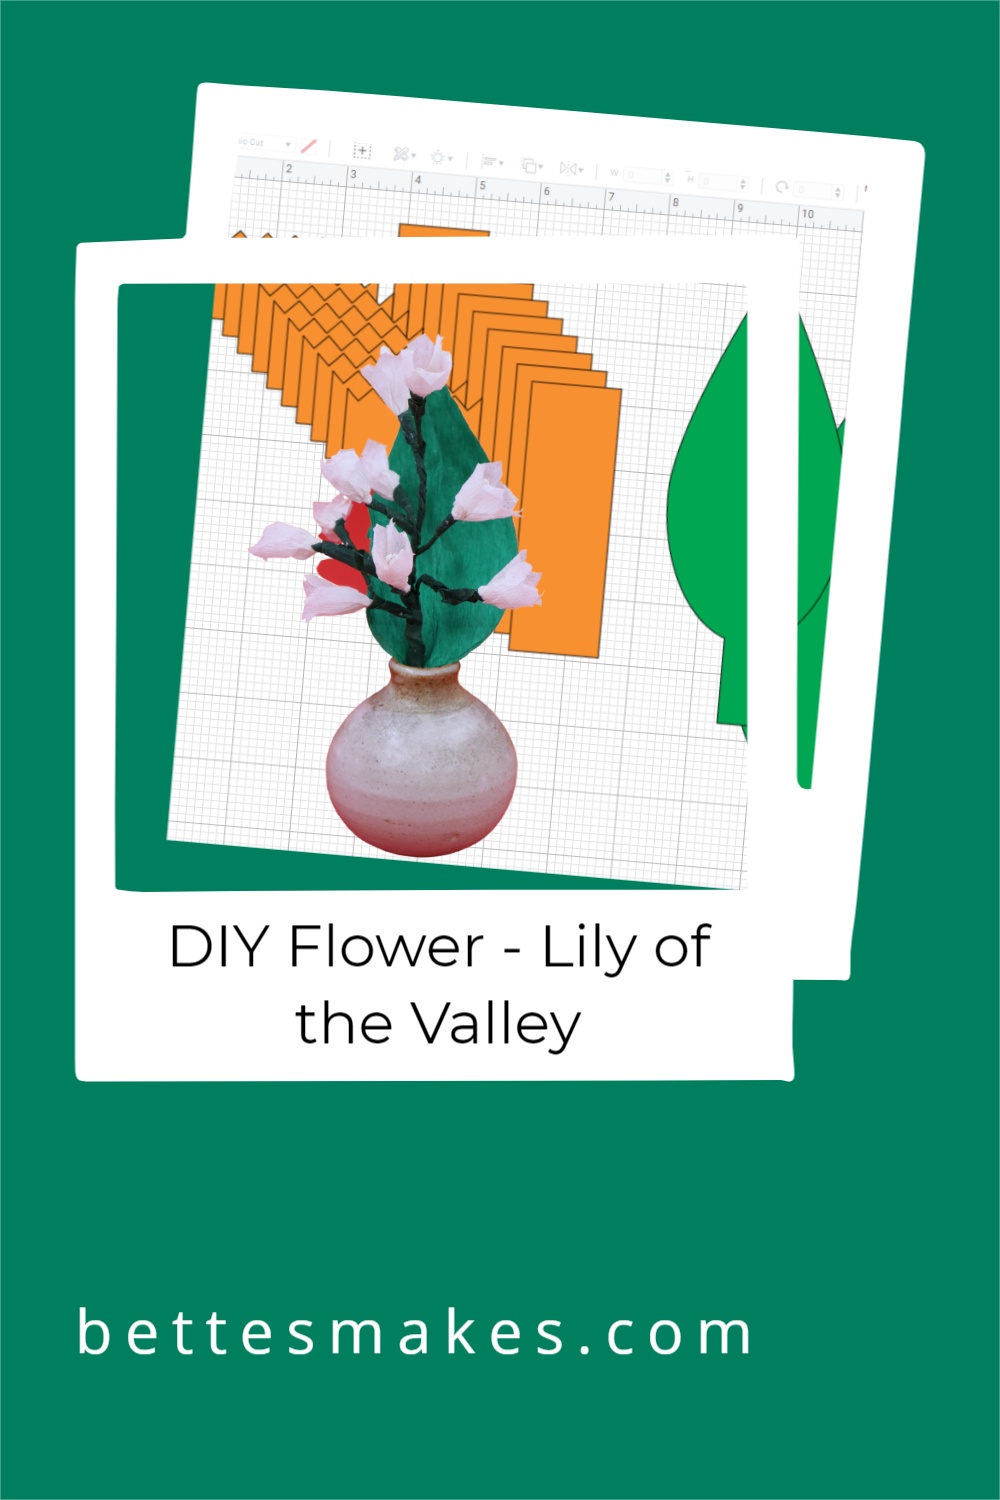
For this project, you will be making 10 flowers and stamens but only one leaf. The flowers have the jagged edges and the stamens are a long rectangle. Just select both the flower and the stamen and then duplicate them 9 times.
Also change the flower and stamens to the same color as you will want to make these from white crepe-paper
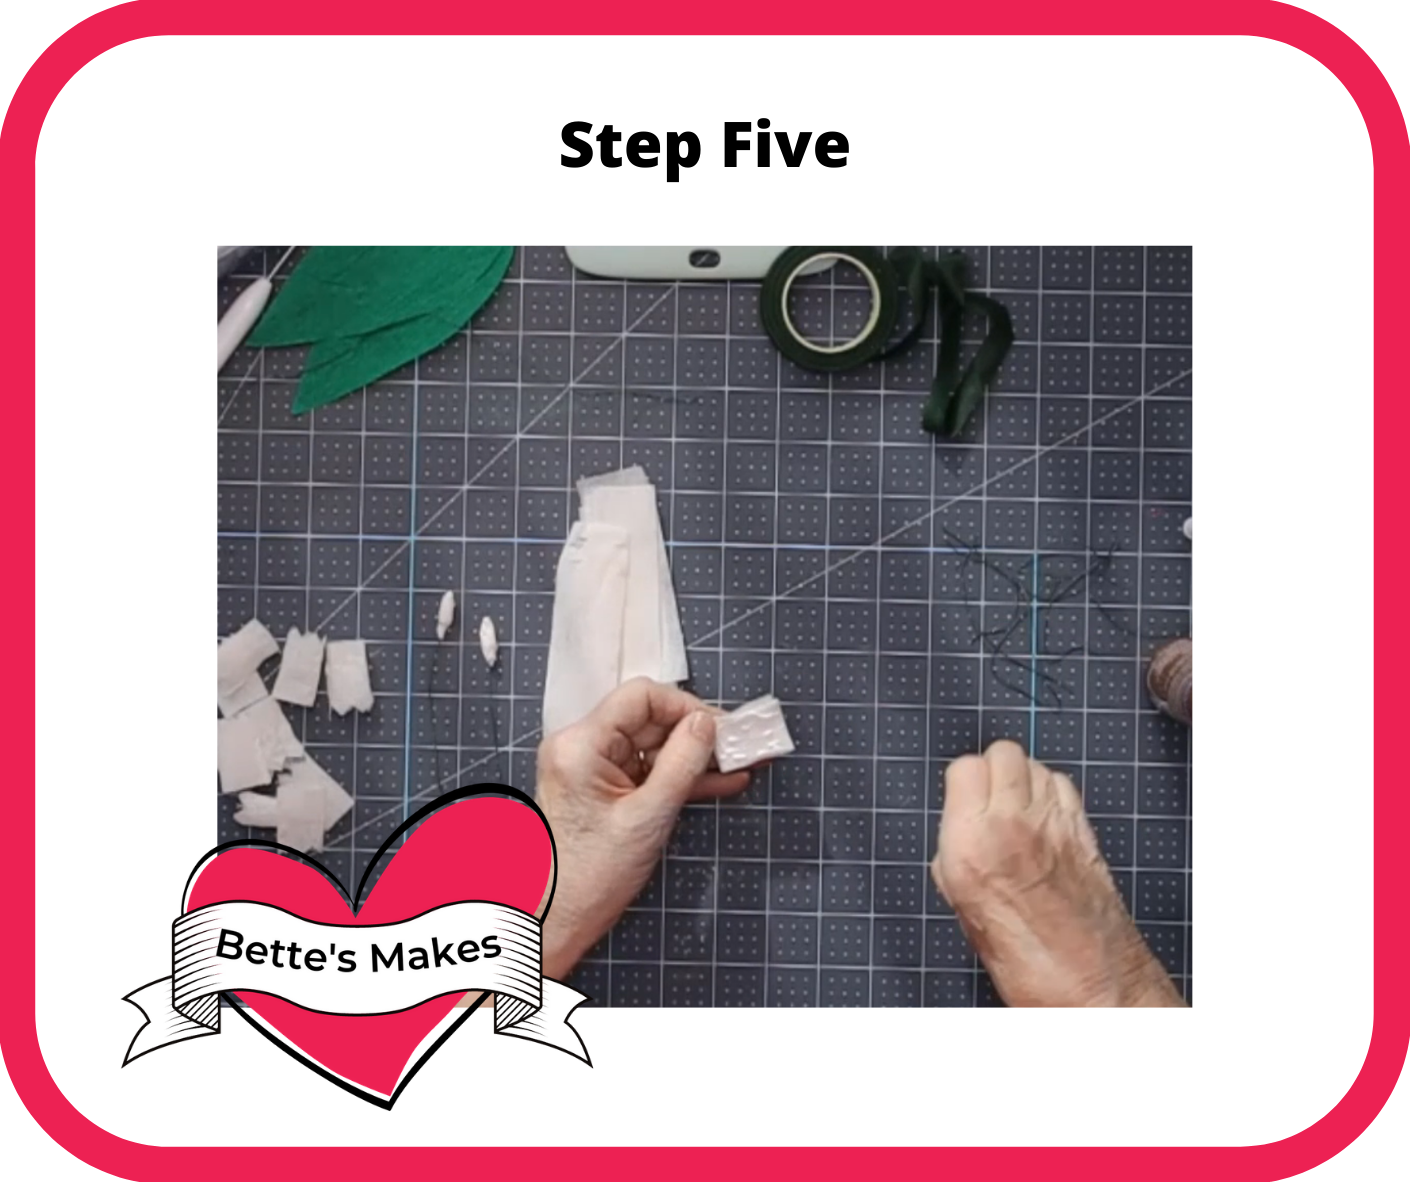
Step Six - Making the Stamens
Cut a 6 to 8 inch length of floral wire. This will be used to make the stamen.
To make the stamens, you will need to fold the rectangle in half lengthwise and then in half again.
Add glue to the center of your folded stamen and place the floral wire into the center then fold the edges around the wire making sure you go in the same direction for each side. Keep twirling it around until it is glued in place.
Repeat this step for the remaining stamens.
Step Seven - Making the Leaf
To make the leaf, cut a piece of floral wire approximately 12 inches long and glue it to the center of one of the leaves.
Add glue around the edges of the leaf and down the center again. Carefully place the second leaf on top and align it as best as possible to make a nice leaf.
Stretch the leaf edges and curve the stem to make a nice bowl shape.
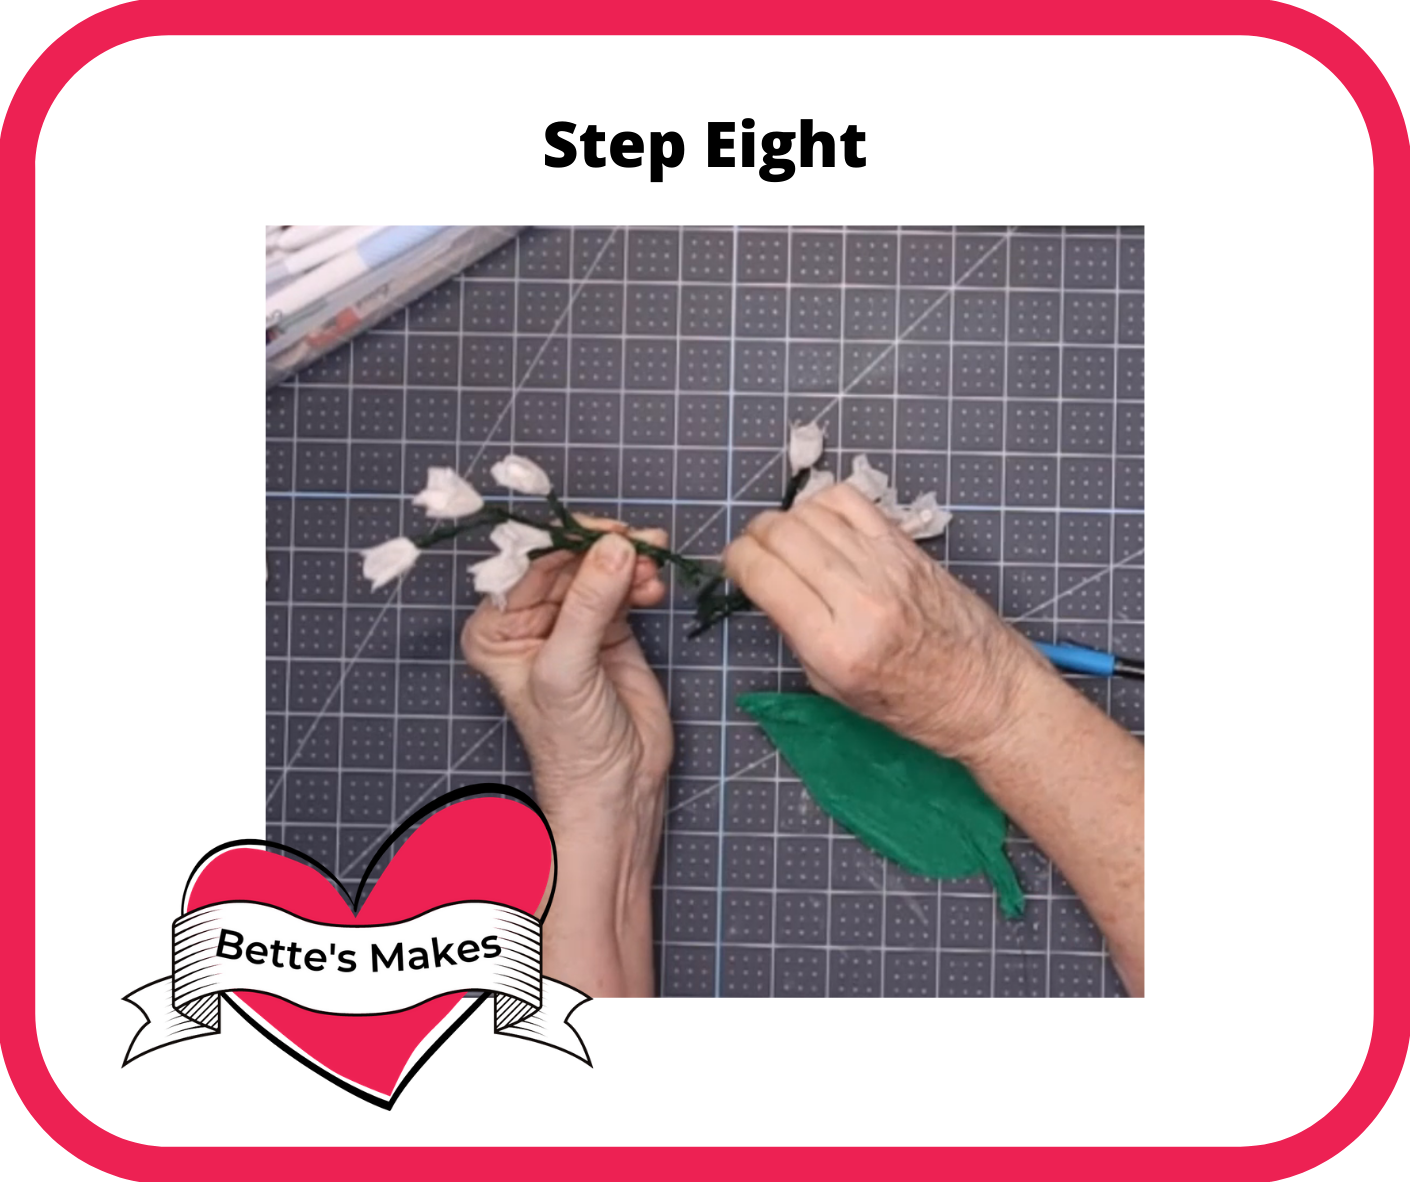
Step Eight/Nine - Assembling Your Lily of the Valley
In this step you will be placing the stamens into the center of the flower then pinching the bottom securely. Your stamen will just poke out the top of the flower.
You can add some glue to keep these in place and then add some floral tape around the bottom and extend it to the end of the wire.
Do this for all 10 flowers and stamens.
In this step you will be twisting all the flowers together to make a “tree” with branches.
Start with the first flower as the base and twist the next stem to it but slightly lower. Twist the stems together fairly tightly. Continue to add the flowers so that they form a tree structure with branches.
Finally, add your “tree” to the bottom of the leaf and add extra floral tape to bind everything together.
Step Nine - Share Your Make
Make sure you share your final project with us in the Facebook group! We would love to see what you have made! https://facebook.com/groups/BettesMakes
More Craft Ideas from BettesMakes
Here are some amazing crafts you can make from BettesMakes.com
This is just a sampling of the dozens of crafts you can find on my website.
Last Word
This project was amazing to do, it looks so wonderful when it is put together! You can make several of these and making an amazing bouquet! Add some of the daffodils and daisies to make a gorgeous table display!
Please join our Facebook group - https://Facebook.com/groups/BettesMakes and share what you have done plus join in the fun.
I hope you enjoyed this project as much as I did.
If you made a Lily of the Valley, please share it on our Facebook group. https://Facebook.com/groups/BettesMakes
Until next time,
Happy Crafting!
Please join me on Pinterest: https://Pinterest.ca/BetteMakerCreations
Join my Facebook group: https://facebook.com/BettesMakes
Follow me on Instagram: https://Instagram.com/BettesMakes
Subscribe to my YouTube Channel: https://www.youtube.com/c/BettesMakes







2 replies to "DIY Flowers: How to Make a Lily of the Valley"
This is amazing. Loved it and printed it out.
Thank you for sharing
Thanks for sharing