Easy Make Wedding Invitations!
The Perfect Personalized Wedding Invitations!
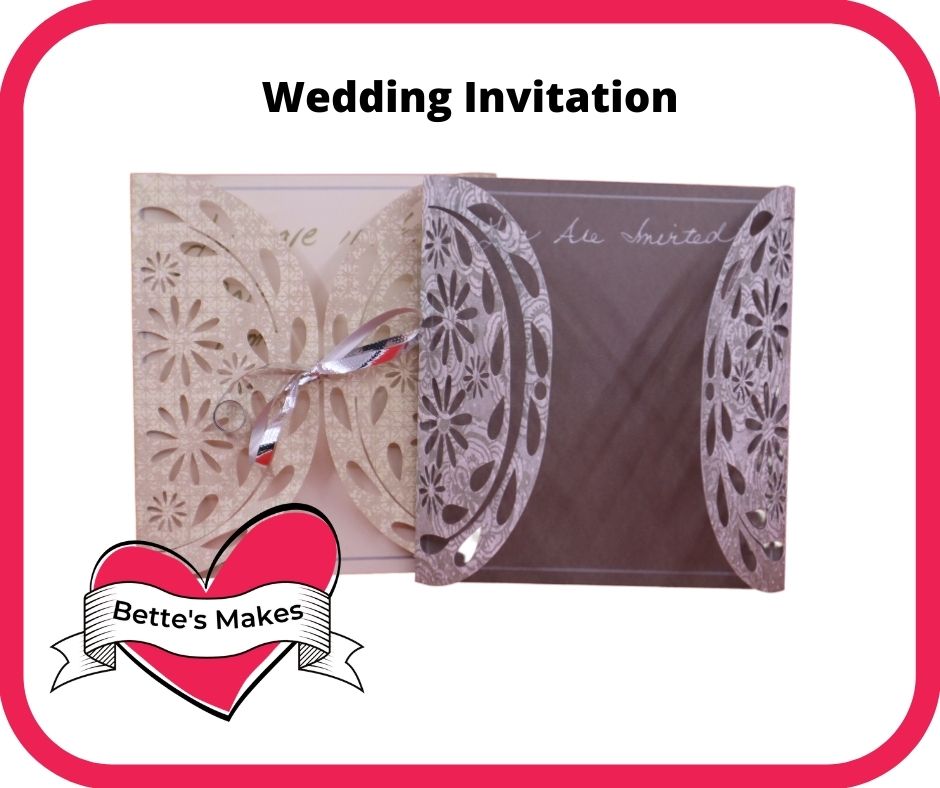
Have you been wondering how to make a wedding invitation card? Often the biggest issue is to find the right wedding invitation template you can use without worrying about attribution or how you are allowed to use the design. This design can act as a guide for creating your own, or you can use it as is.
You can download the template for this wedding invitation right from our resource library - be sure to look for asset #340!
Here’s what you need to make your Wedding Invitation. This post does contain some affiliate links for your convenience (which means if you make a purchase after clicking a link I will earn a small commission but it won’t cost you a penny more)! Read my full disclosure policy.
Quick Links to Information in this Post
Wedding Invitation Materials List
Cricut Maker or Cricut Air 2 or Joy
Cardstock that fits your machine - 2-sided works best
1/4" wide ribbon
Scissors
Asset #340 from my resource library
Wedding Invitation Step-by-Step Guide
Step One - Download the Template
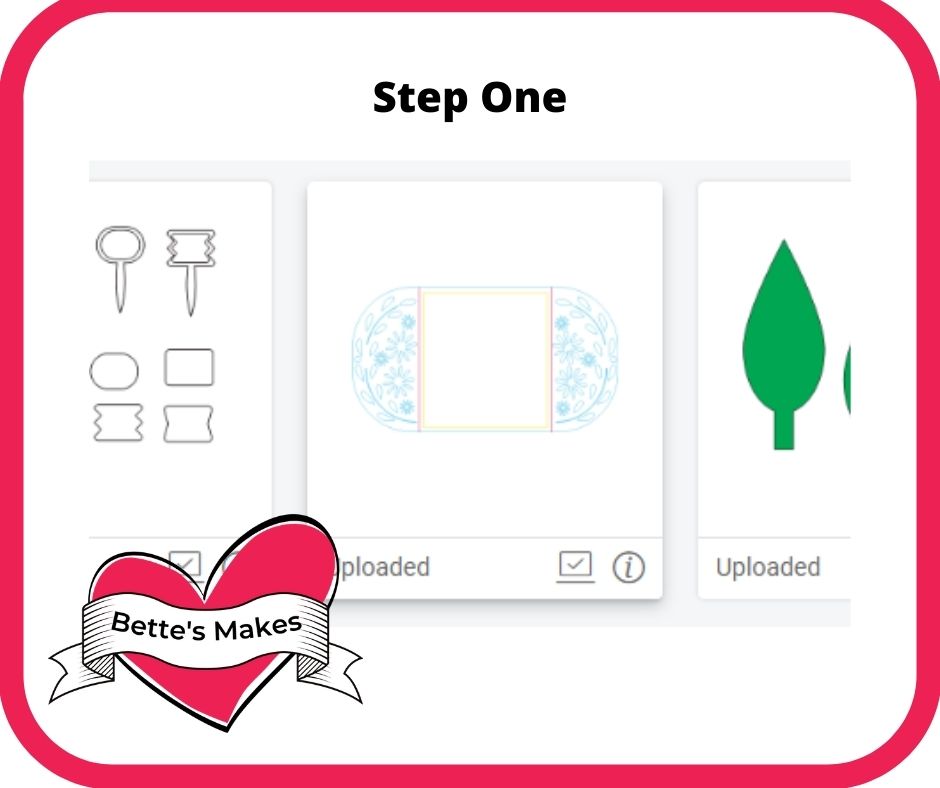
To start you will want to download the template (asset #340) from my resource library.
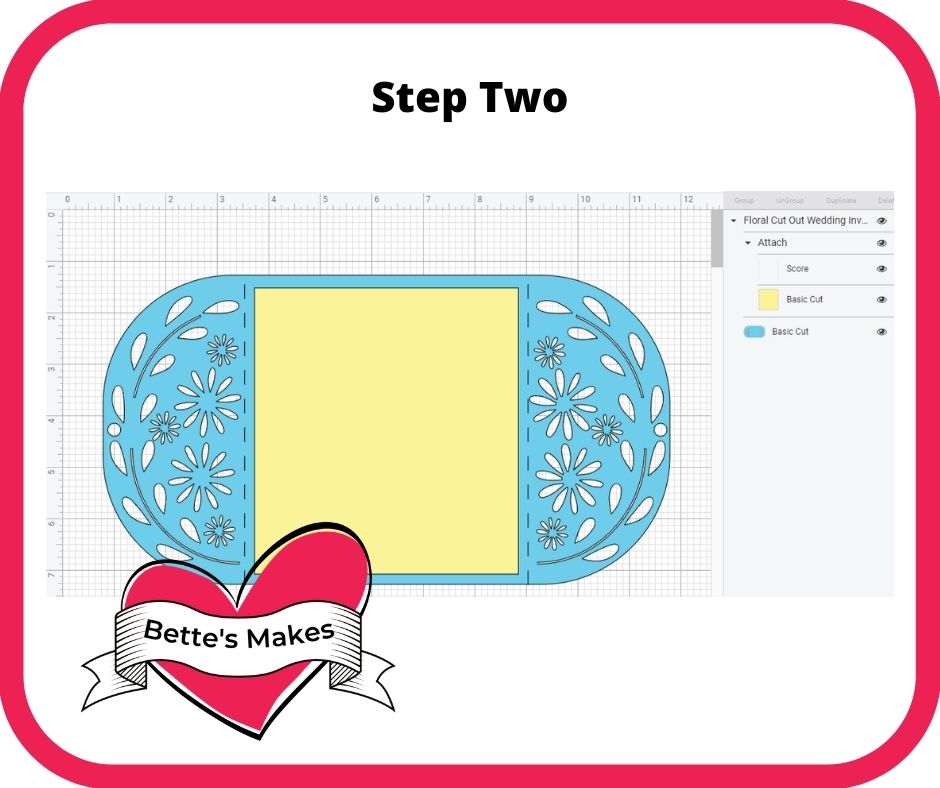
Unzip the file and upload the SVG file only to Cricut Design Space
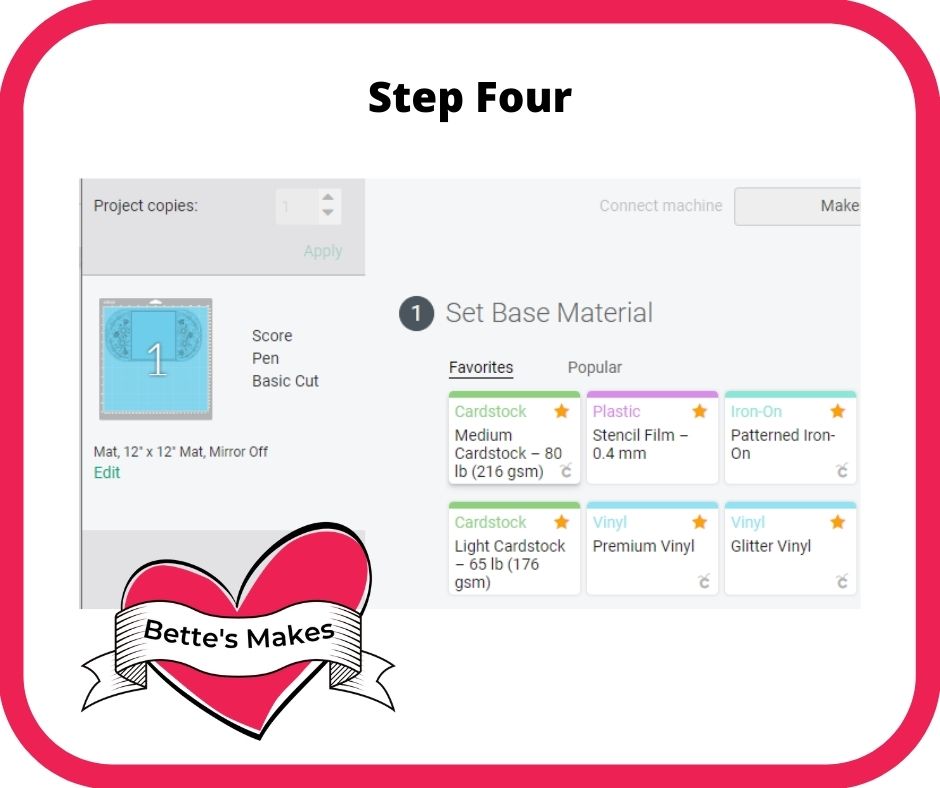
Step Four - Selecting Your Material
You want to make sure you select the right type of material for your card. My suggestion is to use a double-sided medium cardstock and use a solid core paper if possible. This will give you a nice clean cut without white showing through in the core.
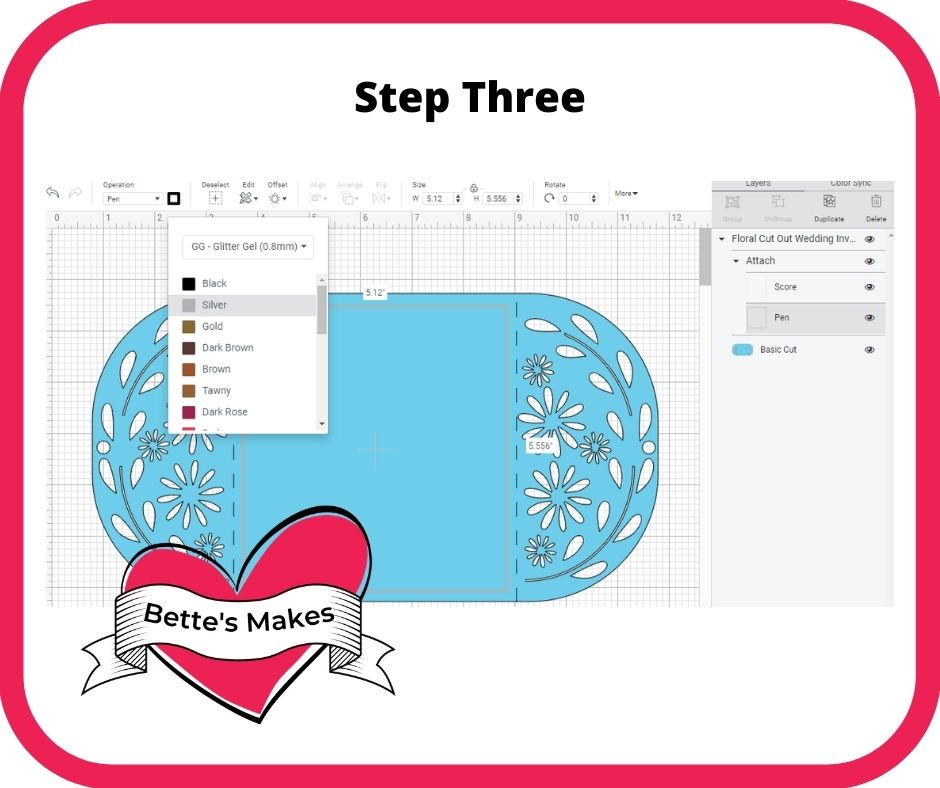
Your cardstock should also have one side a plain color so that the pen drawing will show.
Place the cardstock with the plain side up and the patterned side down for maximum effect.
Step Five - Assembly
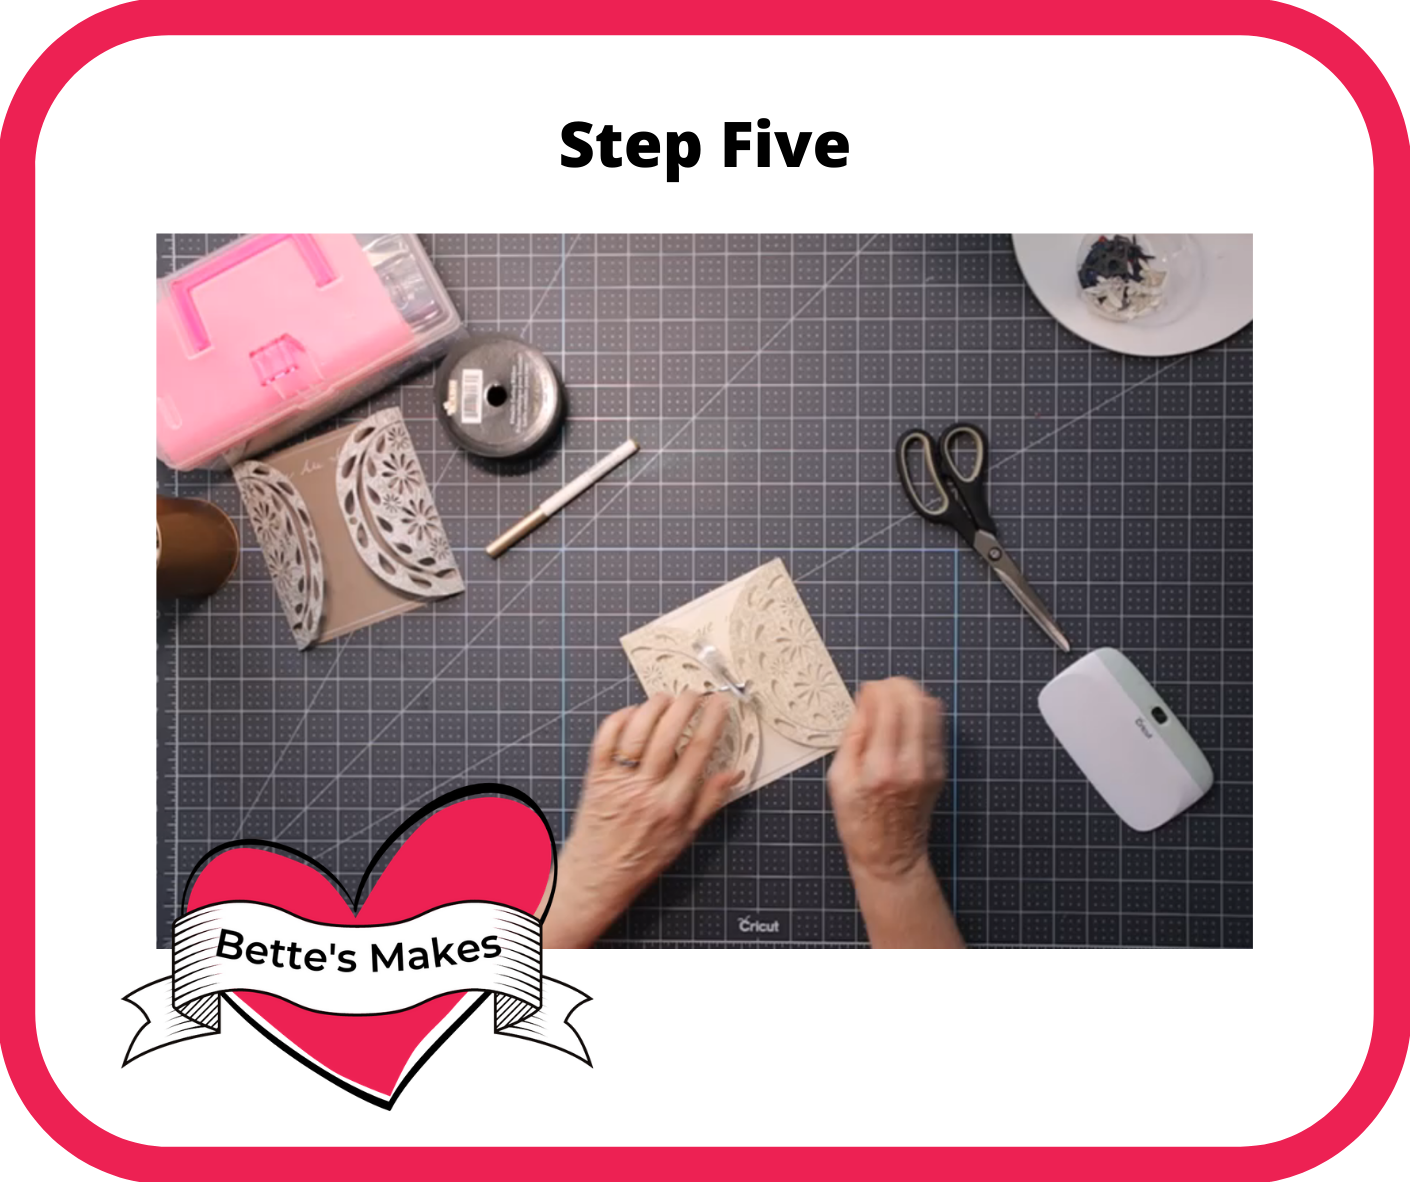
The assembly is quite simple. You want to fold the edges in towards the center. This means the silver pen drawing will be in the middle and the edges are folded in. Crease the edges so they form a sharp fold.
Next, cut a piece of narrow ribbon - 12” is the perfect size.
Thread the ribbon through the two holes in the center middle of the card, even the ribbon out and then tie a bow.
Step Six - The Finishing Touches
Time to display your wedding invitation for all to see. Do share it in our Facebook group! https://facebook.com/groups/BettesMakes
More Craft Ideas from BettesMakes
Here are some amazing crafts you can make from BettesMakes.com
This is just a sampling of the dozens of crafts you can find on my website.
Last Word
This wedding invitation is gorgeous and you can handwrite your message in the center or use your Cricut to add the text that is appropriate for your special occasion.
Don’t let anything get in your way when you are helping to plan a wedding (or anniversary). Use this template, make any adjustments you wish - you can use this for personal or commercial projects.
The important thing is to have fun and enjoy the crafting life!
Please join our Facebook group - https://Facebook.com/groups/BettesMakes and share what you have done plus join in the fun.
I hope you enjoyed this project as much as I did.
If you made a Wedding Invitation, please share it on our Facebook group. https://Facebook.com/groups/BettesMakes
Until next time,
Happy Crafting!
Please join me on Pinterest: https://Pinterest.ca/BetteMakerCreations
Join my Facebook group: https://facebook.com/BettesMakes
Follow me on Instagram: https://Instagram.com/BettesMakes
Subscribe to my YouTube Channel: https://www.youtube.com/c/BettesMakes





7 replies to "How to Make Wedding Invitations with Your Cricut"
What a clever idea!
That’s a lovely card, Bette!
Lots of weeding, but so beautiful. Love your invitations
This is a lovely and unique idea, thanks for sharing.
Such awesome detailed instructions
Beautiful design! Thank you for sharing!
this will help me a lot have to make a couple of wedding cards for a freind