How to Make a Paper Flower Daffodil
")
Any Beginner Can Make This Amazing Paper Flower
Have you always loved the way paper flowers can look when someone else makes them but are not too sure if you can do the same? Paper flower daffodils may be the answer and a way for you to get started on making many paper flowers in the future.
With this paper daffodil template, a Cricut machine or a pair of scissors and other assorted supplies, you can take your flower making to the next level without an issue.
This project is very beginner-friendly and those who are experienced, can take this pattern and add their own flair.
If you don’t have easy access to crepe-paper, you can use tissue paper for this make. I prefer to use a softer material so it can be easily bent into place, but you can use anything you wish.
You will also find the template already to go in my resource library (asset #323)

Here’s what you need to make your DIY Paper Flower Daffodil. This post does contain some affiliate links for your convenience (which means if you make a purchase after clicking a link I will earn a small commission but it won’t cost you a penny more)! Read my full disclosure policy.
Quick Links to Information in this Post
DIY Paper Flower Daffodil Materials
Daffodil Step-by-Step Guide

Step One - Download the Template
To start you will want to download the template (asset #323) from my resource library.
Unzip the file and upload the SVG file only to Cricut Design Space

Step Two - Design Space Adjustments
When you are in Design Space, you will need to ungroup the entire file so you can make the changes.
Change the color of all pieces to one color - dark green is good.
Duplicate the leaves so you have two small leave and two large leaves.
Duplicate the petal piece to have 10 petals.
Save your file and Click on Make It

Step Three - Adjusting the pieces on Your Mat
Because all the pieces were colored the same, they will all be lined up on the same mat. You will want to separate the petals and the trumpet into one area and the leaves and calyx into another area on the mat.
I suggest you place all the petals at the top with the trumpet and all the leaves and calyx at the bottom. We are doing this so you can cut out two different colors of the same material from the one mat.

Step Four - Material Selection
For this project you will want to use crepe-paper if you have it or tissue paper. Select the correct material for your machine and then follow the directions for scoring and cutting.

Step Five- Assembly
First you will be gluing the trumpet together so that it makes a cylinder.
Take your stem and place it just inside the trumpet, then squeeze the bottom of the trumpet so that it is tight against your stem. Now tape it in place.
Next, place the petals all around the outside of the trumpet and tape them in place.
The calyx goes on next.
Finally, add the leaves to the stem by using your floral tape.
Tape everything firmly in place to make your daffodil.

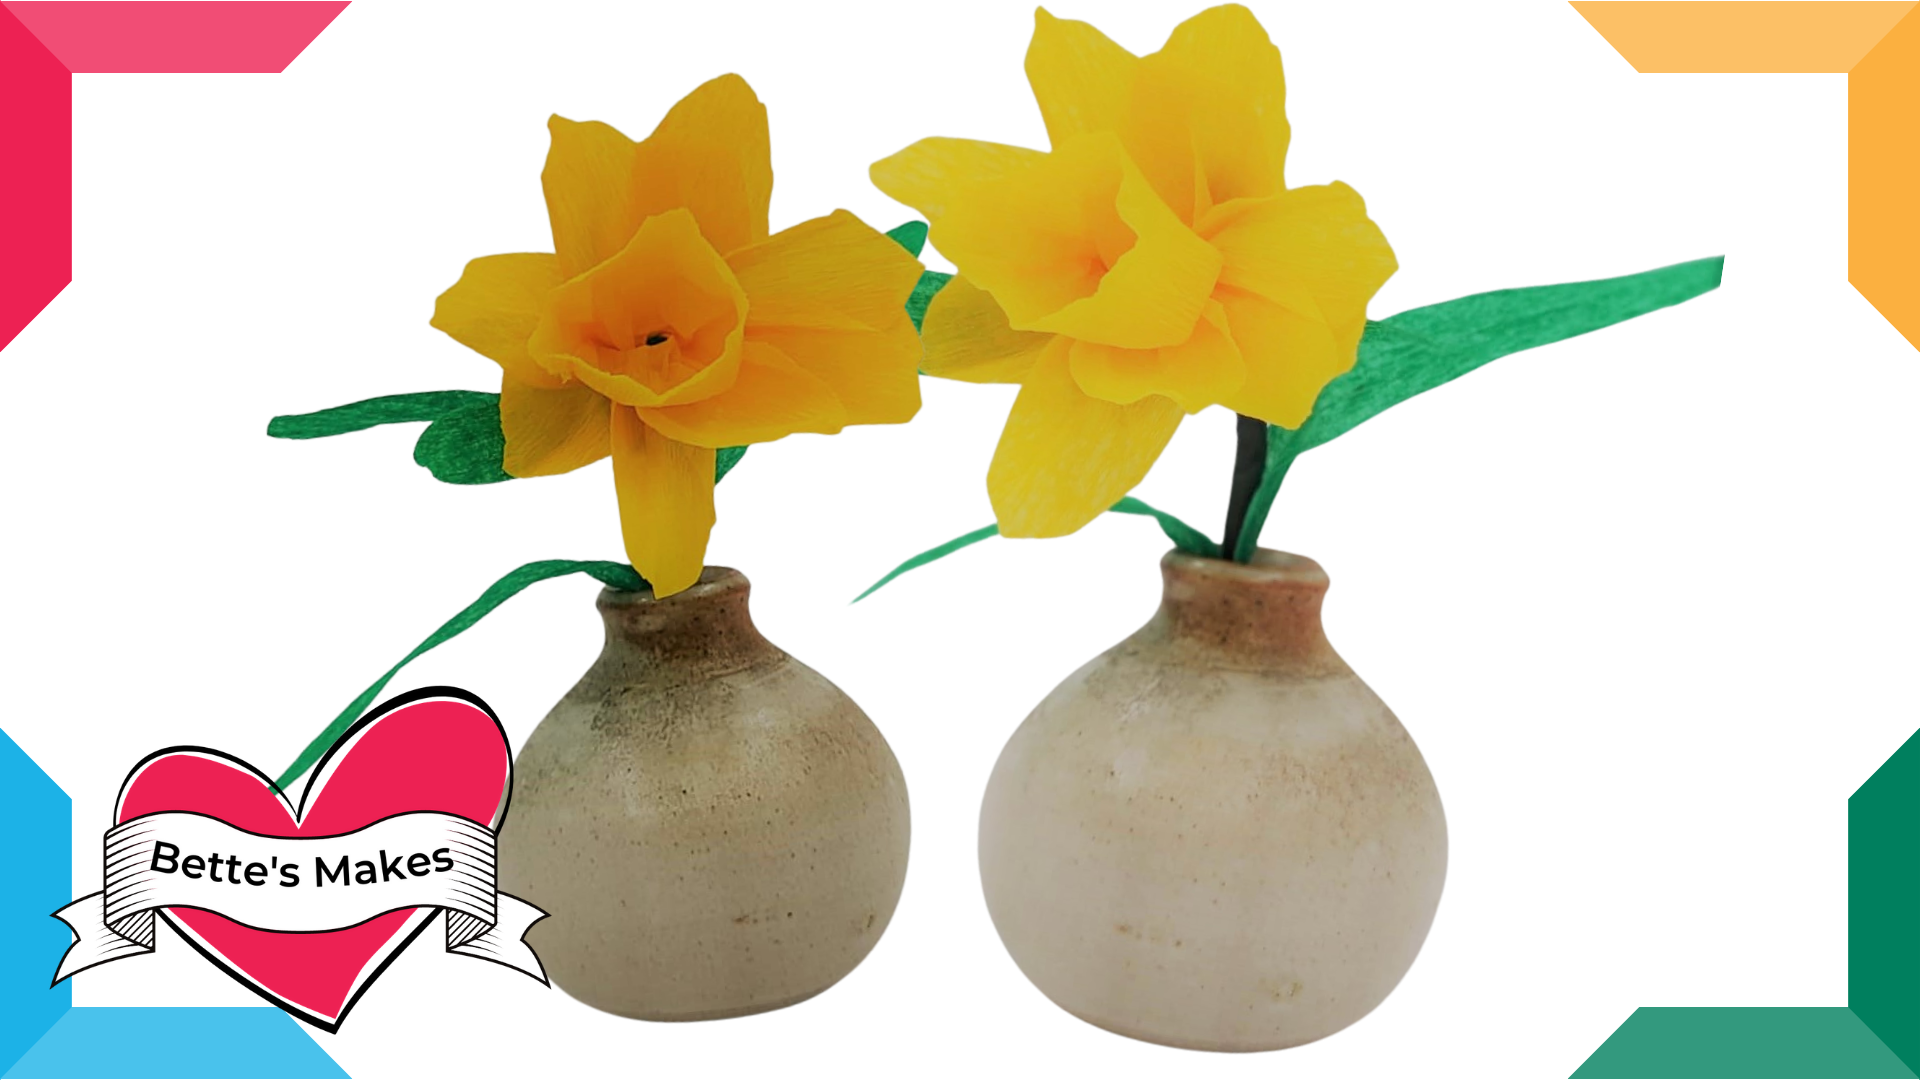
The Final Product - The Finishing Touches
Time to share your final make in a vase of as a bouquet.
Share your project in our Facebook group. https://Facebook.com/groups/BettesMakes
More Craft Ideas from BettesMakes
Here are some amazing crafts you can make from BettesMakes.com
This is just a sampling of the dozens of crafts you can find on my website.
Last Word
Paper flowers can be so real and yet so artistic at the same time. There is nothing like flowers made from crepe or tissue paper! This daffodil is so easy to make and the stem you use will make a difference in how bendable your make will be. If you love crepe-paper, then this make will put you in your happy place. The paper daffodil pattern for this is a popular download, please take time and download yours.
I look forward to seeing what you will make.
Please join our Facebook group - https://Facebook.com/groups/BettesMakes and share what you have done plus join in the fun.
I hope you enjoyed this project as much as I did.
If you made a Daffodil, please share it on our Facebook group. https://Facebook.com/groups/BettesMakes
Until next time,
Happy Crafting!
")

Please join me on Pinterest: https://Pinterest.ca/BetteMakerCreations
Join my Facebook group: https://facebook.com/BettesMakes
Follow me on Instagram: https://Instagram.com/BettesMakes
Subscribe to my YouTube Channel: https://www.youtube.com/c/BettesMakes
Did you like this tutorial? Share it with your friends, pin this image to your favorite board!

3 replies to "DIY Paper Flowers – Daffodil"
Thank-you so much for this daffodil instruction. Love it!
THESE ARE SO CUTE
I want to try making flowers. Yours turned out very nice.