Spread the Irish Love with this Amazing T-Shirt
Making a Two Color Iron-On T-Shirt Has Never been Simpler!
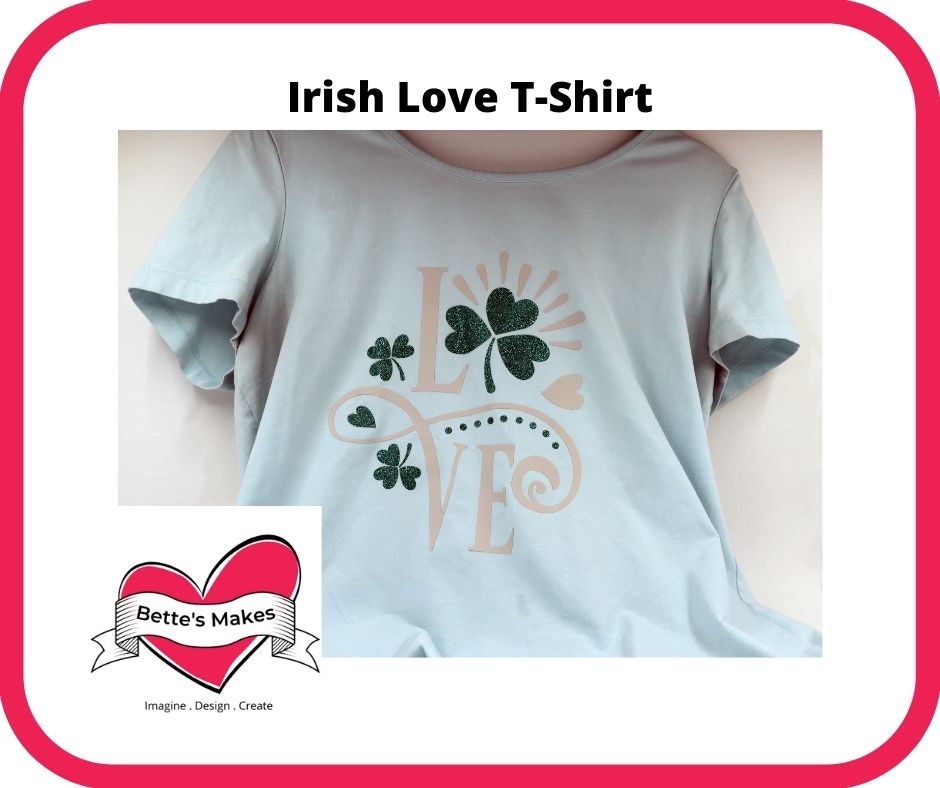
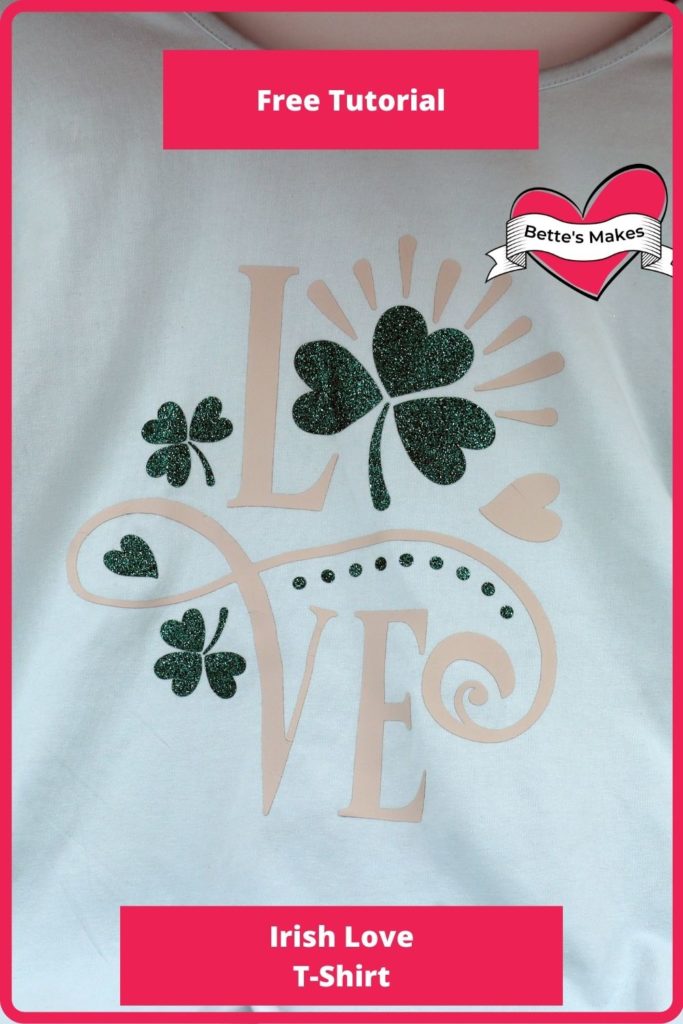
Make this easy iron-on project with your Cricut! This Irish Love T-shirt incorporates shamrocks and love all in one design. This project is easy once you know all the tricks of how to match everything up with ease! With only two colors being used, you will not have to struggle through multiple layers.
All the materials can be items you already have on hand. Use any T-shirt you wish - the more polyester the better and you can even use roll ends of iron-on! You will also find the template already to go in my resource library (asset #315)
Here’s what you need to make your Irish Love T-Shirt. This post does contain some affiliate links for your convenience (which means if you make a purchase after clicking a link I will earn a small commission but it won’t cost you a penny more)! Read my full disclosure policy.
Quick Links to Information in this Post
Irish Love T-Shirt Materials
Irish Love T-Shirt Step-by-Step Guide
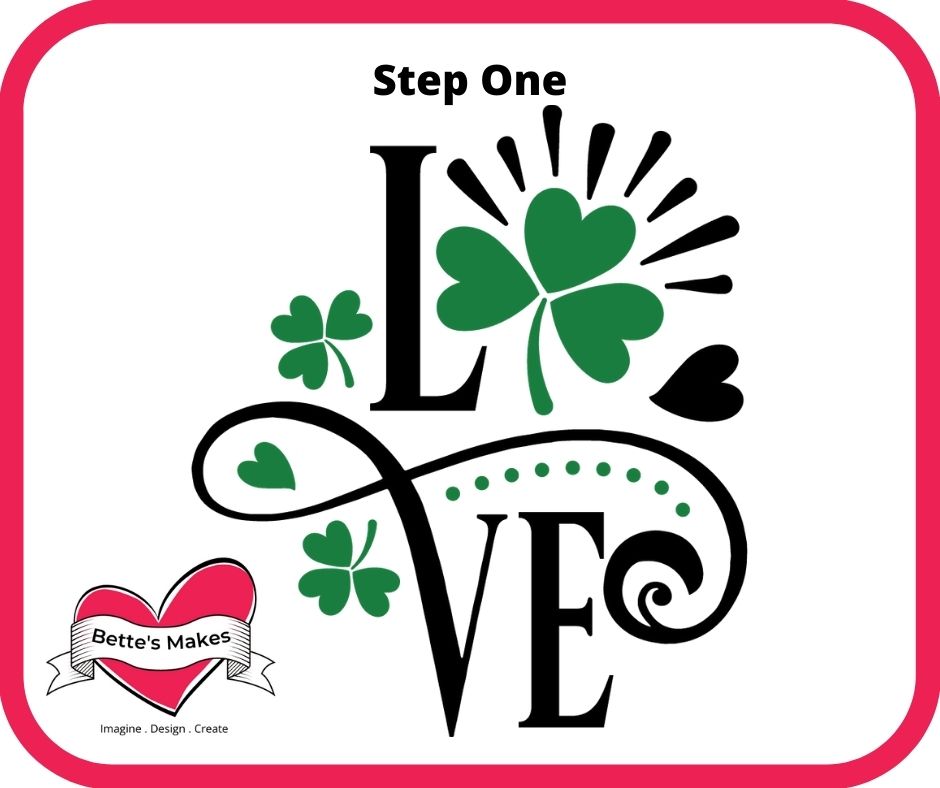
Step One - Download the Template
To start you will want to download the template (asset #315) from my resource library.
Unzip the file and upload the SVG file only to Cricut Design Space
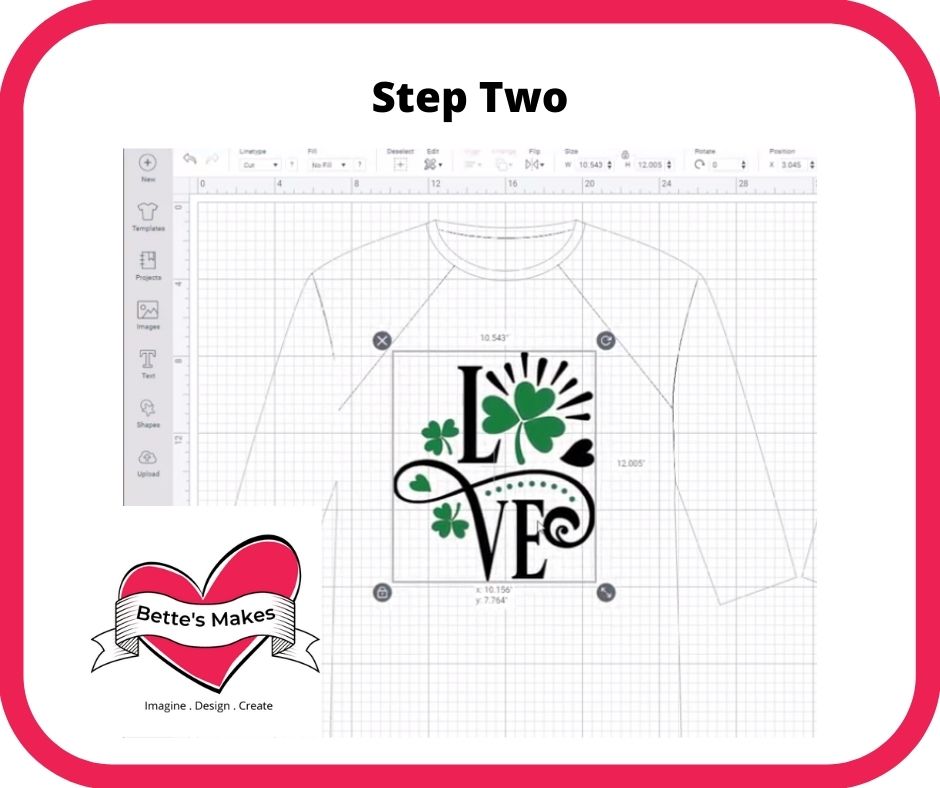
Step Two - Design Space Changes
In Design Space you will want to weld together two pieces.
One, you will need to selected all the green pieces and weld those together.
Two select all the black pieces and weld those together.
This way the design will be placed on the mats exactly as you want them to be cut. It makes it much easier to align the design once it is cut.
Save your project and click on Make it!
When the first screen appears, be sure to "mirror" each of the mats.
For the shamrocks, you may want to consider using a glitter iron-on (I used a green glitter iron-on) and for the Love use a contrasting color. I chose a light color but should have used something darker.
After the cut is finished, weed your design and remove the unwanted pieces.
Step Three - Ironing on the Design
Here is where you will want to look up the settings for your project in the heat guide (https://cricut.com/heatguide).
My recommendation is to iron-on the piece that has the highest heat setting first.
For ironing-on - place your heat pad inside the shirt and center it as best you can. I also add a piece of cardstock on top of the pad to prevent any "bleeding" through onto my heat pad.
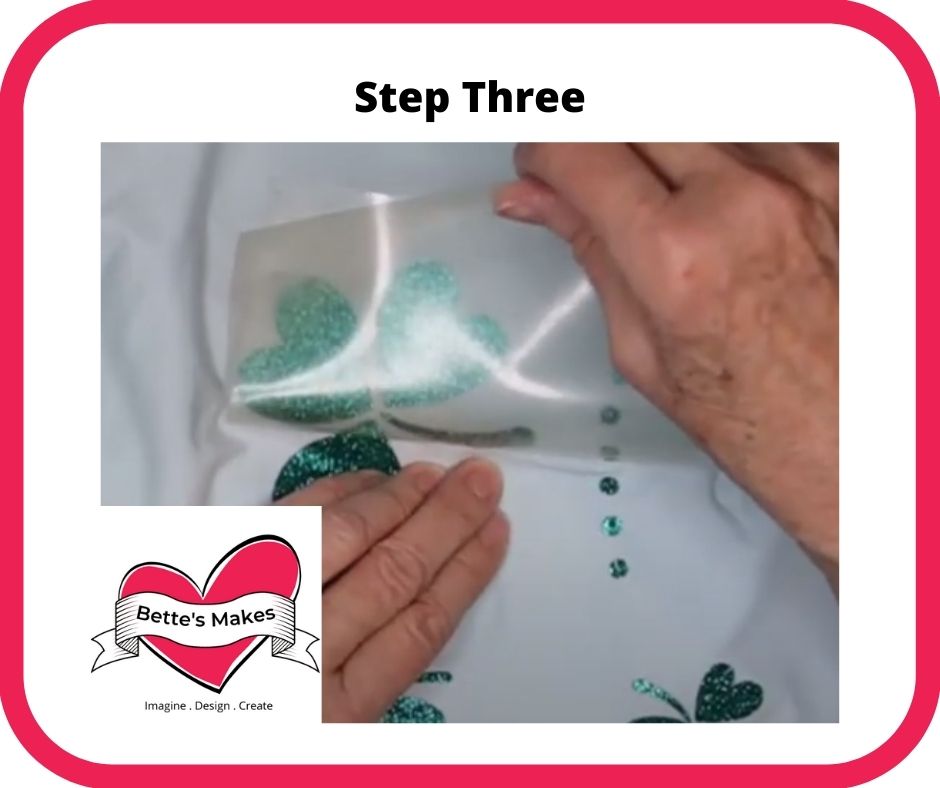
Place the iron-on piece you are putting in place first onto the shirt. The iron-material has a shiny side which must be on top. Here is where I place another piece of cardstock on top so I do not ruin my EasyPress. With the extra pieces of cardstock, you will have to increase your time a little bit to make sure your iron-on sticks.
Wait for the project to cool, then peel off the shiny backing.
Next place the second part of the project in place. Place the cardstock on top, change any iron settings as suggested by the heat guide and press the second layer in place.
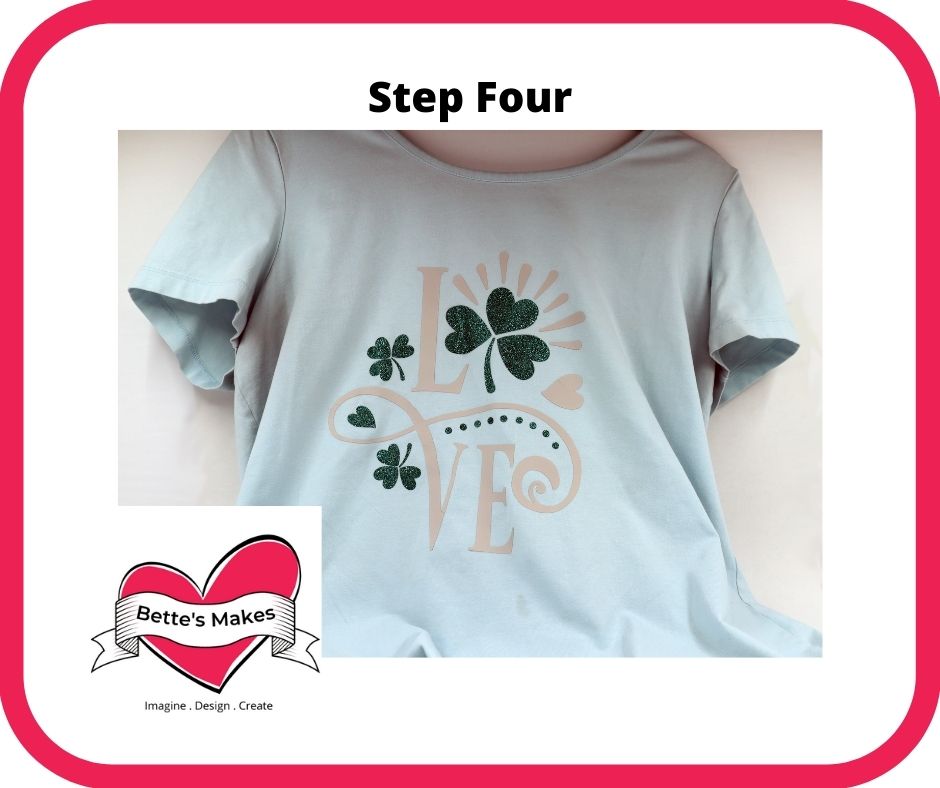
Step Four - The Finishing Touches
Wait for your design to cool if you used a cool peel and then take off the protective layer.
If it is a warm-peel, you will still need to let the design cool a bit.
If your design will not peel properly, wait a little bit longer to see if it peels. If you are still having issues, press it on again.
Share your project in our Facebook group. https://Facebook.com/groups/BettesMakes
More Craft Ideas from BettesMakes
Here are some amazing crafts you can make from BettesMakes.com
This is just a sampling of the dozens of crafts you can find on my website.
Last Word
As with any iron-on project, there are always areas that do not seem to want to stick as they should. The trick is to remain calm and apply additional heat to those areas. It is best to use the Cricut Heat Guide and if there is not enough time allotted, do not be afraid to add more heat. Once the project has cooled down for a cool peel, you will find everything sticks as it should.
I hope you enjoyed this project as much as I did.
If you made a T-Shirt, please share it on our Facebook group. https://Facebook.com/groups/BettesMakes
Until next time,
Happy Crafting!


Please join me on Pinterest: https://Pinterest.ca/BetteMakerCreations
Join my Facebook group: https://facebook.com/BettesMakes
Follow me on Instagram: https://Instagram.com/BettesMakes
Subscribe to my YouTube Channel: https://www.youtube.com/c/BettesMakes

4 replies to "Irish Iron-On T-Shirt"
Hi Bette, I seem to be in a loop, when I click on the asset 315 it brings me back to this page. Can you help?
Carol Ferrier recently posted…Creativity and The Art of DIY
I fixed the link so it should be good now
The link for #315 irish tshirt is not working for me. Seems to just loop
the link is now fixed.