Does layering scare you? Are you ready how to do some simple iron-on layering? Look no further to get you started!

Simple Layered Iron-On Cricut Craft Project
Simple layered iron-on projects should be the first thing you try when learning to layer. With iron-on there are some differences from when you use vinyl. Don't let the fact you will be using mirror scare you off, it is simple once you understand why you need to use it.
Layers can often be daunting when it comes to making projects but taking them one step at a time following the steps in the right sequence will make all the difference in the world.
For today's project you will need to head off to my resource library and pick up the BEE Kind SVG file you need.

Cricut Tips & Shortcuts
Secrets Every Cricut Owner Should Know
Every Cricut owner needs to know these SECRETS in order to save time & money so they can craft more. Insiders know these secrets but do you? Are you ready to make your Cricut work better for you?
Get the insider information you never knew and save money at the same time. This FREE Tip & Shortcut guide will show you how you can have your equipment and machine supplies last longer so you can make even more!
Here’s what you need to make your Simple Layered Iron-On Project. This post does contain some affiliate links for your convenience (which means if you make a purchase after clicking a link I will earn a small commission but it won’t cost you a penny more)! Read my full disclosure policy.

Quick Links to Information in this Post

Simple Layered Iron-On Materials
Simple Layered Iron-On Step-by-Step Guide
Step One - Download the Template
For this simple layered iron-on project there is only one SVG file you will need to download to get started
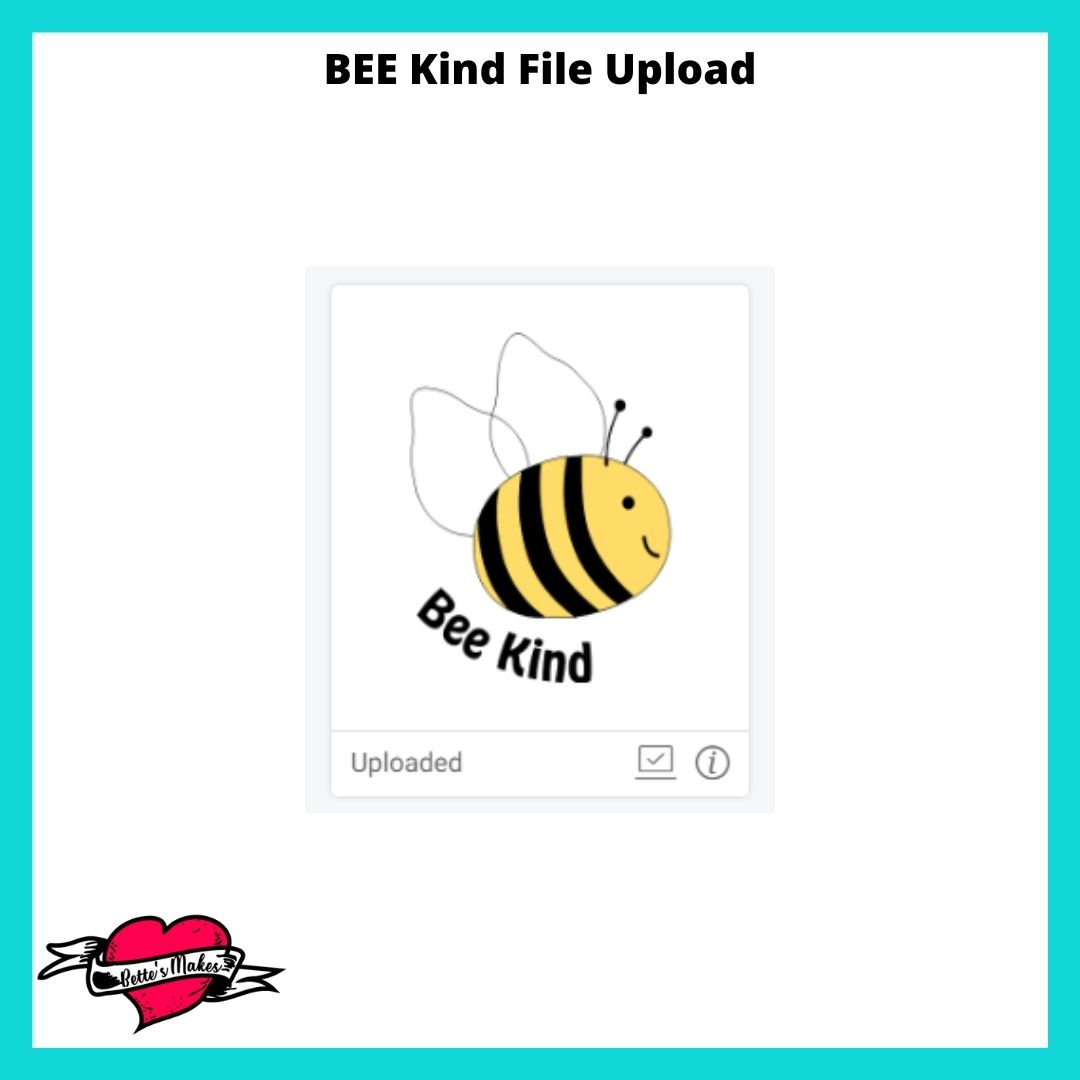
Head over to my resource library and look for: Vinyl - BEE Kind
Download the file then upload it into Design Space.

Step Two - Design Space Adjustments
In this project, we will be making a few adjustments through grouping and welding.
We will also be adding some registration marks to help us line up our layers when applying them to our T-shirt.
First, let's recolor some of the layers so they are going to be easier to see when they are put on the mats for cutting.
1. Ungroup everything
2. Select the body and the words BEE Kind then Weld them together so they become one object.
3. Select all the yellow pieces and Group them together.
4. You will not need to Group or Attach the wings but you do need to make sure they are the same color.
Next, we will add registration marks.
Step Three - Adding Registration Marks
1. Create a small circle and place it just below the wings - make it the same color as the body.
2. Duplicate the circle and place it just to the right of the words. You can give them exact positions using the numbers on the tool bar.
3. Now Duplicate the two circles and make them the same yellow as the stripes. Make sure you place them exactly on top of the other two circles.
4. Select the yellow circles and the yellow stripes then Weld them together. Move the yellow out of the way so you can see the body circles and body.
5. Select the other two circles and the body and Weld them together.
You are now ready to Save your project and click on Make It.

Step Four - Adjusting the Design
Your project will be sorted into Mats and this is where you will need to double check your design and turn on Mirror.
1. Check each mat to make sure everything looks in order.
2. For each Mat, turn on Mirror. You must do this for each mat individually!
3. Select the type of material you are doing to use for the first mat. Remember, you can change the materials for each mat as it is ready for the cut.
For my project I used patterned iron-on and heat transfer vinyl.

Step Five - Ironing On the First Layer
Set your design with the rough side down in the correct placement for your surface (T-shirt). The shiny piece will still be on top.
For me, I like to have another piece of cardstock underneath and on top of my EasyPress mat to protect it from any bleed through. I would suggest that the mat and the cardstock go directly inside the shirt so you are ironing only through one piece of fabric.
Reference the Cricut Heat Guide for the heat settings for this project.
Iron on the first layer. Let it cool down before removing the shiny paper on top. You can always apply more heat if your design does not stick enough.

Step Six - Ironing On the Second Layer
This is the layer where you will add the wings. You can cut the apart at this point to place them in the right position. The center part of the wings will overlap - this will not cause any issues.
Place the extra cardstock on top before applying any heat.
Reference the Cricut Heat Guide for the heat settings for this project.
Iron on the second layer.

Step Seven - Ironing On the Third Layer
The final layer in this design and the reason why we had made the registration marks. Please note that different materials will shrink when you iron them on. This means that your registration marks may not line up perfectly but they will provide a good guide to line up the main part of the design.
I found that the bottom circle was easy to line up and it helped with lining up the main design, My top circles did not match at all (due to the shrinking of the patterned iron-on materials)
Reference the Cricut Heat Guide for the heat settings for this project.
Iron on the third layer.

Step Eight - Show Off Your Make!
You have now completed your 3 layered T-Shirt design! This was a lot easier than most people would think. It is just knowing what to do and when to do it.
Protecting each layer makes the big difference between materials that stick in the wrong places and making a perfect project!
Time to show off your make in our Facebook group!
More Craft Ideas from BettesMakes
Here are some amazing crafts you can make from BettesMakes.com
This is just a sampling of the dozens of crafts you can find on my website.
Simple Layered Iron-On Video
Last Word
This layered iron-on project was a lot of fun to make, it had 3 layers to work with. The idea of layering is often the scary part, but once you understand how to place and protect the layers, it becomes quite easy.
The biggest issue I had was putting on the winds, I think it might have looked better with the wings underneath the body of the bee!
I hope you enjoyed this project as much as I did.
If you made a T-Shirt, please share it on our Facebook group. https://Facebook.com/groups/BettesMakes
Until next time,
Happy Crafting!


Please join me on Pinterest: https://Pinterest.ca/BetteMakerCreations
Join my Facebook group: https://facebook.com/BettesMakes
Follow me on Instagram: https://Instagram.com/BettesMakes
Subscribe to my YouTube Channel: https://www.youtube.com/c/BettesMakes
