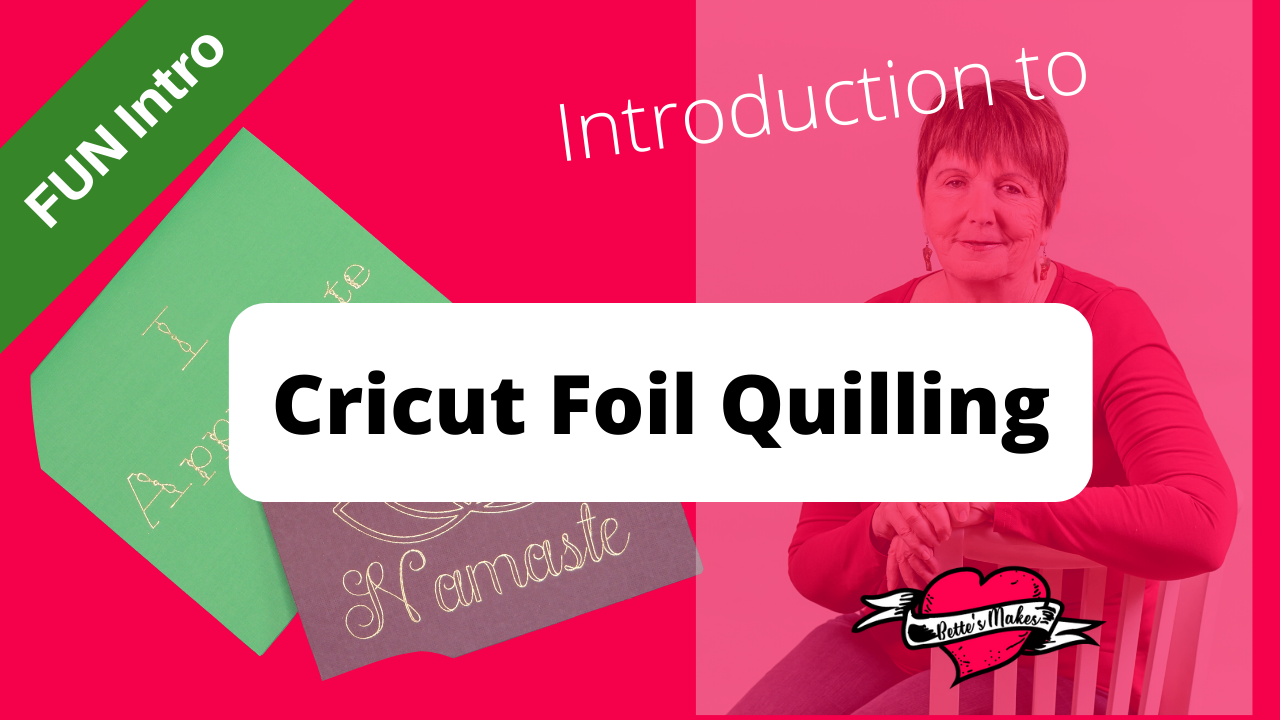

Foil Quilling and Your Cricut
Foil Quilling and using your Cricut is the perfect way to embellish paper crafts. I just want to caution anyone who wants to use the foil quill pens with their Cricut machine. This is a 3rd party add-on and it will void your warranty on your machine if anything goes wrong. Having said that, I used my Explore Air 2 which has passed the warranty period, and I had no issues as long as I followed the procedures shown in this blog article.
To start, you may wonder what the Foil Quilling pens are all about. You have probably seen them in action but may not have much experience with them. There are some cautions that you will need to aware of but after that, let your creative minds flow!

Here is the link to Foil Quilling from We R Memory Keepers
Amazon has a lot of the foil you need as well. I did purchase some of mine at Michael's and used a 55% off coupon to buy mine. It was a really good deal. Just thought I would mention the possibility of finding a deal to save money. I am quite aware that crafting can be an expensive hobby but when you can save money on supplies, I am the first in line!
Quick Links to Information in this Post
Here’s what you need to make your Foil Quilled Card. This post does contain some affiliate links for your convenience (which means if you make a purchase after clicking a link I will earn a small commission but it won’t cost you a penny more)! Read my full disclosure policy.

Foil Quill Card Materials
Foil Quill Card Step-by-Step Guide
Step 1 - Preparation


Please make sure you understand that using third party equipment on your Cricut machine will void the warranty! If you are OK with this, then you can proceed with these steps. I am not responsible for anything you do to your machine, this is entirely up to you to remove parts. Proceed at your own risk.
Before we begin you will need to remove the housing that holds the pen. This will allow you to place the foil quill heat pen in place.
To remove the pen housing, place your fingers in the center bottom of the housing and push in towards the center. At the same time pull the top of the housing. This should release the housing and it will come right out.
Use the correct clamp for your foil quill heat pen. For the Cricut, it is clamp C. Twist the clamp onto the heat pen - for this project, I used the medium heat pen.
Next, place the pen into the pen holder of your machine and press firmly into place. Do not jam it down, so be gentle, it will only go down as far as it needs so you do not need to force it in place.
ESSENTIAL: Place the heat shield under the heat pen tip. This will prevent any damage to your cutting machine.
Plug the heat pen into a USB port on your computer and wait 5 minutes for the pen to heat up. You are now ready to use the pen.
Step 2 - Design Space Adjustments

There is no template for this project as you will be creating a saying of your own on a basic card.
Open Design Space and use a writing font to create a saying. You will need to be careful to keep the dimensions under 5 x 3, just to be one the safe side.
You can also cut your card at the same time.
The machine will first use the heat pen to foil quill, then will cut the card.
Step 3 - Make it!

If you are cutting a card and foil quilling at the same time, make sure you attach the text or design to the card. I used 2 designs, one an outline of an image, and a text saying.
When you click on Make It!, check over your mats to make sure everything lines up the way you want it. If it does not, go back and adjust your text, images, and card on the canvas.
PREPARING YOUR MAT
Place your card stock or other material on the mat as you normally would do so.
Using your Washi tape (painters tape), tape down the foil in the correct position. You will need to stretch out the foil so there are no wrinkles and tape it down on all four sides. Always double check the placement of the foil.
One precaution here: do not place tape over the area you will be foil quilling. If you do, your results will not be perfect and there will be blotches.
SETTING THE MATERIAL
Set the material for the cardstock and not the foil! The foil quill works at its best when you set your materials for the bottom layer. So you could foil quill more than just cardstock.
MAKING IT
When you are ready to start the cut and quill, remove the heat shield, then load the mat as directed.
Step 4 - Final Steps
Once everything is quilled and cut, carefully remove the Washi Tape from the foil, and gently lift the foil away from your project.
Next, remove your card, fold and burnish it, then admire the results!
Share your project on https://facebook.com/groups/BettesMakes
More About Foil Quilling
Foil Quilling is easy once you have the techniques down. There are so many places you can use the technique. You con't always have to use your Cricut, you can use one of the handheld foil quilling heat pens to create even more amazing things. Each project can be embellished in a different way. You can edge flowers, make special wedding invitations, and add flare to any paper craft. For fun, I found these books that will give you many more ideas. Browse through them, just to inspire you.
For an actual book on Foil Quilling, nothing really hit the mark, but I did find these as great inspiration. I hope you can get some ideas from these, like I did.
Mad About Metal: More than 50 Embossed Craft Projects for Your Home
Introduction to Foil Quilling Video
Last Word
This card was a lot of fun to make, and the results were exactly as I expected. Even though the design I used was simple, I was more interested in making sure my new Foil Quill heat pen would work with my Explore Air 2. When putting something like this in any Cricut machine, you have to make sure you are aware of the warranty issue. I generally do not buy second market materials, or supplies, but in this case, there was no other option.
I was very careful in how I removed the pen housing so that I could easily put it back in place. It did take some fiddling around to get the housing out, but it did come out cleanly with the right effort and angle. One thing I did notice was the fact that my housing did not want to let go, I truly struggled getting it out. Even with all the support help, it was still stuck in place. My fingers are very sensitive to squeezing so I used my pliers to pull up and my fingers to push the claws to the center - that finally worked.
One everything was in place, I made sure I used the heat shield to protect my machine. After the heating period I did not find any other issues. It worked like a charm. So now it is time to start making much more with my Foil Quill Heat Pen from We R Memory Keepers!
I hope you enjoyed this project as much as I did.
If you made a card, please share it on our Facebook group. https://Facebook.com/groups/BettesMakes
Until next time,
Happy Crafting!


Please join me on Pinterest: https://Pinterest.ca/BetteMakerCreations
Join my Facebook group: https://facebook.com/BettesMakes
Follow me on Instagram: https://Instagram.com/BettesMakes
Subscribe to my YouTube Channel: https://www.youtube.com/c/BettesMakes
Please pin the following image to your favorite board, so you can access this tutorial at any time.
