Want to know the best gift box to make?
This one is super easy and you will absolutely LOVE it!

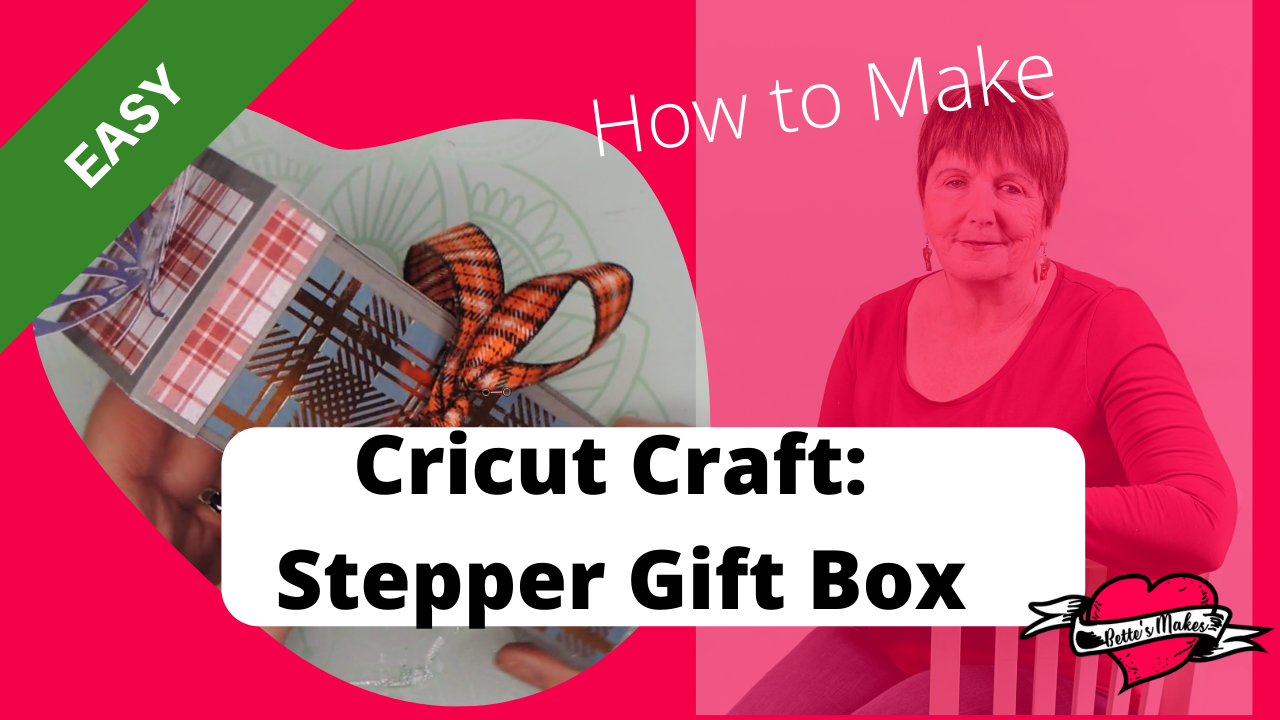
Stepper Gift Box
I love reading through crafting magazines, especially those that focus on cards and paper crafting! Reading through Simply Cards & Paper Crafting gives me so much inspiration. Many of the makes are not done with a cutting machine, so it is ruler and scissors all the way. Me, being me, had to convert this Stepper Gift Box into a project where I could use my Cricut! After hours of fiddling around trying to get all the dimensions, number of cuts, and score lines in place, I finally ended up with a design that works!
I am super happy with the results as I know you will be when you make this fantastic gift box.
In this article I am sharing with you my template for the Stepper Gift Box, along with the instructions on how to assemble the box! See below for details.

Quick Links to Information in this Post
Here’s what you need to make your Stepper Gift Box. This post does contain some affiliate links for your convenience (which means if you make a purchase after clicking a link I will earn a small commission but it won’t cost you a penny more)! Read my full disclosure policy.

Stepper Gift Box Materials
Stepper Gift Box Step-by-Step Guide
Step 1 - Template

Download the template files (resource library) for this project and upload them to Cricut Design Space.
There will be 3 files:
1. Step Box 1 (the bottom of the box)
2. Step Box 2 (the lid and inner boxes)
3. The instructions on how many pieces to cut
Please note that you will need to decide on what colors you want for your boxes on the inside, the decorations for the outside, and the top.
Step 2 - Design Space Adjustments


You will need to make adjustments to the SVG files so that the score lines are in place properly. You will also want to make changes to the colors of the pieces so that they will be on different mats for all the colors you pick. You can have more than one piece of material on each mat, but that is entirely up to you. I tend to get cheap with my materials so often will use some scraps to cut the smaller pieces (as long as they match the overall design of the project).
Before you begin to make the changes, you may want to adjust the colors so the lines are easier to see. For some reason Design Space loves making everything black!
BOX BOTTOM CHANGES
For the bottom, you will need to set the four interior lines to score lines (see the diagram on the right). Don't forget to attach the score lines to the box bottom. This is to make sure everything stays in the right place.
BOX BOTTOM DECORATIVE RECTANGLES
1. Duplicate the large rectangle (this will be the decorations for the bottom of the box) until you have 10 copies.
2. Set aside some cardstock that you will use for these. Try and pick a contrasting color to the solid color for the bottom of the box.
BOX LID AND DECORATIONS
The box lid should be the same color as the box bottom, but the decorative pieces can be any design you wish.
You will only need 1 box lid and 1 square as the decoration for the top. For the box lid, you will need to align the lid to the back so you can see the other lines - change these lines to score lines. Now attach the score lines to the lid.
Duplicate the small rectangles until you have 4 pieces. These will fit on the outside parts of the lid.
You can pick any decorative cardstock to match with the box bottom decorative pieces.
STEPPER BOXES AND DECORATIONS
You will be making 4 stepper boxes for the inside. Before you duplicate the boxes, change the inside lines to score lines, attach the score lines to the box.
Now make sure you have 4 copies of the boxes.
For the stepper box decorations, you will need 6 pieces for each box. 4 for the outside, and one for the inside.
This means you will need 20 pieces in all. Duplicate the medium sized rectangle until you have 20 copies.
LAST CHECK IN DESIGN SPACE
Check to make sure all of your score lines are attached to an object.
Hide the instructions - you don't want these to be printed or cut!
Choose colors for your pieces - remember the colors will stick together on one mat. I chose a dark gray for my box bottom, lid, and stepper boxes.
I also chose a green tartan for the decorations for the box bottom and a different tartan for the stepper boxes and lid.
The color choices are up to you - mix it up a bit and see what you can create!
Step 3 - Make it!

Check your mats and the processes to make sure all the lines are being processed correctly. In other words, make sure you are scoring and perfing in the right locations, while cutting is only the outside of each shape.
Also check you mats for orientation of the rectangles - if you are using a striped paper, you will want to have the stripes all going in the same direction (yes, I did make this mistake a couple of times).
Step 4 - Assembly


Here is the fun part - the place where you will get glue all over your hands! I somehow always manage to stick myself plenty of times! If you have some tricks to keep the glue in the right place, please send me a message!
BOX BOTTOM
The first piece we will finish off is the box bottom. We will be placing the long decorative strips in each of the 5 panels of the box.
1. Crease all the scorelines.
2. Glue each decorative strip so it is centered on each panel. The top and the bottom will be even, while the sides will have a small part of the box bottom showing - see the image on the right. Set it aside to dry.
BOX TOP
You will be applying the decorations to the box top before you glue the top together. This makes it much easier to handle the small rectangles!
1. Fold all the score lines as valley folds (fold them all in the same direction).
2. Glue the square piece on the outside of the lid (not the side where the folds are facing up).
3. Glue the small rectangles on each of the lid sides - center them in place and glue them down.
4. Flip the lid over and apply glue to the flaps. Glue the side that is folded in so it will attach to the inside of the adjacent side. See the diagram for more clarity.
Your lid is now done unless you want to add more decorations to the top. I added a pre-cut butterfly to mine.
STEPPER BOXES
Once again, you will be creasing all the scorelines in the same direction, then flipping the box over to add the decorations.
1. Place a medium sized rectangular piece on each of the stepper box sides.
2. Flip the box over and place the 5th decorative piece to one of the sides that has flaps.
3. Place glue on the outside of each flap and glue it to the inside of the box. See the diagram for more details.
PLACING THE STEPPER BOXES
Here is the fun part and it is really easy to do once you get the hang of it!
1. Take one of the stepper boxes and place it at the bottom of the second panel of the box bottom
Make sure the decorative piece on the inside is at the back (it will be the one that is closest to the box bottom).
You will only be gluing one side to the box bottom/
2. Glue the backside onto the box bottom. Make sure it lines up perfectly with the bottom of the box bottom.
For the second box, place it above the first box you glued in place. Shut the box to make sure it fits properly before you glue it in place.
This time you will be gluing the decorative side to the third panel.
For the third box, place it just above the second box and make sure the box bottom still closes.
Glue the decorative back to the 4th panel.
Finally, you will be adding the last stepper box. Check to make sure it is in the right position, then glue it in place on the fifth panel. It should line up perfectly with the top of the box bottom.
SHOW OFF YOUR WORK
Once the glue has dried, roll up the stepper gift box, put on the lid and tie some ribbon arund it to keep it closed.
Oh, yes, i forgot to mention, you are supposed to add treats inside each of the four stepper boxes - I like dark chocolate in mine - how about you?
I want to see what you make - I love new ideas from my readers.
Share your project on https://facebook.com/groups/BettesMakes
How to Make a Stepper Gift Box Video
Last Word
Even though the project looked complicated, once the design was figured out - the rest was easy sailing! I found this project quite easy to put together as I hope you do as well. My biggest issue was making sure the inside boxes lined up perfectly so the lid would fit!
I love making these types of projects, they make me look like I am really good at making things people love.
I hope you enjoyed this project as much as I did.
If you made a stepper gift box, please share it on our Facebook group. https://Facebook.com/groups/BettesMakes
Until next time,
Happy Crafting!


Please join me on Pinterest: https://Pinterest.ca/BetteMakerCreations
Join my Facebook group: https://facebook.com/BettesMakes
Follow me on Instagram: https://Instagram.com/BettesMakes
Subscribe to my YouTube Channel: https://www.youtube.com/c/BettesMakes
Please share this image to your favorite Pinterest Board so you can access this article at any time.
