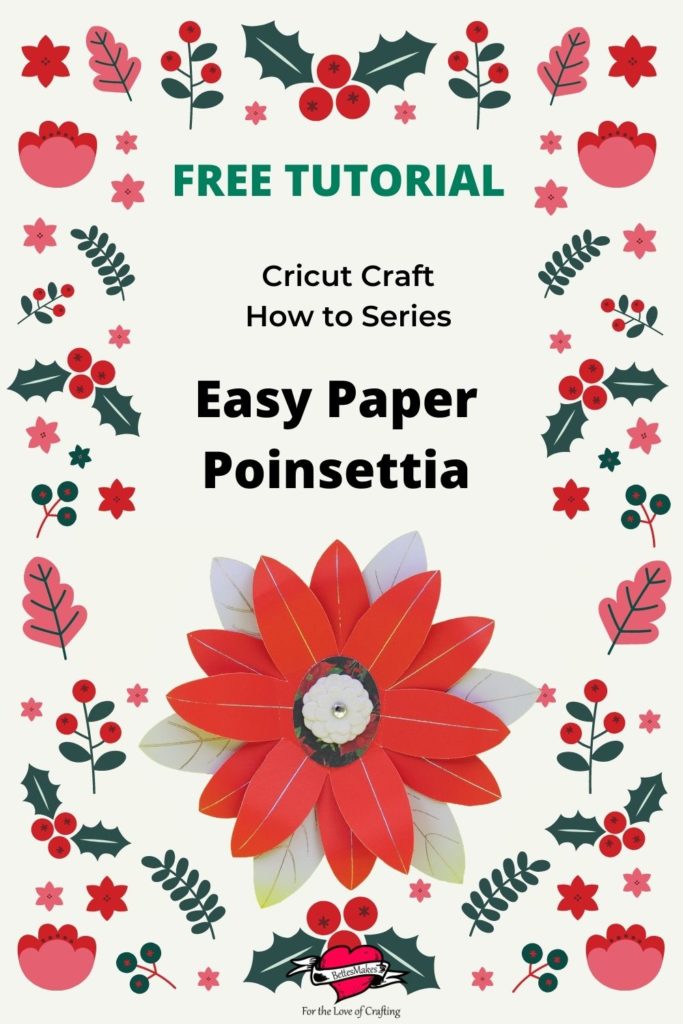
Make this Easy Paper Poinsettia
Do you love making paper flowers and want to add a Poinsettia to your mix? If you like nice simple projects that really can add so much to your decorating, then this project is something you will absolutely love. I used my Cricut (Maker but you can also use your Air 2 or Joy) to cut this project and tried a couple of ways to decorate the petals and leaves.
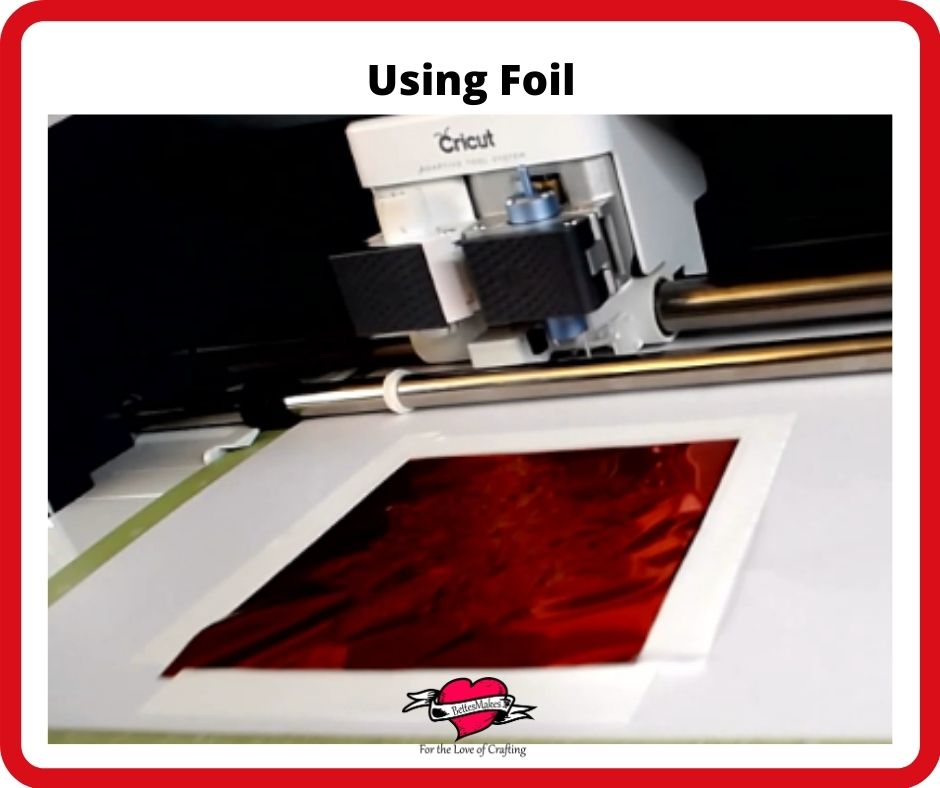
If you wish you can foil (if you have the foil kit) the drawings if you have an Air 2 or Maker or you can simply draw with a gold or other colored pen.
I like the foiling but the results from drawing are also amazing.
Here’s what you need to make this gorgeous poinsettia. This post does contain some affiliate links for your convenience (which means if you make a purchase after clicking a link I will earn a small commission but it won’t cost you a penny more)! Read my full disclosure policy.
Quick Links to Information in this Post
Easy Paper Poinsettia Materials
Easy Paper Poinsettia Step-by-Step Guide
Step One - Download the Template
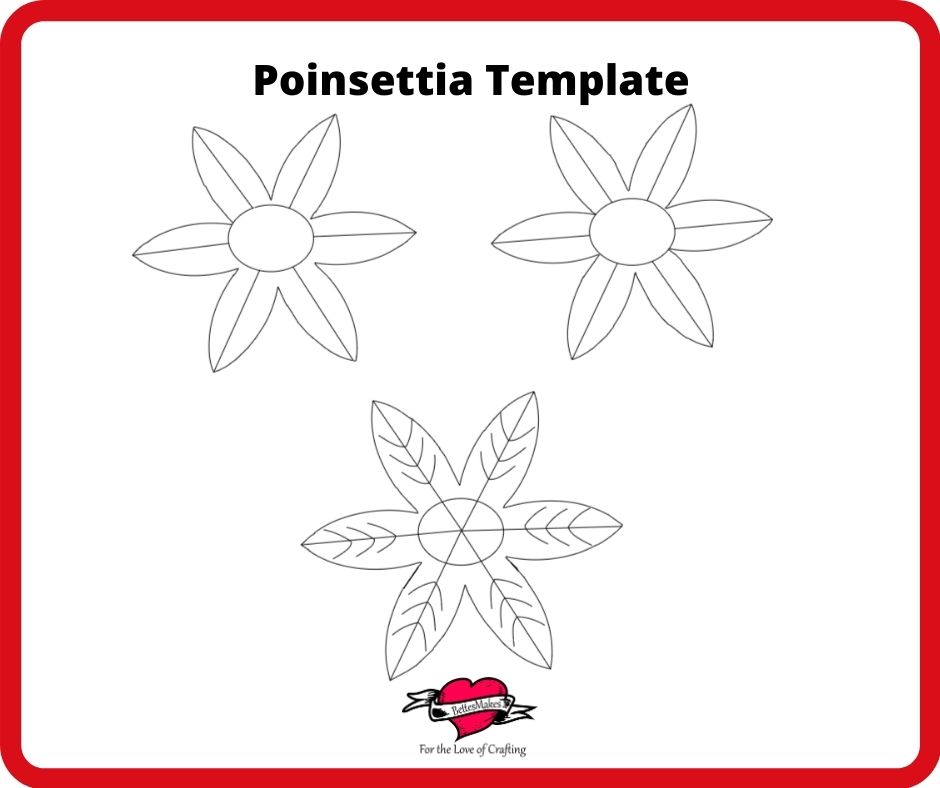
The template (#289) for this project has 4 pieces. Two flower petals, one set of leaves, and a set of circles.
The circles are optional but can go a long way when decorating you poinsettia.
Step Two - Design Space Adjustments
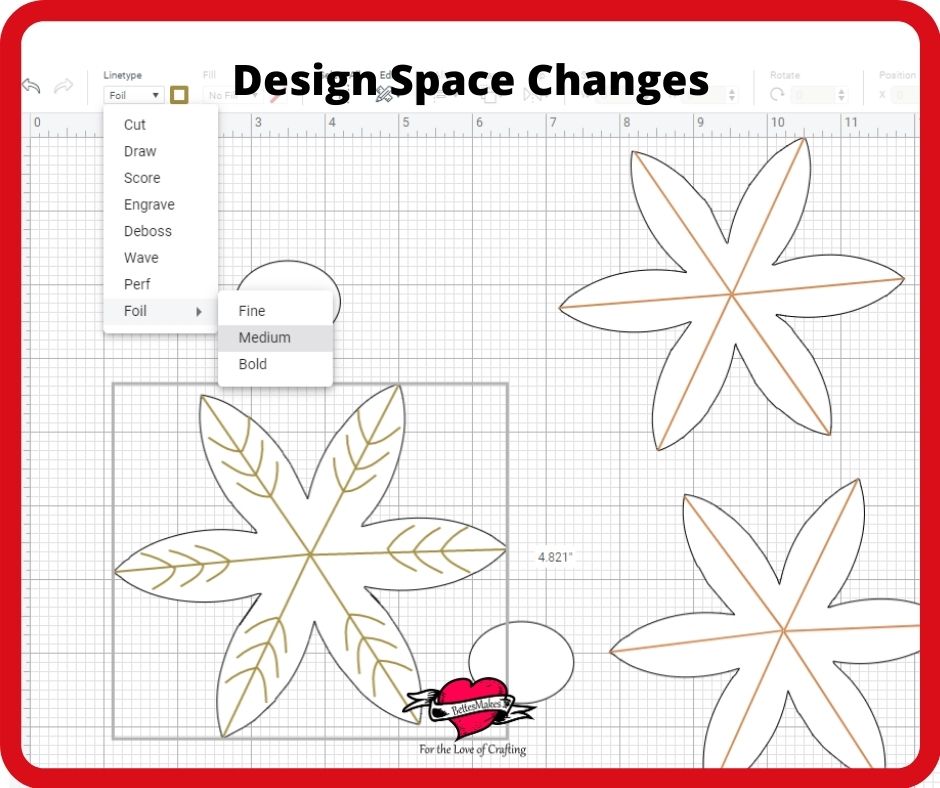
This project has been preconfigured for you and the draw lines have already been put in place. See the diagram for details.
the only adjustment here is whether you want to use your foil kit instead of a pen for accenting the petals and leaves.
You can set the leaf draw to a different color from the petal draw to set them apart. For the example, I used gold for the leaves and silver for the petals.
Step Three - Choosing You Materials
For the leaves you will want to use a cardstock that is white on one side and has a holiday pattern on the reverse side. This will give the leaves a white look on top and have an incredible design on the back side.
As for the petals, I used a red cardstock that has color on both sides.
Pens - the gold and silver pens from Cricut are perfect for this and if you can use a medium tip, all the better.
If you are going to Foil, use a gold foil for the leaves and a silver foil for the petals. The effect is amazing.
Step Four - Cutting
Change the settings of your material to match the type of cardstock you are using. For this project, I set it to medium cardstock.
Follow the directions in Cricut Design Space for tool and pen changes.
Step Five - Assembly and Adding the Brad
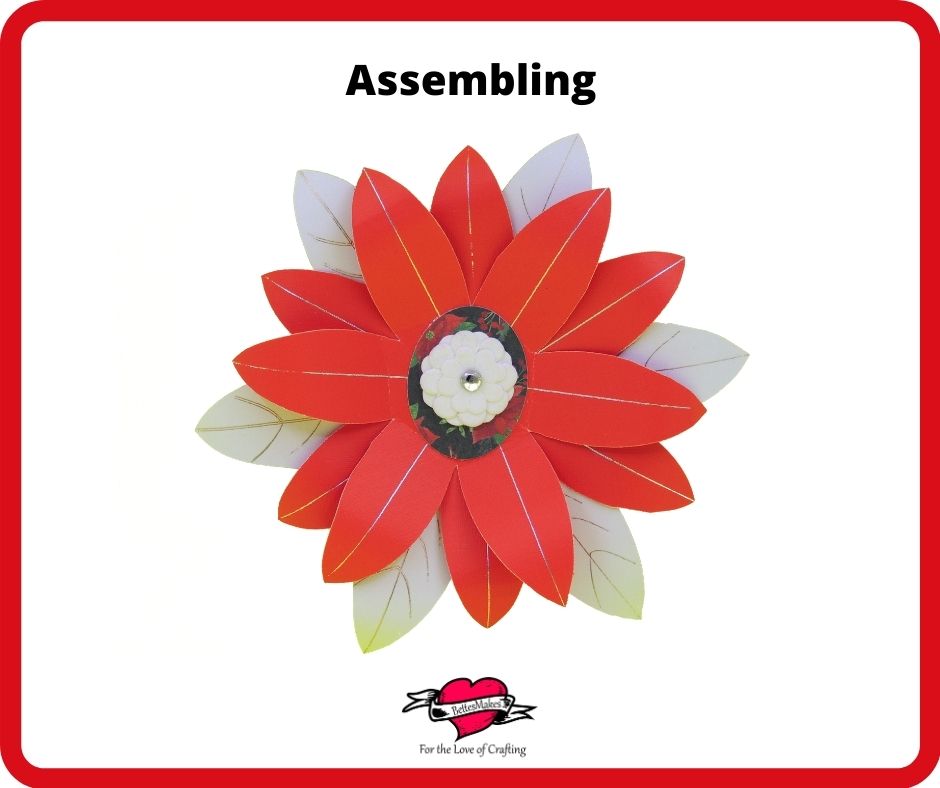
Place the leaves on the table and then add one set of petals on top with the petals offset from the leaves.
Glue the centers together.
Add the next set of petals and offset them again. Glue them in place
Finally, glue one of the circles in place.
Punch a small hole in the center of the assembly making sure it is large enough to insert your brad.
Insert the brad through the center and spread the ends apart in the back to hold it in place.
You can then decide if you want to glue one of the circles over the ends of the brad on the back to hide the hardware.
Step Six - Finishing Touches
For this step you will be curling each petal and leaf to give your poinsettia a more realistic look.
Start with the outer petals and curl them backwards around your dowel, then bend the petal up towards the middle.
Repeat that process for the next set of petals and the leaves.
Take a photo and share you make in my Facebook group. https://facebook.com/groups/BettesMakes
More Craft Ideas from BettesMakes
Here are some amazing crafts you can make from BettesMakes.com
This is just a sampling of the dozens of crafts you can find on my website.
Disney: Storybook Collection Advent Calendar
Last Word
This easy paper poinsettia is amazing and you can add it to a garland, have several as a centerpiece or simply attach them to any wall. They are amazing decorations.
You can change up the look with using different style brads or even making up your own!
There is nothing like making your own projects and as for DIY Paper Flowers, this one is fantastic!
I hope you enjoyed this project as much as I did.
If you made a poinsettia, please share it on our Facebook group. https://Facebook.com/groups/BettesMakes
Until next time,
Happy Crafting!


Please join me on Pinterest: https://Pinterest.ca/BetteMakerCreations
Join my Facebook group: https://facebook.com/BettesMakes
Follow me on Instagram: https://Instagram.com/BettesMakes
Subscribe to my YouTube Channel: https://www.youtube.com/c/BettesMakes
