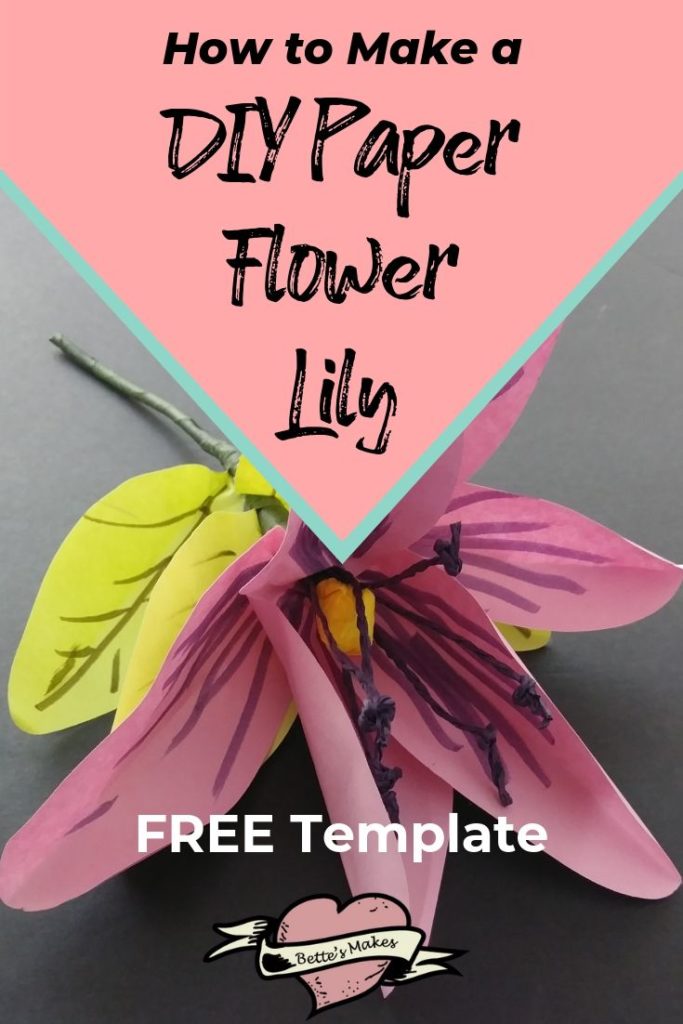
DIY Paper Flower Baskets of Lilies
DIY Paper Flower Lily is the third project in our series using The Top 7 Simple & Cheap Tools You Need Right Away to Get Started Paper Crafting. The first two flowers in this series were Project #1 – Poppy and Project # 2 Peony. Each has brought a unique perspective to making flowers without expensive cutting machines. DIY Paper Flower projects do not need to be expensive, they just need to be FUN!
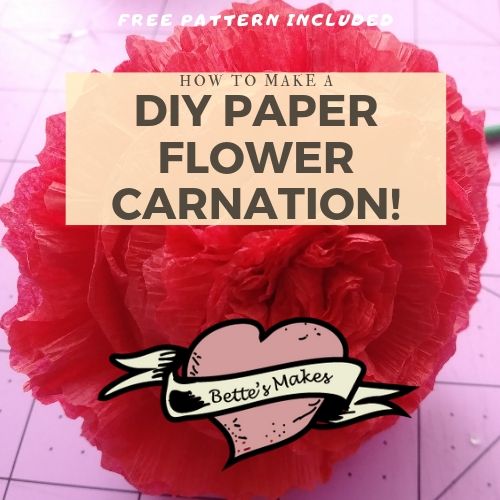
Project #1
Here we used needle and thread plus other simple tools to make this gorgeous carnation.
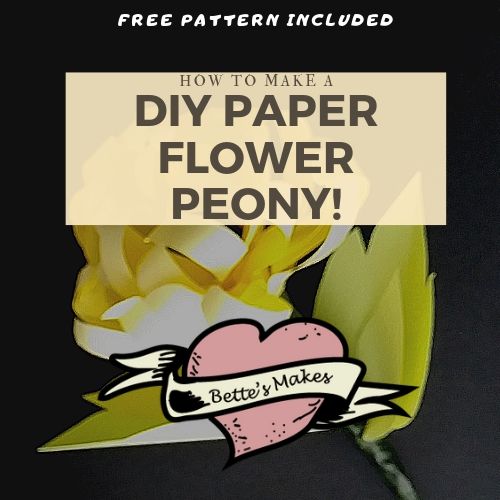
Project #2
This project requires paper, scissors, glue, and floral tape. Are you ready to make this amazing Peony?
Quick Links to Information in this Post
- DIY Paper Flower Lily Materials
- Step-by-Step Guide to Making a DIY Paper Flower Lily
- From the Bookshelf
- DIY Paper Flower Lily Video
- Lily Template for this project
Resource Library
My resource library is open to anyone and when you enter your email into my address book, you will have complete access to all my FREE files: PDFs, Cut Files, Patterns, Templates, eBooks, and more. You will also get my weekly newsletter and regular updates. Visit the resource library often to get the latest from BettesMakes.com
Here’s what you need to make your own DIY Paper Flower Lily. This post does contain some affiliate links for your convenience (which means if you make a purchase after clicking a link I will earn a small commission but it won’t cost you a penny more)! Read my full disclosure policy.
DIY Paper Flower Lily Materials
As this project is made specifically for using hand tools rather than cutting machines, you will find most of these tools around your house. There is nothing expensive to buy.
- 65 lb bond paper (you can use lighter weight paper but I found this weight worked the best). I used one color for the petals and one color for the leaves.
- Stem – I used rubber-coated garden twist ties from the dollar store.
- Floral Tape – feel free to use other materials, however, floral tape keeps the petals and leaves in place without much fussing around.
- Glue.
- Cotton Ball to use for the stamen.
- Crepe-Paper squares (3 or 4-inch squares work best. You can use streamers if that is all you have.
- Crepe-Paper rolled into thin strips for the stamen. This is where streamers are perfect!
- Lily Template for this project
Step-by-Step Guide to Making a DIY Paper Flower Lily
This lily was easy to make and I know you will also find it easy to do. This is a perfect project for the whole family – time to get the kids interested in DY Paper Flowers.
Step 1
Download the template from the resource library.
Step 2
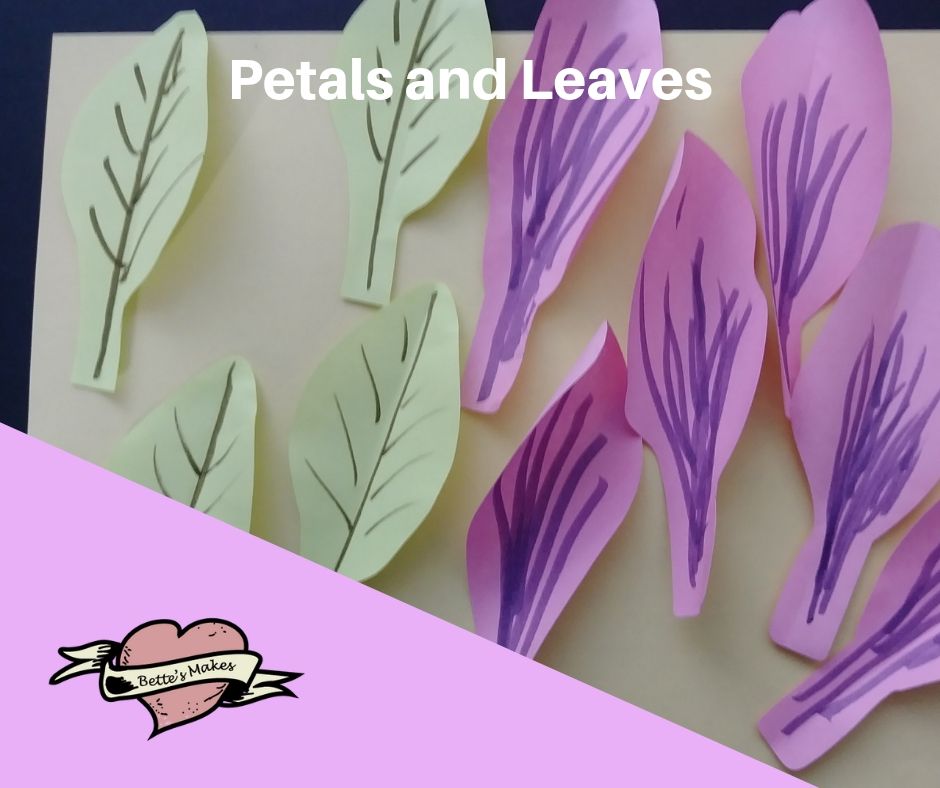
Cut out the petals and the leaves – you will want to have 6 petals and 4 leaves. Fold each petal in half, length-wise and do the same for each leaf.
Step 3
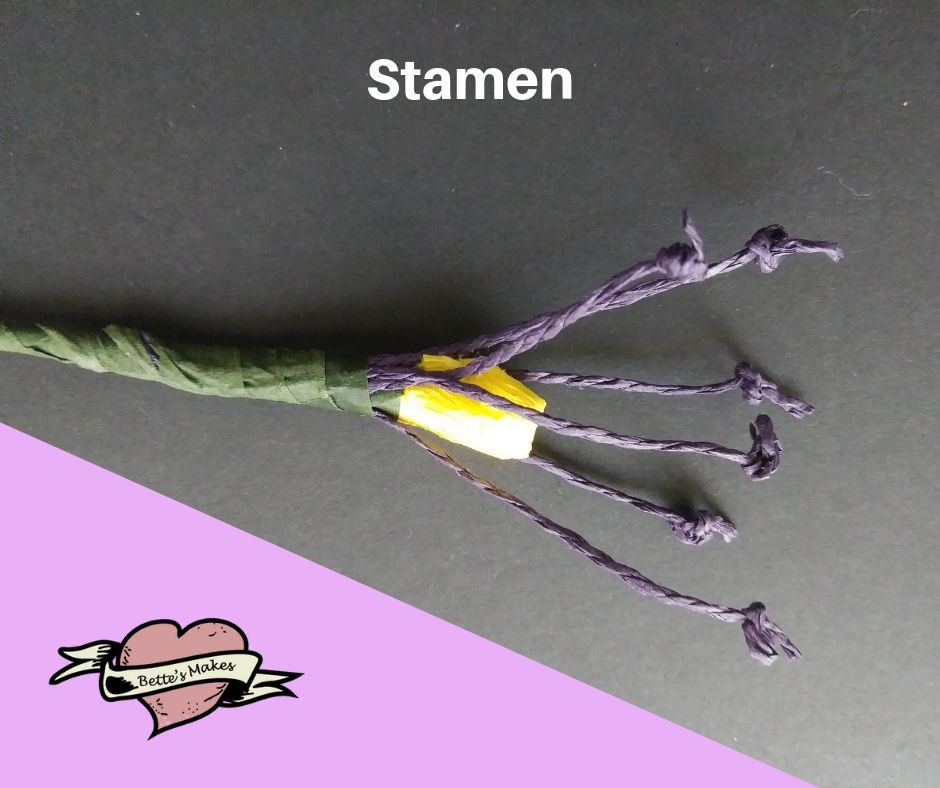
Assemble the stamen. Put the cotton ball on the end of your stem and glue it in place. Next, cover the cotton ball with one of the black crepe-paper squares and glue it in place. Finally, glue the second piece of crepe-paper over top of the first piece. Now you have completed the center portion of the stamen.
Roll 6 pieces of crepe-paper (6″ long pieces that are around 2″ wide) into thin stem-like shapes. Tie a knot at one end (1/4″ down) of each piece and then bend the piece at the knot at 90 degrees. These will make the seed parts of the stamen.
Glue or use floral tape to put the 6 pieces uniformly around the stamen ball – this will complete your stamen.
Step 4
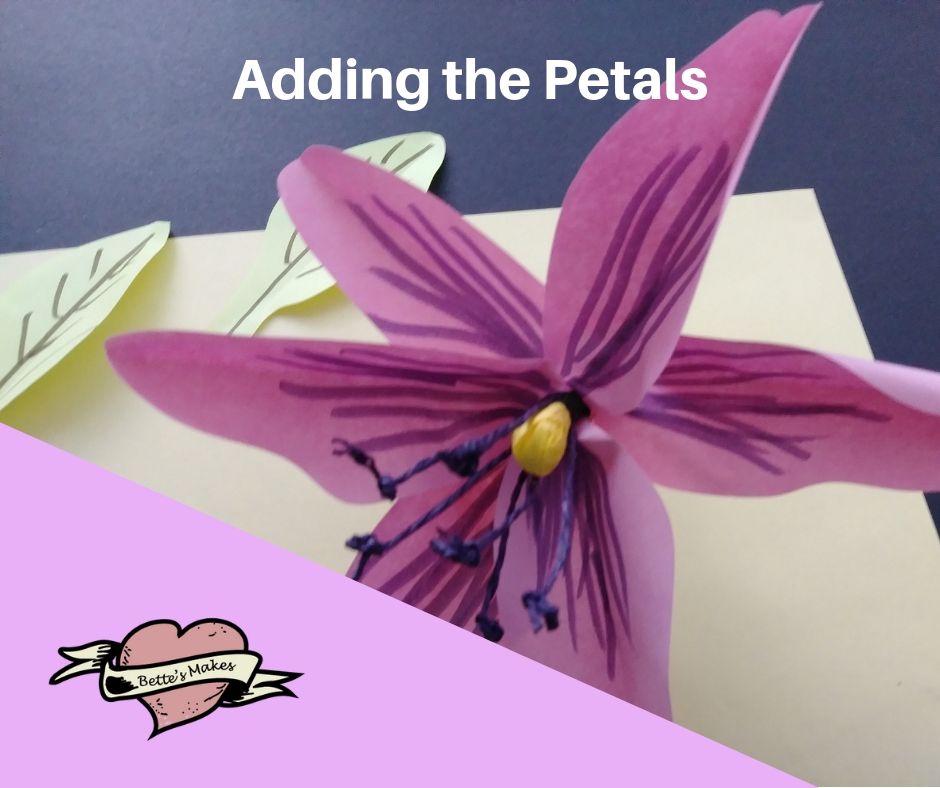
For the petals, I started with adding a bit of color to the center points and drew lines to give the petals a little more of a realistic look. To add the petals to the stem. Starting just below the stamen, glue or use floral tape to secure the petals all around the stem. Try to spread them out evenly to give your flower a lily look. Secure everything in place with floral tape before moving on to the next step.
Step 5
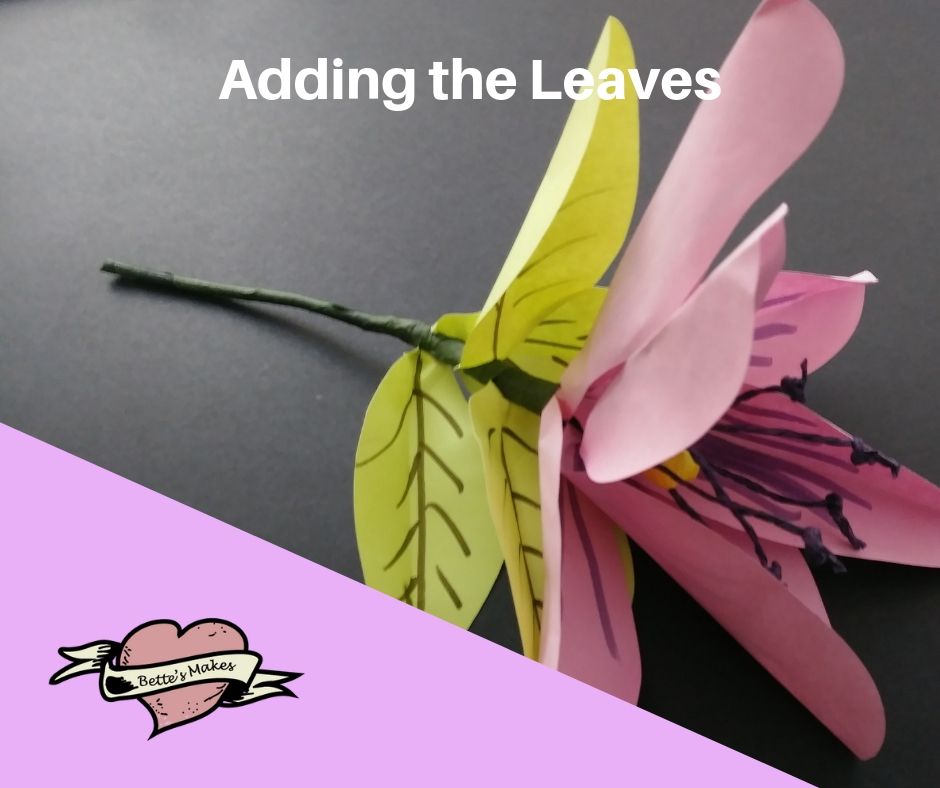
In this step, you will be adding the leaves to the stem. I use “double” leaves in this project to give a fuller look to the project. Place one of the smaller leaves inside one of the larger leaves and tape or glue the stem parts together. Repeat for the second leaf. Just a note – you can add the leaves separately so that you have four.
Place the first leaf on the stem, approximately 1 to 2″ down the stem from the petals and secure it in place.
Place the second leaf on the opposite side of the first leaf and down an inch or so, then secure it in place.
If you are adding the leaves as singles, then repeat the process twice more.
Step 6
Everything should be in place and before we finish off the flower, make sure all of the pieces are where you would like them to be. If they are not, twist them into place.
Take your floral tape and start at the top of the stem and approximately 1/2 to 1″ up the petals and twist the tape all the way down to the bottom of the stem. This will give your flower a finished look.
Step 7
Trim off any loose pieces of tape from the stem and fold the leaves and petals out to make your lily.
Check the video below if you have any issues.
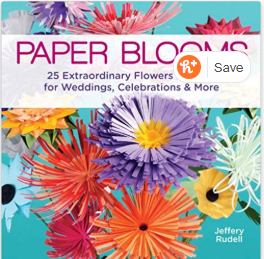
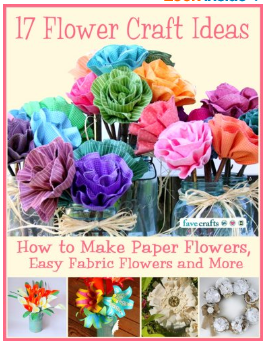
From the Bookshelf
I love reading books for inspiration! DIY Paper Flowers are a trending topic these days and not all books are created in the same way. Out of the list of many books, these are the ones that have my attention. Click any of the links provided and “look inside” to see if you also get some great ideas!
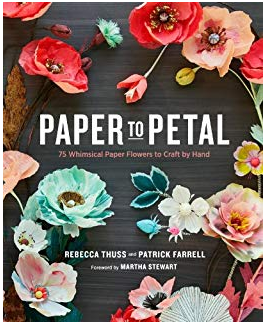
Paper to Petal
DIY Paper Flower Lily Video
Videos sometimes make projects easier to understand. This video uses all of the materials we have outlined in my guide and gives you a chance to see how the DIY Paper Flower Lily was made from scratch.
For all of my videos. I try to make the steps easy to follow along. I do hope you will enjoy this one.
One last thing about the video – PLEASE take time to subscribe to my channel! This way I can continue to add more with each crafting project I create. Thanks in advance!
Last Word
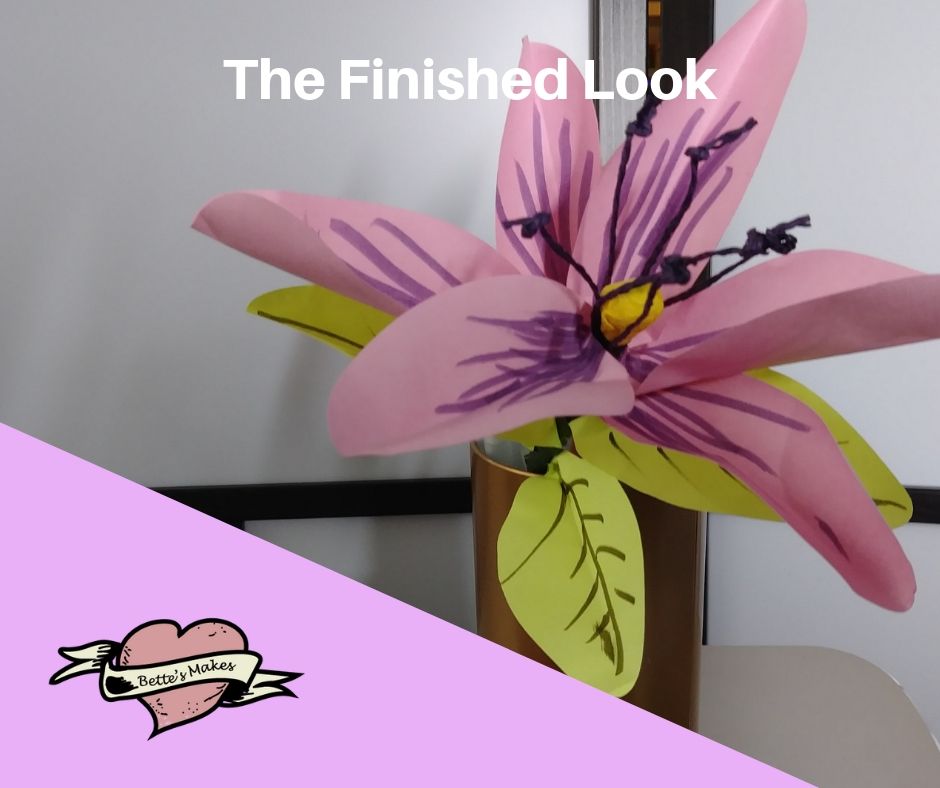
The DIY Paper Flower Lily was fun to make and my family got their hand into making a few as well. I managed to make two of them and have added them to my vase of handmade paper flowers. I often look back at the flowers I have made and see which ones are incredible makes! I also found a couple that were not stellar but were considered learning experiments! I am sure we all have some of those!
This lily looks great and to change things up, you can actually using printed design papers for a great look. These lilies are perfect for home decor and will make a fantastic addition to any vase! Make several using different patterns (you could color coordinate them – see my article on Color Palettes) or colors.
Resource Library
Don’t go anywhere without signing up for my FREE resource library! You can click on the Library menu at the top of the page or simply navigate your way to the library page through this link. The resource library contains dozens of absolutely free of charge files you can use in any of your craft projects.
Most of us are thinking about what we want to make next and if you like paper mache clay, then watch for my next post! I think you will absolutely love making some amazing animals with my designs!
Until next time, Happy Crafting!

Pinterest: Pinterest.ca/BetteMakerCreations
Instagram: Instagram.com/BettesMakes
Group: Facebook.com/groups/BettesMakes
Facebook: Facebook.com/BettesMakes
YouTube: https://www.youtube.com/cc/BettesMakes
Like this post? Then pin it to your favorite board! You can refer back time after time without losing track.