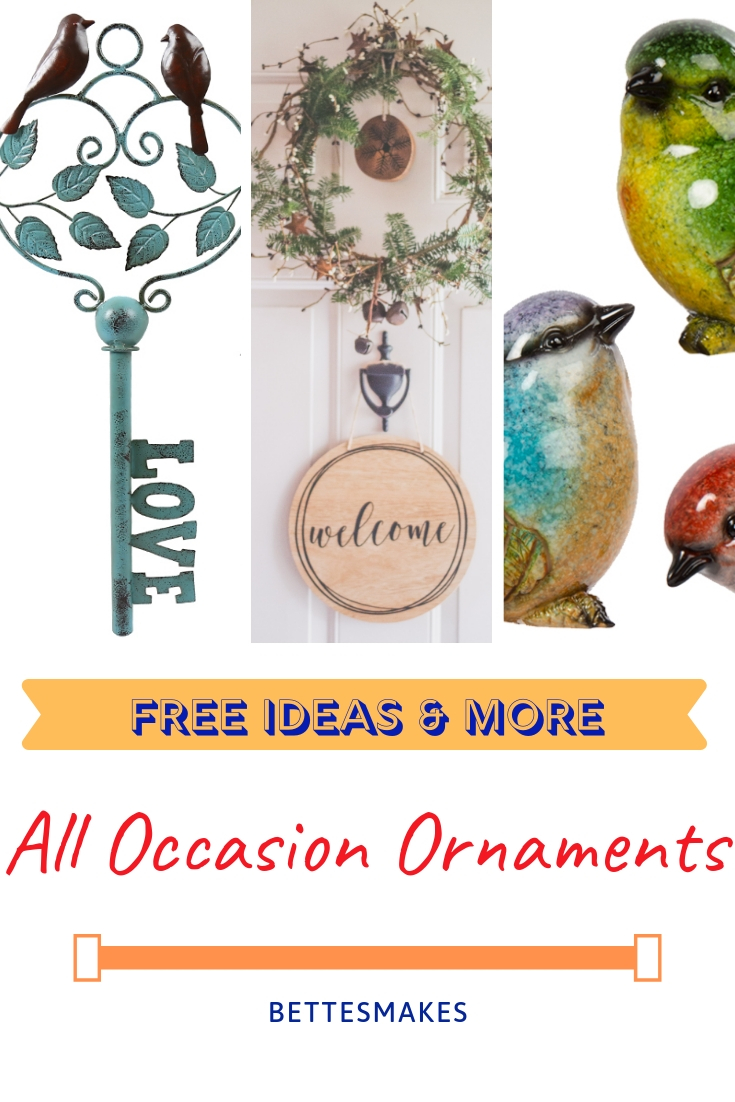
All Occasion Ornaments
Most people think of Christmas when I tell them that my craft today is making ornaments. Images of snowmen, stars, balls, and snowflakes fill the air. The smells of gingerbread and apple cider awaken the most vivid imagination when it comes to making your own ornaments.
Christmas ornaments are great, however, creating ornaments you can use all year round is even better. Today we are going to explore several types of ornaments that are great for the backyard BBQ area, your office, and even throughout your home. You are about to see what types of ornaments you can make to add to your crafting expertise.
Ornament Projects
I have several projects in mind and each of them are easy to create. We wlll take a look at 3 different projects to get you started.
Project #1 – creating ornaments out of light bulbs (the old incandescent ones as the shape is better suited for making a great ornament).
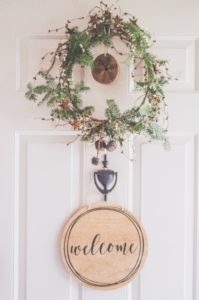
Project #2 – A door ornament you can put on the front door to welcome visitors and family. We will use a simple wood cut out or other material that can take the weather.
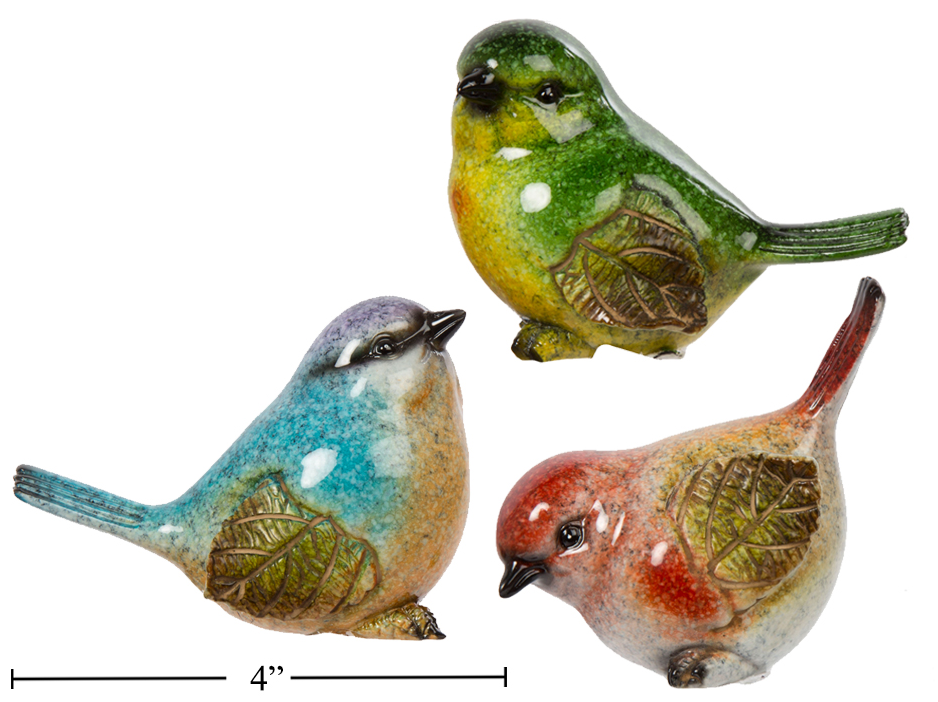
Project #3 – a bird that you can place in your garden or on any shelf. This the more complex one you can try.
The Projects!
Project #1
Light bulb – buy a plastic one from the dollar store or craft store (plastic will be much better as it will not break as easily.
Sand or pea gravel – once again the dollar store has a lot of these to choose from, you can even get colored sand and make a layered effect if you wish.
Paint – dark and light blue translucent paint as we are making a beach scene inside the light bulb and we need to see through the color. A diluted acrylic paint will work just fine.
- Project #1 Step-by-Step
- Prepare your paint mixture of the lightest color
- Unscrew the cap of the light bulb. (most lightbulbs you buy for crafting have removable caps.)
- Drop a tablespoon of the paint into the light bulb and swirl it around. You should try and get about 60% of the inner part of the bulb covered in the paint.
- Drop a teaspoon of the darker paint mixture into the bulb and swirl it around. This time you only want a bit of the paint to cover the lighter paint so you get a striated look.
- Put the bulb aside to dry.
- When the paint is dry (should only take 30 minutes to be dry enough for this next step).
- We will be sprinkling layers of sand into the bulb so it covers the bottom 25% of the inside. Start with your darkest color first and work up to the lightest color – you will be only adding a teaspoon or more of each color. You only want the bottom to be filled.
- At this point, you can screw the lid back on the bulb and hang it up for display.
- If you feel you want a little more, you can add a habitat scene on top of the sand. The choice is yours.

Project #2
A round piece of 1/4″ or thicker wood – you can find these at almost any craft store – the dollar store may also have these. You should try and get a piece that is 6″ in diameter – smaller will be ok but the process will be more difficult when finishing up.
An engraving tool or wood burning tool
A pencil or marker
Acrylic paints
Drill (or something you can use to make a hole in the wood)
Ribbon, string, or rope for hanging the ornament
A pattern to trace onto the wood, you can download 2 different patterns from the Resources Library. The password is at the bottom of this article and also at the end of each of my newsletters. Be sure to sign up to get the weekly free files and other ideas.
Varnish or other sealant for the finished project.
Project #2 Step-by-Step
Drill a hole in the center top of the wood piece – this for stringing the ribbon or rope through so you can hang the ornament.
Trace the pattern onto the wood using a pencil.
Using your etching or wood burning tool, burn the outline into the wood, you can also add an edging to the shape as well (see the resources library for the downloads).
Once you have finished the burning and edging, it is time to get out the paints and color the design and perhaps the surface of the wood.
Varnish or coat the entire ornament, front, back, and even
When the varnish dries, string the rope through the hole and make it long enough to hang on your door.
Project #3
Polymer clay or baking clay
Acrylic paints (to paint the bird)
Varnish or sealant
A hook to put through the bird’s head so that you can hang it in the house. If you prefer to leave this out, then the ornament will be perfect for placing in the garden or on a shelf.
Project #3 Step-by-Step
Using your clay, shape it to form a bird (like the image below)
Add a hook through the birds head before you bake it or dry it. (if you are using one).
Bake or dry your clay once your shape is completed.
Bring out the acrylic paints and paint the wings, beak, legs, and body. You can choose any color combination but the image below will give you some good ideas.
Let the paint dry and then apply varnish or other sealants to the bird to protect it.
These 3 projects are easy and yet they make incredible ornaments you can use all year.
As usual, I have put together a list of 3 books to really spark your imagination when it comes to making ornaments.
Books for Inspiration
Making Lawn Ornaments In Wood: Complete Building Techniques and Patterns
Shell Art: A Handbook for Making Shell Flowers, Mosaics, Jewelry, and Other Ornaments
Making More Gourd Ornaments
Last Word
There are so many ornaments you can create, the 3 in this post are just a start. If you have a chance to buy the books I recommend, you will never run out of any good ideas.
Here is another project you can try – chaining together rings and small objects such as this image

This one looks like a lot of fun.
If you decide to make an ornament, please make sure you share it on our facebook page or in the comments.
Bette
Don’t Forget to get your Templates for the wood ornaments