How to Deboss and Embellish a Mother's Day Card

Making Mother's Day Special!
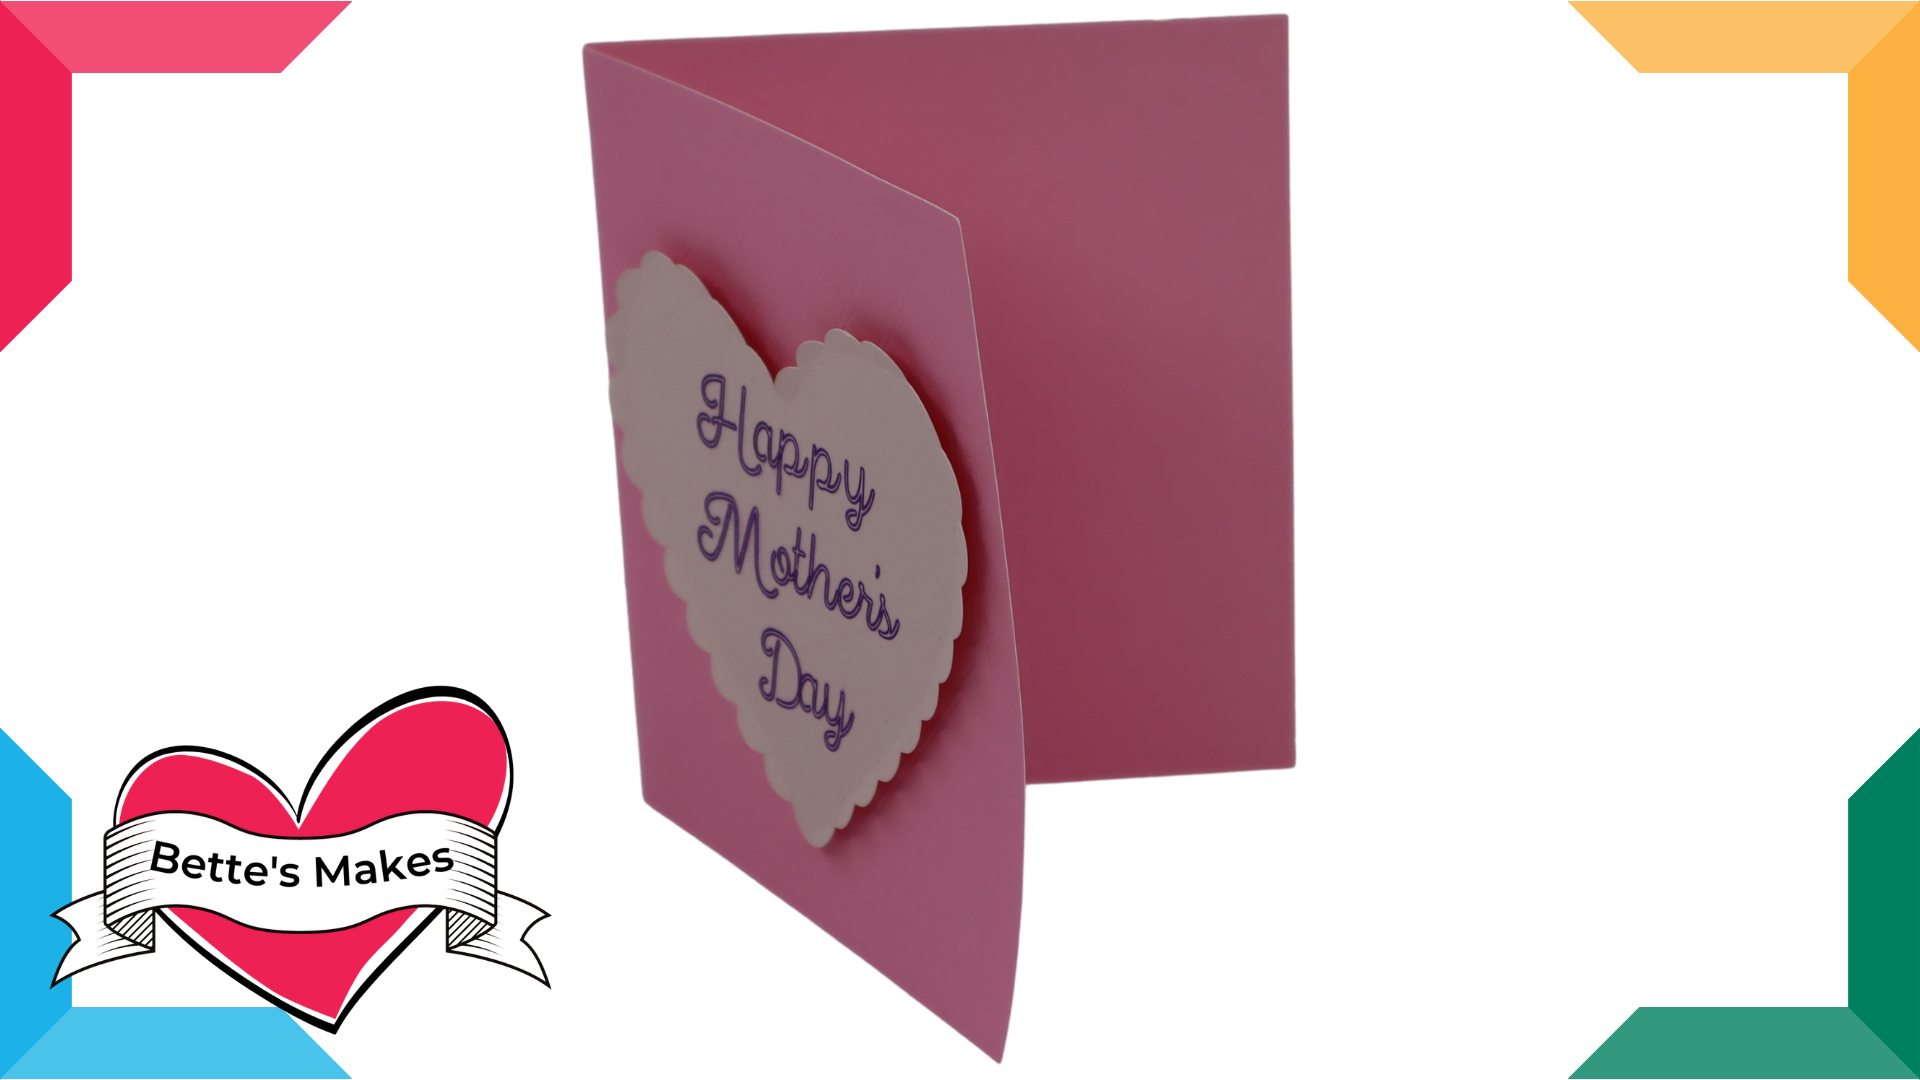
There is nothing like making a special card on Mother’s Day! Each year I try to outdo myself with different ideas and most of the time they work out perfectly. But there are those times when my card is a disaster and I have to start over! I usually design all my own cards and embellishments but sometimes I just need a little boost with the ideas and how to make my cards look even better. With this in mind, I want to give you some ideas of what you can make this Mother’s Day with this debossed and embellished Mother’s Day Card. This is such a gorgeous handmade card!
If you are thinking this will not work for your Air 2, think again as you can use your scoring stylus to get the same effect. All you need to do is make 2 or 3 passes of the score!
You will find the template for this make in my resource library - look for asset #331
Here’s what you need to make your debossed card. This post does contain some affiliate links for your convenience (which means if you make a purchase after clicking a link I will earn a small commission but it won’t cost you a penny more)! Read my full disclosure policy.

Debossed Mother's Day Card Materials List
Cardstock - 2 different colors (use a plain color for the embellishment)
Debossing Tip or Scoring Stylus
Glue (liquid, double-sided tape or foam pads)
Asset #331 from my resource library
Advent Calendar Step-by-Step Guide

Step One - Download the Template
Download the Mothers Day Files from my resource library (Asset #331)
Unzip the file and upload the SVG files to Design Space

Step Two - Design Space Changes
Start by adding the SVG file to your Canvas and then Ungrouping the selection.
The card should be green with a scoreline down the middle. You do not need to do anything further with this as it should already be attached. Select the card and check in the layers panel to make sure it is attached. If it is not, Attach it.

Step Three - More Design Space Adjustments
The next step is to select the Trellis and adjust the sizing to fit on the front of the card. To do this you will want to unlock the image (bottom left corner of the selection should show a lock). Just click on the lock to open it up. Once the lock is open, you can adjust the sizing to fit on your card. Once you have everything set to size, change the Operation to Deboss.
You will need to then place the trellis in the exact position on the card.
Next, select the card and unattach it. Now select the card, the scoreline, and the trellis and Attach them. Now your card is ready to be debossed.

Step Four - Adjusting the Heart Embellishment
You may want to adjust the sizing of the heart to fit but other than that, the shape is ready to be cut out of a different piece of cardstock. The dashed lines here are decorative and they will be cut. Right now these lines and the heart itself are grouped so they will move together.
You will want to add a greeting using Text unless you are going to write the greeting by hand.
Choose a font you like and add the greeting to the center of the heart as shown in the diagram.
Have the greeting Draw and place it in the center of the heart. Select the heart and the greeting and Attach them.
Now click on Make It, select your materials, and follow the directions in Design Space.

Step Five - Assembling Your Card
When your card has finished debossing and cutting, it is ready for assembly.
Fold the card at the scoreline.
Fold up the edges of the heart to make a 3D effect.
Glue the heart greeting in place.
Step Six - The Final Project
Time to show off your card. Please share your make in our Facebook group and let others know how easy this was to make and how much fun you had making it.
Here is a list of Fun Projects to Try!
This is a list of some of my most popular blog posts. Give them a try!


Debossed Mother's Day Card Video
Last Word
This card looks very complicated but it is truly very simple to make. I really hope you enjoyed making this as much as I loved designing it!
Be sure to share this with all your friends, I truly appreciate being able to help others make beautiful things with their Cricut.
I hope you enjoyed this project as much as I did.
If you made a card, please share it on our Facebook group. https://Facebook.com/groups/BettesMakes
Until next time,
Happy Crafting!


Please join me on Pinterest: https://Pinterest.ca/BetteMakerCreations
Join my Facebook group: https://facebook.com/BettesMakes
Follow me on Instagram: https://Instagram.com/BettesMakes
Subscribe to my YouTube Channel: https://www.youtube.com/c/BettesMakes
LIKE THIS TUTORIAL? PLEASE PIN THE DEBOSSED CARD TUTORIAL TO YOUR FAVORITE PINTEREST CRAFT BOARD!
