A DIY Friendship Bracelet Says It All!
Friendship bracelets have been around for a very long time but one that is made by you is absolutely something special. Today we are going to make a DIY Friendship Bracelet that is low cost and very gorgeous when you see the finished project! I love DIY crafts and this one took approximately an hour to complete.
DIY is something I totally love. I have written many articles in this blog including How to Make a Gorgeous Birdhouse and Creating Button Art. Both of these crafting projects are perfect for making gifts! Also, I have a resource library with FREE downloadables for many of the projects. Check it out.
Creating Your Own DIY Friendship Bracelet.
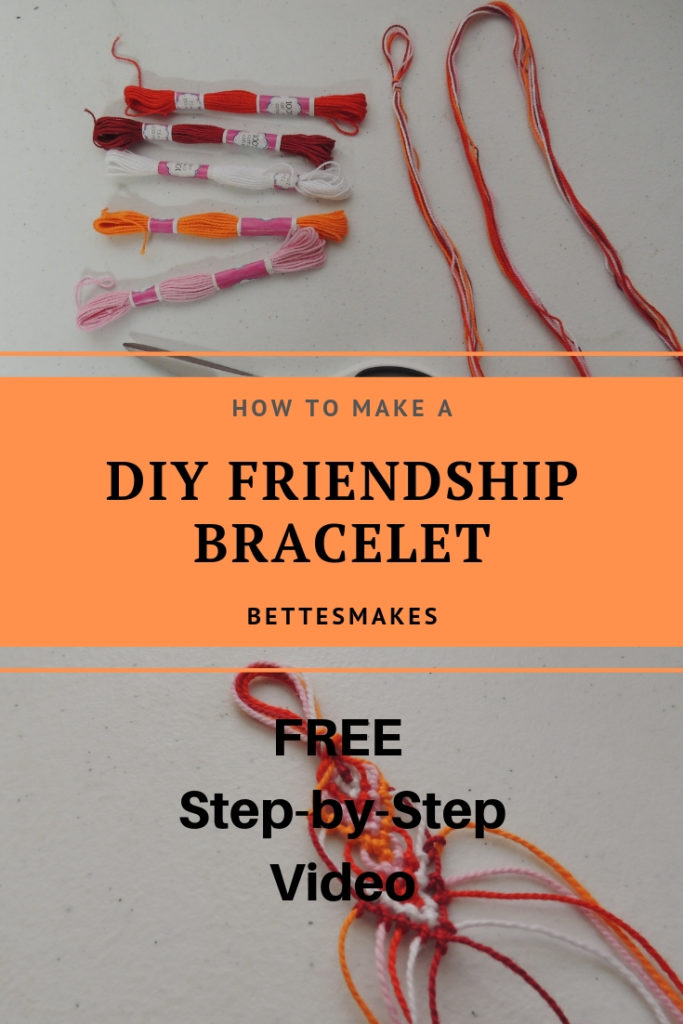
To get started making your own DIY Friendship Bracelet all you need to do is pick a friend and pick your colors. For this project, we combined 5 colors to make a really fun color combination and design. I stuck with the reds and oranges with white and pink. I was really pleased with the results!

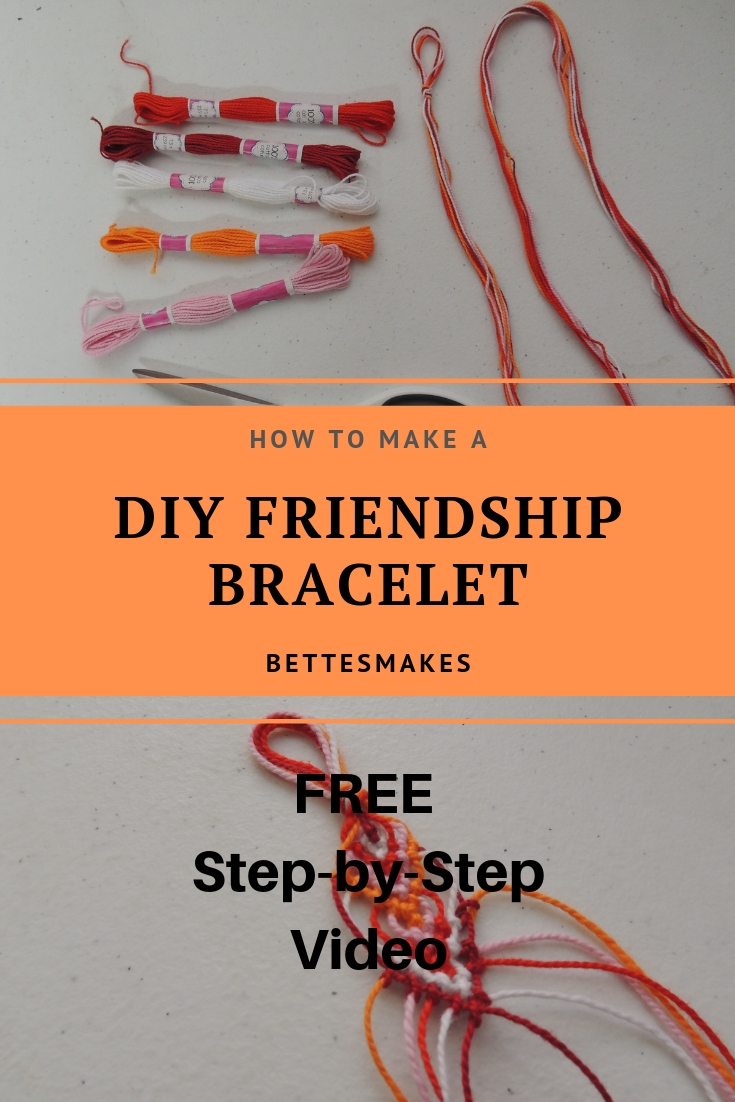
Materials Required for Your DIY Friendship Bracelet
- Embroidery Floss or other thread, string, or rope.
- Scissors.
- Ruler.
- Clipboard or another way to hold down your project while you are working on it.
- A friend to give the bracelet to when you have finished the project.
Step-by-Step Instructions for your DIY Friendship Bracelet
I must admit, it did take me a couple of times to get the perfect look for my DIY Friendship Bracelet. My first try I actually got my threads in the wrong order so the design looked a little off. My second try I forgot to tie off the middle piece at the beginning of the project. My third and final try worked out perfectly! To help you along I created a video with the steps so you would not have to go through the same issues that I did.
I have included my video of the project below so you can watch how I did it and then follow the steps.
Step 1 – Have 5 different colors of embroidery floss ready. Cut each color into a 72″ strip.
Step 2 – Put all five strips together so that the ends meet then fold the strands in half. The end with the loop is where we will start by tying off the loop making sure you do not leave a really big loop. This loop will be used for the closure of your DIY Friendship Bracelet.
Step 3 – Secure the loop down on a table – you can tape it down as I did or you can use a clipboard. I used tape but it did come loose at one point because I was pulling too hard on my knots.
Step 4 – Divide the now 10 strands in half with 5 colors on each side. Further divide them so that the same colors are at the top and work your way down to the last color. My colors were Orange and the top, Pink next in line, then light red, next was white, and finally dark red at the center. You can view the video for a visual image.

Step 5 – Starting with the bottom strands we are going to begin our project. We will be using 1 knot called the forward knot and also using that same knot in reverse. A forward knot is one where you create the number for with the strand and loop the end through the loop created by the number. A forward knot requires you to do this knot twice to count a one forward knot.

Step 6 – The design we are creating is called a leaf pattern and it also has chevrons as part of the design. once you have knotted the two bottom strings, you will take the next strings over the do a forward knot on the left. Next, take the second string on the right and do a reverse 4 twice to form the next knot. move the second color to the center so that your original color will now be in the second position.
Step 7 – Take the string that is in 3rd place. Start on the left. Do a forward knot on the second place color then a forward knot on the middle color. Repeat for the opposite side but make sure you are doing a reverse 4 instead. When you have knotted the two inner strings, your new color will now be in the center. Do a forward knot with the two center strings.
Step 8 – Go to the 4th string from the center and start with the left side and do a forward knot on the third string, then the second string, and finally the center string. Move your new string to the center. Repeat on the right side using a reverse 4. Make sure your new string is in the center. Do a forward knot on the two new center strings.
Step 9 – Go to the 5th string (the last color) and starting on the left, do a forward knot on the 4th string, the 3rd string, the 2nd string, then the center string. Place your last color in the center. Repeat for the right side using a reverse 4 and end with the color in the center. Do a forward knot for the last color in the center. You are now halfway through the design piece.
Step 10 – Repeat steps 6 through 9 so that the colors are back in the original order. Remember that each time you start over you will need to do a second forward knot with the middle string.
Step 11 – continue repeating the blocks until your DIY Friendship Bracelet is the perfect length.
Step 12 – To finish off, tie off the strings in one knot, cut the ends to approximately 4 inches and then tie that end off as well. You can see how I did it in the video.
Step 13 – Remove the tape or take your DIY Friendship Bracelet off the clipboard and try it on.
Step 14 – Give your DIY Friendship Bracelet to a friend!
DIY Friendship Bracelet Book Recommendations
There are so many possibilities when making DIY Friendship Bracelets that finding out where to start is important. I found 3 books to read and learn more. These are a MUST for any craft book collection.
Ultimate Wrap Bracelets Kit: Instructions to Make 12 Easy, Stylish Bracelets (Includes 600 Beads, 48pp Book; Closures & Charms, Cords & Video Tutorial)
Leather Bracelets: Step-by-step instructions for 33 leather cuffs, bracelets and bangles with knots, beads, buttons and charms
Beautiful Bracelets By Hand: Seventy Five One-of-a-Kind Baubles, Bangles and Other Wrist Adornments You Can Make At Home
DIY Friendship Bracelet Videos
Friendship Bracelet Tutorial – Beginner – Alternating Leaves Pattern
DIY Chevron Friendship Bracelet
Last Word on DIY Friendship Bracelets
As I mentioned before, I tried this project three times before I was happy with it. Thank goodness I had purchased my embroidery floss at the dollar store and did not waste any money. When I do the next one, I will buy a more expensive floss from DMC!
Don’t forget to visit my resource library to get FREE downloads. I usually have new downloads each week.
I hope you have had a chance to try this DIY Friendship Bracelet. I have placed the video on my YouTube Channel under Copious Crafts.
Until tomorrow…
Bette
Please pin the image below to Pinterest so that others can also create a DIY Friendship Bracelet – Many Thanks and Happy Crafting!