Simple Ideas for Cursive Letters
Crafting is all about creativity, and in the world of crafting, cursive letters hold a special place. They add a touch of elegance and personalization that can elevate any project. Whether you're designing customized gifts, creating handmade home decor, or crafting heartfelt greeting cards, mastering the art of connecting cursive letters with your Cricut machine is a valuable skill to have. In this extensive guide, we'll delve into various techniques and expert tips to seamlessly link individual cursive letters. Let's take a look at the ways you can use cursive text and the text tool using various tools such as weld. (You will love the weld result from combining letters in this free tutorial.
Introduction
Before we delve into the details of connecting cursive letters, think about the new fonts and single-layer fonts you could use. Cursive letters are not just a means of communication; they are a form of art. They have the power to put warmth, personality, and a sense of fun into your projects. With the right knowledge and a bit of practice, you can harness this power and take your craft projects to new heights, captivating the hearts of those who encounter your creations.
Understanding Cricut Fonts
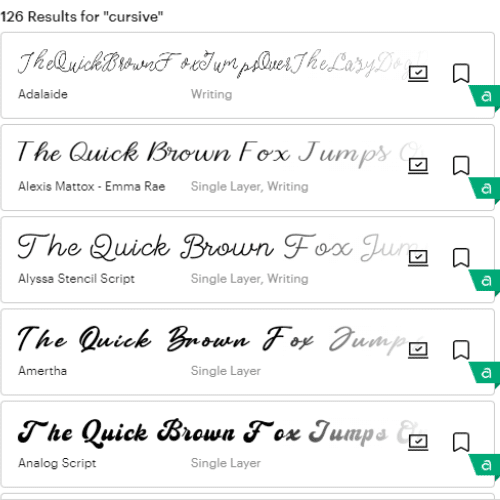
To truly appreciate cursive letters in the context of your Cricut machine, it's essential to familiarize yourself with the incredible list of Cricut fonts. Cricut Design Space offers a treasure trove of fonts, including a stunning array of cursive options. These fonts are meticulously designed to seamlessly integrate with your Cricut machine, make working in Design Space easier, and give you precise cuts and gorgeous results. The great choice of fonts along with your creative vision is where the magic happens, as you take your use of script text to a whole new world.
Getting Started with Individual Letters
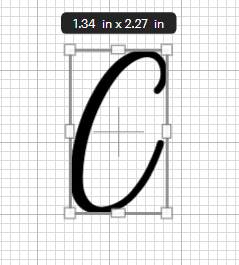
Let's lay the foundation for connecting cursive letters by focusing on individual characters. Your trusty companion in this undertaking is the Weld Tool, a remarkable feature within the Cricut Design Space. Here's a step-by-step guide to using it effectively:
- Begin by opening Cricut Design Space and selecting the cursive font that resonates with your project's aesthetics. Design Space has many fonts, you just need to type in a keyword to find the best cursive fonts.
- Type out the single letter you want to work on. Make sure the text box is not hidden under the font drop-down at the top of the screen so you can see if the font you have chosen will work for you. When you find the right choice, type the entire word.
- Adjust the letter spacing to your liking, ensuring that it strikes the perfect balance, neither too tight nor too spacious.
- With the letters selected, navigate to the "Weld" button and click it. Watch as your letter transforms into one item and is no longer a set of letters.
Exploring Different Ways to Connect Letters
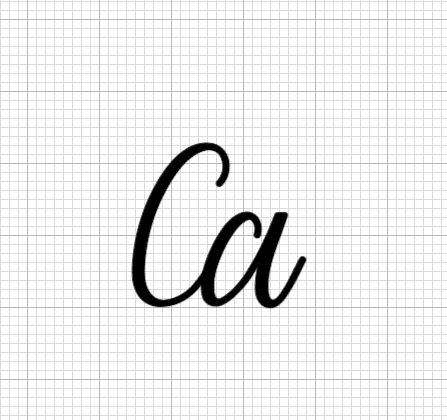
Now that we've started our journey, it's time to explore the myriad of techniques available for connecting cursive letters. Each approach adds a unique flair to your script. Let's dive into these creative methods:
- Overlay Method: This technique involves a subtle overlap of adjacent letters. The aim is to create a visual flow that seamlessly connects them. Adjust the letter spacing as you see fit to achieve your desired effect.
- Loop Method: For a touch of whimsy and elegance, consider introducing loops or swirls at the end of certain letters, which then connect to the following character. This technique infuses a sense of fluidity into your cursive script.
- Tail Method: Some script letters possess distinctive tails, such as 'y' or 'g.' Extend these tails and let them naturally connect to the next letter in your word. The result is a graceful, harmonious script.
- Bridge Method: This method involves forming bridges between letters that naturally connect, such as 'o' and 'v.' It adds an effortless elegance to your cursive script.
Working with Whole Words
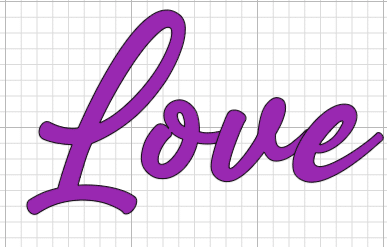
Having honed your skills in connecting individual letters, let's broaden our perspective to encompass whole words. Crafting entire words in a cohesive and visually pleasing manner requires attention to detail and a keen eye for aesthetics. Ensure that your chosen cursive script flows naturally and maintains a sense of balance throughout the entire word. The goal is to create words that not only convey meaning but also pull emotions from those who see your creations.
Utilizing Free Fonts
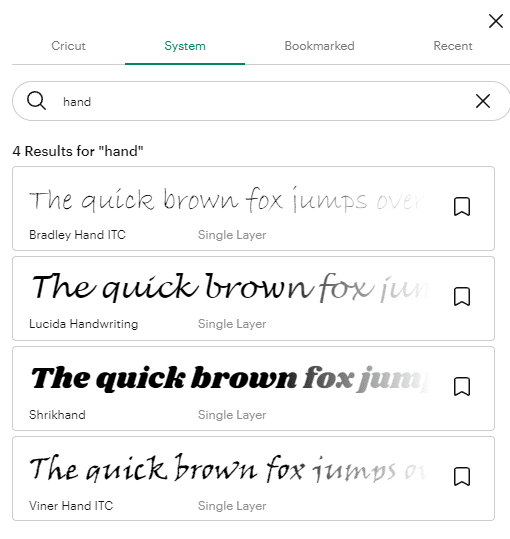
Crafting is an inclusive and accessible endeavor. You don't always need to invest in premium fonts to achieve stunning results. Cricut Design Space generously offers a diverse selection of free fonts, including an impressive array of cursive options. Don't hesitate to explore these options and experiment with different free cursive fonts to find the one that resonates most with your creative vision. Remember, it's not the cost of the font that matters; it's how you use it to tell your unique crafting story.
Advanced Techniques
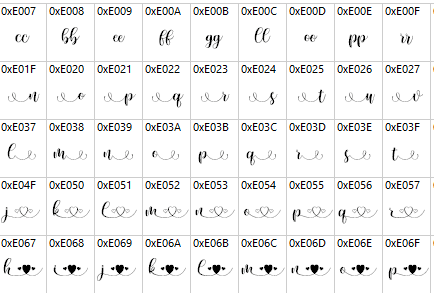
As you grow in confidence and expertise, consider venturing into advanced techniques that will truly set your cursive lettering apart. One such technique is the use of custom glyphs—special characters that connect specific letter pairs in a visually pleasing way. Glyphs add an extra layer of flair to your script. They can change a single word or simple just letters in a word.
Personalization and Monograms
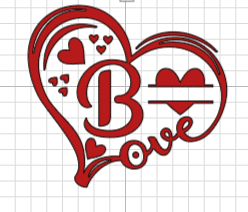
Crafting is a celebration of creativity, and cursive lettering offers an excellent opportunity to give your crafts a very personal touch. Consider the power of monograms—unique combinations of initials that add a sense of identity and distinction to your projects. Whether you're crafting for weddings, anniversaries, or other special occasions, monograms carry a timeless elegance that leaves a lasting impression. Think wedding invitation using a single layer or the line spacing tool to change how your text is displayed.
Combining Fonts
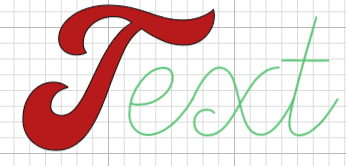
Why limit yourself to a single cursive font when the world of typography offers endless possibilities? Mixing and matching different fonts, such as pairing a bold, flowing script with a delicate, elegant cursive, allows you to create captivating contrasts that draw the eye and add depth to your projects. Even changing font size and a pretty script font for the first letter will give you a whole new look for your text.
The Beauty of Negative Space
In the world of typography, it's essential to recognize that negative space plays a pivotal role. The spaces between letters are what we call negative space and they are just as important as the letters themselves. Properly managed negative space ensures that your cursive script is not only readable but also visually appealing. Experiment with different spacing techniques to find the perfect balance. Remember, it's in the whitespace that your creativity truly breathes. Here is where you want to use the letter spacing tool to make adjustments to your text. Use the whole word or ungroup the word into individual letters and space them accordingly
Crafting for Different Occasions
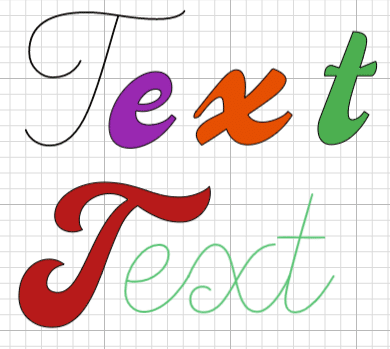
Cursive lettering is incredibly versatile and adaptable to various uses. Consider the emotions and visual impact of your cursive script when crafting for different occasions. Wedding invitations may call for an elegant and flowing script, while a child's birthday party might benefit from a playful and whimsical style. Tailor your cursive lettering to suit the occasion, setting the tone and getting emotional responses. Remember you can work fonts as a single shape or event each letter as its own layer. Fonts can be manipulated in any way you want. Even system fonts can be integrated with cursive fonts to create some very interesting results. Remember to try different things and the undo button is the best way to go back and try again.
Exploring Color and Material
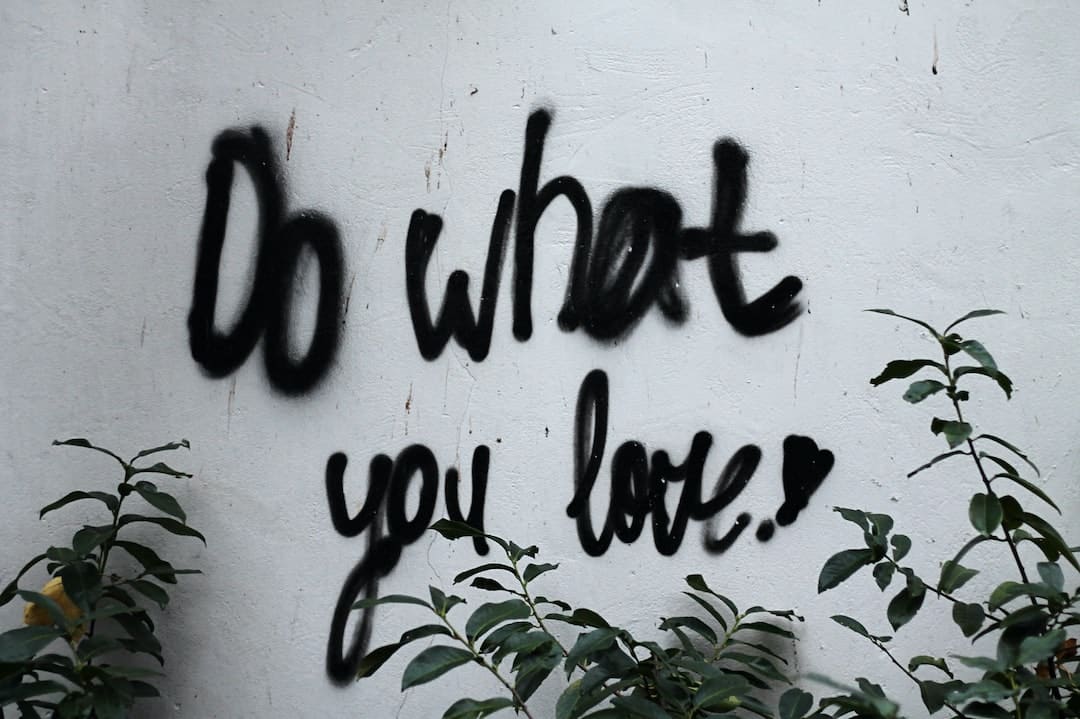
The world of crafting extends beyond the realm of paper and cardstock. Dare to venture into the exciting territory of diverse materials. Experiment with vinyl, fabric, wood, metal, and more. Each material offers unique opportunities for texture, color, and finish. Combining your newfound cursive lettering skills with a variety of materials can lead to stunning and tactile results that elevate your projects to new heights. Using cursive letters through the use of weld will allow you to cut out whole words all at once in any material you have on hand. Use these materials to embellish with Cricut script fonts (using them as whole words and single objects). Although you cannot download your work as SVG files, you can save your work and experiments to come back to them later and copy between projects. Remember that letter space plays a key role in how you want to use materials and how much weeding you want to do. Look around to see what you have on hand to use with your cursive fonts.
Final Note
Congratulations on starting this captivating journey of connecting cursive letters using Design Space! Crafting is the purest expression of creativity, and now you possess the knowledge and tools to make your projects truly exceptional. Dive headfirst into the world of cursive lettering, explore the various techniques, and let your imagination soar. As you continue your crafting voyage, always keep your creative senses attuned to the world around you. Inspiration is everywhere, waiting to ignite your next crafting project. Whether it's the beauty of nature, the strokes of art, or the little moments in everyday life, let these inspirations fuel your crafting ideas. Last but not least learning is the easiest way to explore using the weld tool and other features of Design Space.
