
Stickers - Full Page Print & Cut
The other day a friend of mine was having an issue with printing and cutting a full page of stickers with her Cricut. The design space used by Cricut had some big restrictions on the width (6.75") and height (9.75") and those measurements were certainly not the ones she needed for her stickers.
Scouring through YouTube and Pinterest, there was a solution but it seemed very awkward and tedious to get some simple results. So off to experimentation with trial and error to find out how the problem could be solved.
Experimentation was not that easy as the proposed solutions had you taping everything up, cutting on a mat with just tape, and even worse, playing with the dimensions of the SVG or PNG file until the outlines matched the printed design. There had to be a better way...
Preparing the Print File
When I first started looking at this problem, I had imagined that the file just needed to be added intact into design space. What I found was that the file ended up being much larger than the original and I had to resize it. Even then, Cricut wanted me to scale it down ever further! This was not going to work by any stretch of the imagination!
So back to the drawing board, so to speak.
Finally, I decided that I would print my "stickers" on 8.5 x 11 and have them the proper size for using in my Happy Planner. No problem here as I could cut them by hand if I wished (but that was not my desire at this point). I now had to find a way for my Cricut to do the cutting from my printed page.
So the first part of the solution was to print the stickers on sticker paper in the dimensions I wanted.
Next, I had to look at preparing my cut file to match.

Preparing the Cut File
Well, my printed "stickers" were perfect. Now I had to make a matching cut file in design space. This was going to be trial and error for sure but I really wanted to solve this problem in a simple way, no complex taping the mat, making new designs, using lamination, etc. This solution had to be perfectly simple.
So on to creating the "cut" file to match my "printed" file.
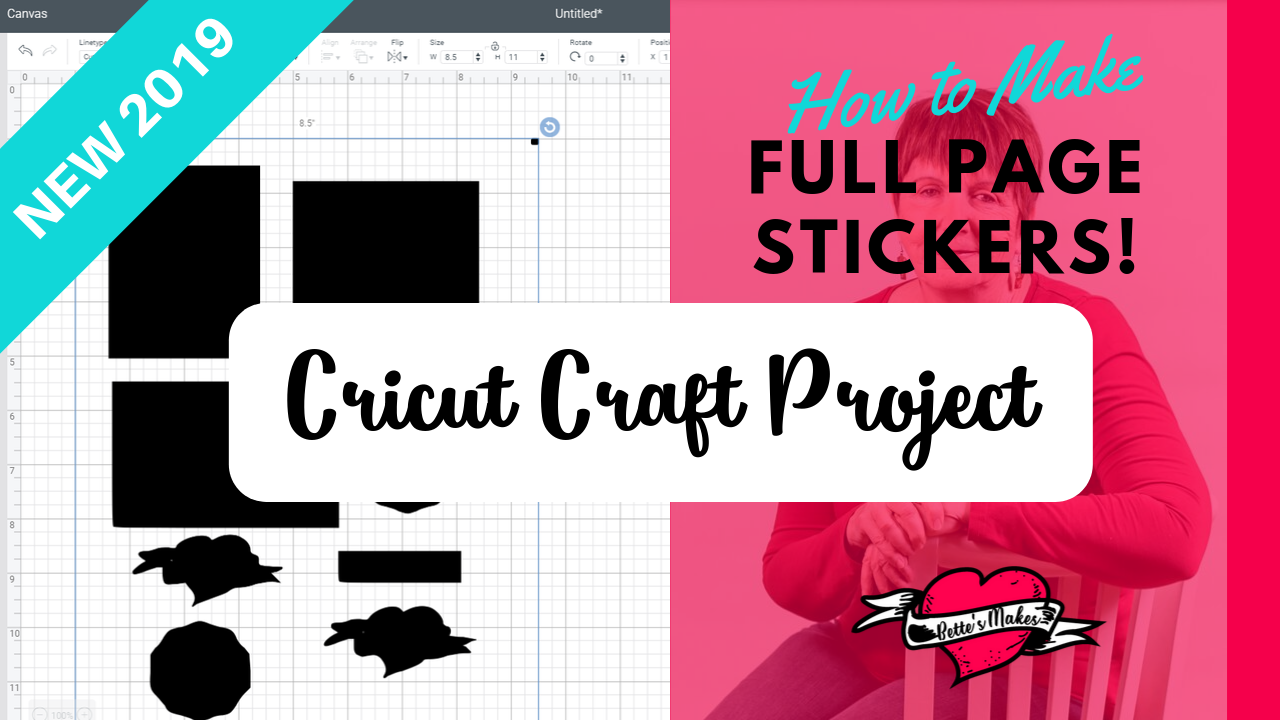
The first item on the list was to upload my png file into design space and make sure I uploaded it as a cut only file, not print and cut.
I found I had to make adjustments to the file and put registration marks (little squares) in each corner of the file so that the file size would be perfect when bringing it into design space.
After the upload, it was time to bring the file into design space so I could change the dimensions to match my printed page.

Matching the Image with the Print
Here is where there was a lot of manipulation but I did finally get it to work as I wanted.
For this step, you will need to test a few sheets of paper before doing your final cut.
For me, lining up the cut file at 0,0 worked the best. This is important because it is easy to place the printed paper at the exact spot to get good results. This was great in theory but Cricut adds some room around the edges as a precaution, so there was a need to change the placement. I then tried at the 1" mark down and the 1" mark across to see if that made a difference.
As you can see by the results, this worked for my file.
")
Success at Last with Full Page Stickers
With any equipment there will be limitations on how you can achieve the end result you are looking for. In the case of Cricut design space, printing and cutting the full page of stickers was not available at this time.
The work around is not that easy but it did work.
Video: Full Page Stickers with Print & Cut
Last Word
After playing around and experimenting, the best way to get a full sheet of stickers using your Cricut was fairly easy. It did take me a few hours to figure out the best way to deal with the offset design space uses but in the end this method truly works 99% of the time.
if your matching is off slightly on your test cut, then just adjust the placement of the paper you are cutting. Do test every time you want to print and cut to make sure everything lines up.
I am now more encouraged to start making even more stickers for my Happy Planner!
Until next time, Happy Crafting...

Please join me on Pinterest: https://Pinterest.ca/BettesMakes
Join my Facebook group: https://facebook.com/BettesMakes
Follow me on instagram: https://Instagram.com/BettesMakes
Subscribe to my YouTube Channel: https://www.youtube.com/channel/UCzMHoceK1XiXi8IykicnUmQ
Please share this pin on your favorite Pinterest board so you can access this information any time you wish.
