Why Use Unite and Not Weld??
Is there a difference between Unite and Weld?
I love Weld as it makes new shapes that are permanent. This makes it so easy to create new and wonderful objects. On the other hand I have lately started using Unite to replace Weld and found that it has many advantages over just using the Weld.
Here is are a couple of idea that are an EASY trick you can use to combine Weld and Unite (plus other tools) to make beautiful projects.
You can watch the video in our Facebook Group: Https:facebook.com/groups/BettesMakes
Step 1: Start a New Project
There are no downloadables for this practice session.
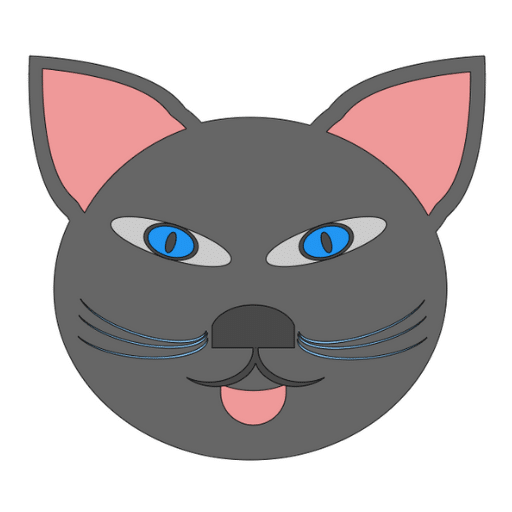
Step 2: Create A Cat Head
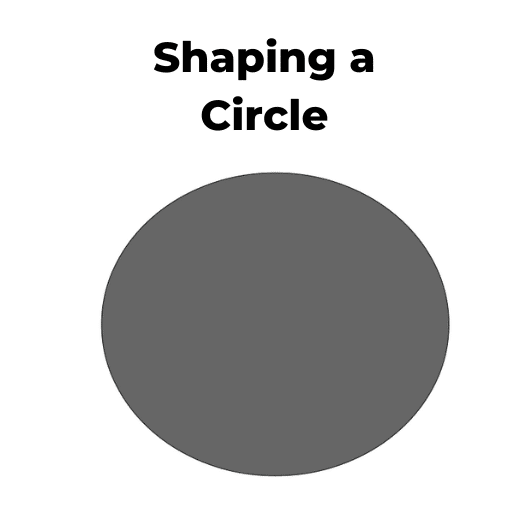
You will be using a circle to do this. Once the circle is on the screen, unlock the sizing and start moving it around until you have the shape you want.
Step 3:. Adding Ears
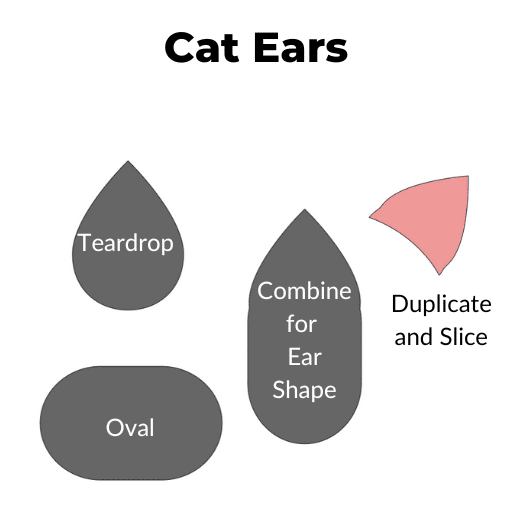
In order to make the ears, you will be using two different shapes as shown below. The process is quite simple. First you will need to flip the teardrop so that the point is at the top and next you will need to rotate the oval so that it is at 90 degrees. See the video for more details here.
Line up the teardrop and oval as shown and then Unite them.
For the inner ear you will duplicate the new ear you created and slice off the bottom portion using the head circle and the ear. Make a copy of the head circle to use as a guide.
Use Offset with a negative number to size the inner ear.
Change the color of the offset to pink and then place the head copy at the bottom. Once you have them lined up the way you want, slice off the bottom. Now you will have an inner ear to use. I used slice here as I do not need to go back as use these parts again.
By doing this, the curve at the bottom of the ear will line up perfectly.
Step 4: Make the Whiskers
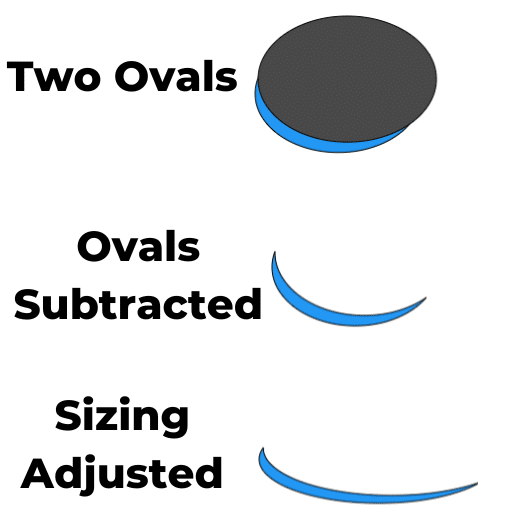
Making the whiskers is going to use Subtract to start. First you want to add the oval shape to the screen. Duplicate it and change the color of the duplicate.
Place the one oval over the other so that you have a thin curved line. See the diagram below.
Select both ovals and use Subtract to get a whisker shape.
Unlock the size for the shape and adjust it to make a whisker.
You will want to have 3 whiskers for each side of the face. All you need to do is duplicate the first whisker twice, adjust the angles so that the inside edges touch. You will want to group the whiskers so they do not move.
Duplicate your whisker set and flip them horizontally and place them on the other side of the face.
Get Your Annual Pass to the Creative Crafters Club
Step 5: Make the Eyes
We are going to use circles to make the eyes.
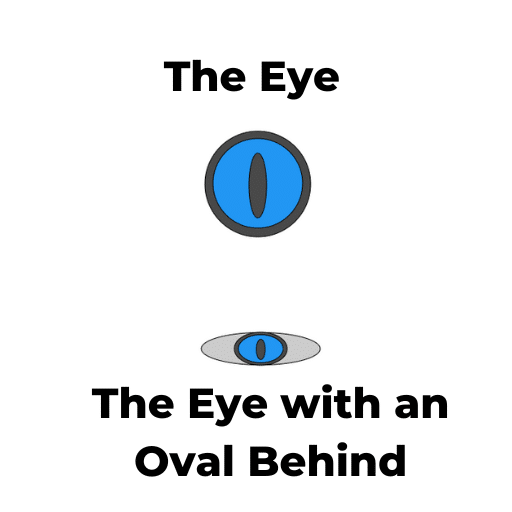
Start with a circle and change the color to blue, then add an offset - it will be black. Group them together.
Take another circle and unlock the sizing and make it into a cat eye elongated slit.
Select the blue circle and the slit - Align them center, then use subtract. This way you have a hole in the blue eye and the black offset will show through.
Now grab another circle and make an ellipse. Change the color to gray. This ellipse will fit behind the eye you just created.
Adjust the sizing of the eyes (unlock) so it fits inside of your oval. Group the entire eye together and place of the face. Duplicate the eye and flip it horizontally and place it on the opposite side of the face.
Step 6: Make the Nose and Mouth
Lets start with the mouth (tongue). This shape is simply an oval cut out of an oval.
Start by creating two ovals (don't worry about the size right now). Place one over top of the other so you have a tongue shape (see Below) the click on Subtract.
You now have your tongue that you can adjust the sizing for.
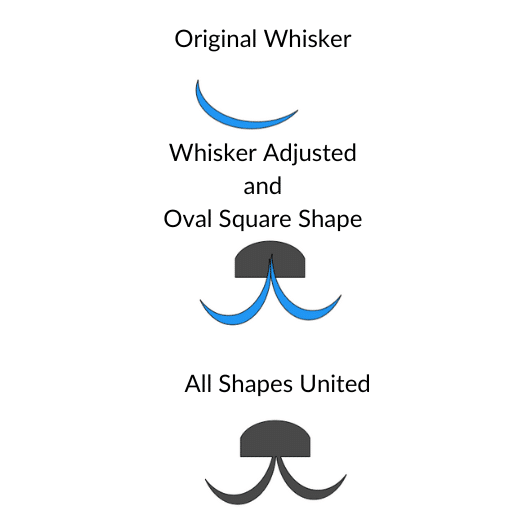
For the nose and mouth use an oval and a square.
Place the square part way down the oval and subtract. (see the diagram).
For the mouth, you care going to use the whisker you cut out and adjust the shape to fit as the mouth.
Once you have the shape you want, duplicate it and then flip it horizontally.
Place the two inner edges together in the middle (they should overlap).
Place the nose piece on the top with an overlap. Select all 3 pieces and click on Unite.
Step 7: Final Touches
Place all your pieces together using Arrange if some pieces fall behind others. Take some time and experiment with making other faces. This is so much fun and with using Unite and other Combine menu items, you can make copies of previous shapes!

Make sure you join our Facebook Group so you can ask any questions!