Are You Ready to Cut Felt?

Cutting is Easy, Cleanup Not So Much!
Over this past season, I as looking into cutting some felt items instead of just paper for a couple of projects. The cutting was definitely very easy and with a Cricut Maker 3, the Rotary Blade made it even easier. I even used my fabric mat (pink). I loved the result, however, my mat was in a sad state when I was finished.
Here is are a couple of idea that are an EASY trick you can use to keep your mat clean and still be able to cut felt projects.
You can watch the video in our Facebook Group: Https:facebook.com/groups/BettesMakes
Step 1: Start a New Project
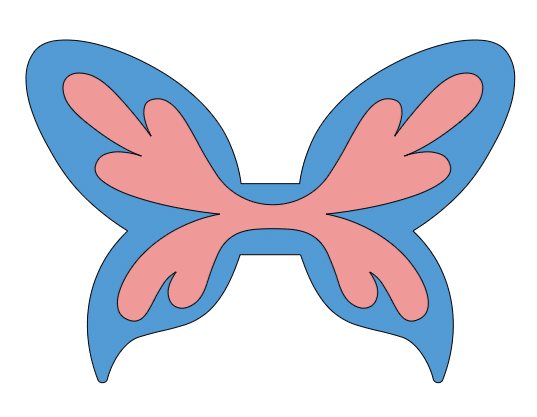
There one downloadable for this session go to the resources library and download Asset #403 Felt Butterfly.
Step 2: Prepare Your Project
The template I have given you (Asset #403 Felt Butterfly) can be broken down into 2 separate pieces - you can cut these from the same color or change it up a bit.
Separate the pieces and since this will only be a cut project, you will not have to change any of the operation settings.

Step 3:. Add Transfer Paper to Your Mat
You will want to test this first before using a big sheet of transfer paper.
Transfer sheets come in regular and strong, you can even use other products from the dollar store such as a sticky shelf covering (make sure it is vinyl). As a matter of fact, you can use vinyl scraps for the smaller pieces. This will save you a ton on expense.
Place the transfer sheet down on the mat with the sticky part facing you and the shiny surface (or vinyl) facing down on the mat. The backing should be facing you.
Pull off the backing so you have a sticky surface.
")
Step 4: Add Your Felt
Place your felt pieces on the mat as you would for any project. This time the felt will be sticking to the transfer sheets instead of directly on the mat.
")
Get Your Annual Pass to the Creative Crafters Club
Step 5: Cut Your Project
Cut your project as you would normally.
Once your project is cut, weed it
If you are finished with the mat, simply remove the transfer sheet which will hold all the debris and either toss it out or save it for another project.
The mat will be perfectly clean!!
You can use this method for any surface that leaves a lot of debris, such as leather!
Make sure you join our Facebook Group so you can ask any questions!
3 replies to "Cricut Craft with me: Cutting Felt without Destroying Your Mat"
I’ve been thinking along the same lines, because pulling fabric off the pink mat shreds the edges. My idea is to iron on some freezer paper, then stick THAT on the mat. I haven’t tried it, but I think pulling the paper off the fabric would be a lot less destructive.
It is not easy to remove it from the transfer tape – I generally use a cheap alternative that I can throw out later if there is too much debris on it
Sounds like a great idea; however, how easy is it to remove the felt from the transfer tape? Felt is not always the sturdiest material, and tends to stretch a bit… Is there an easy way to remove it from the transfer tape without it pulling or stretching?