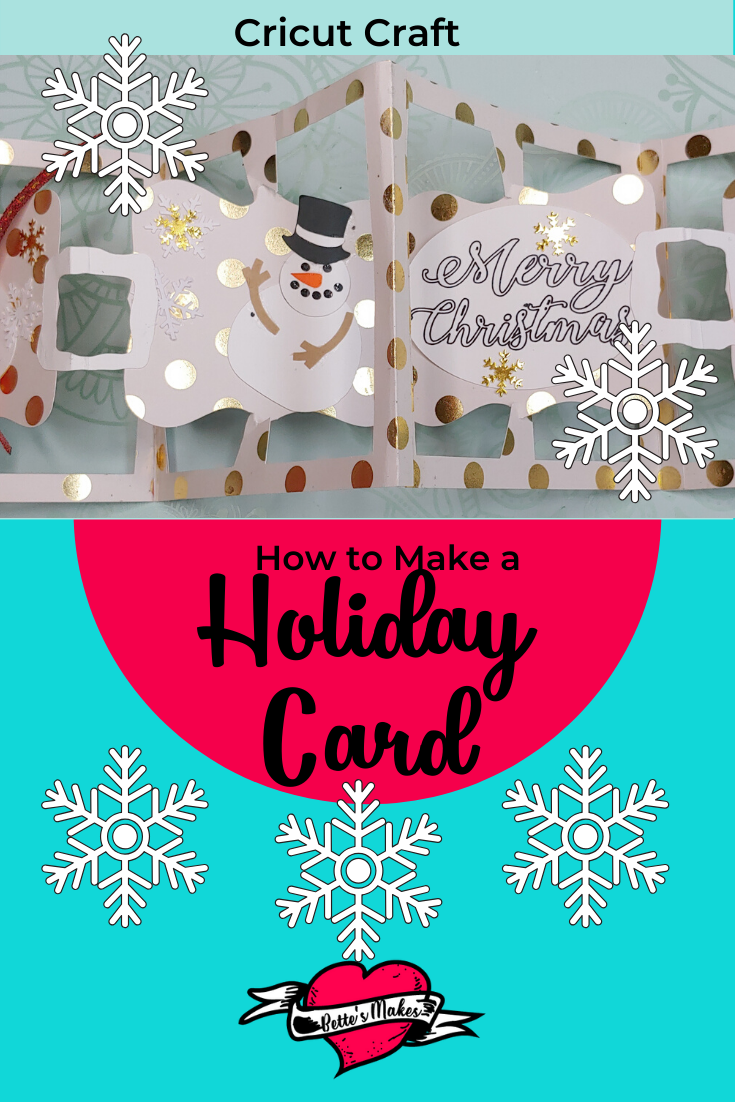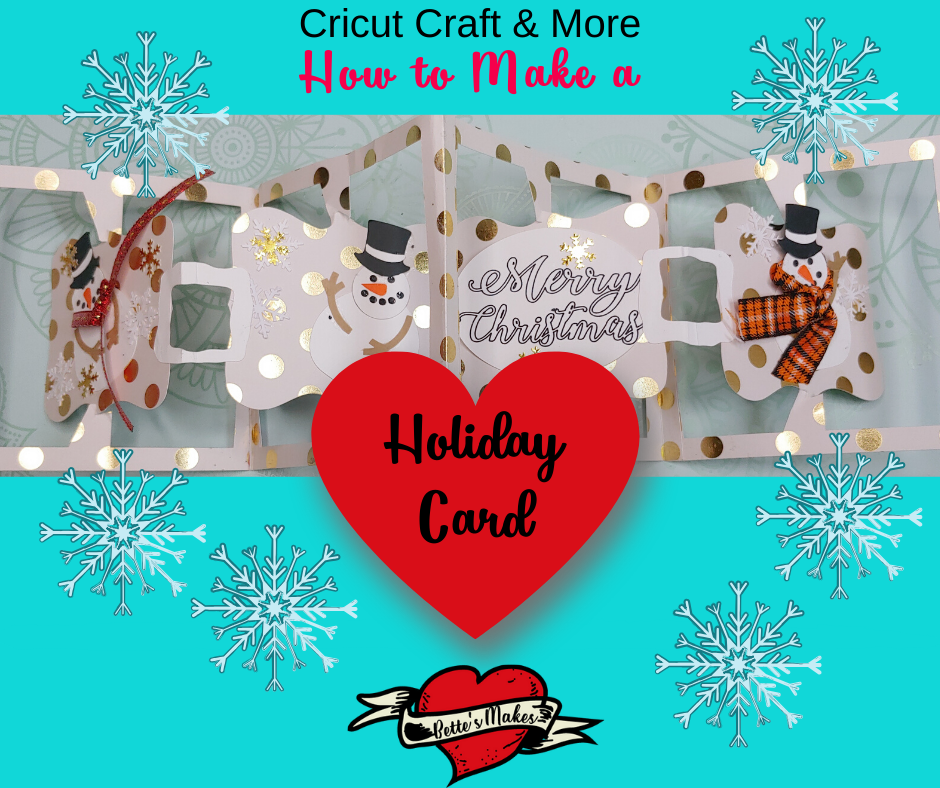
Holiday Card Making Time
Holiday Card crafts are such a joy, especially when you can personalize each and every one! I have heard that sending cards is out of vogue, but I firmly disagree! The personal touch is always appreciated - not just buying a box of cards and mindlessly signing and addressing the envelope, but full thought about what the other person likes and loves!
If you are wondering, there is still lots of time for making holiday cards as long as you get them in the mail before the post office deadlines.
The card we are making today is based on a similar one using die cuts. I have drawn my own and made some adjustments so everything can be cut on the Cricut (Maker or Explore). I also added a number of embellishments of my own just to make the card more personal.
This card is a lot of fun to put together and once you learn how to place and glue the pieces, you can make designs of your own.
Of course, I have added the templates and SVG files for the whole project in my resource library! (Asset #203)
Quick Links to Information in this Post
Here’s what you need to make your 3D Frame. This post does contain some affiliate links for your convenience (which means if you make a purchase after clicking a link I will earn a small commission but it won’t cost you a penny more)! Read my full disclosure policy.
Holiday Card Materials
Holiday Card Step-by-Step Guide
Doing the etching from design space was quite easy - there are no major issues unless you do not have a Cricut Maker!
Step 1
Download the template to use for this project from my resource library
Load the design into Design Space (Cricuts design application)
Step 2
Change some of the cut lines to score lines (the pages have a second cut line on the right - change the inner line to score)
NOTES:
When you are making this card, you will be creating "pages". You will have a left page and a right page. The left page center piece will have a small frame glued to the right edge to the left edge of the next or right hand page. See the diagram below.
The right page center piece will have two tabs - you will glue these tabs in the back to the next left hand page.
You will need to make sure you have the correct left and right hand pages as follows:
Page 1 (left hand page) will be viewed on the front and back sides.
Page 2 (right hand page) should have the two tabs (already part of the cut file)
Page 3 (left hand page) will not have any tabs
Page 4 (right hand page) - if this is going to be your last page, you will use the same piece as page 1. If you are going to add more pages, you will need to make sure you use the standard right hand page with the attached tabs.
Continue adding pages as needed. For this project the last page is page 4.
For each page you will need to "attach" the score lines to the page. You will need to do this for all 4 pages.
Step 3
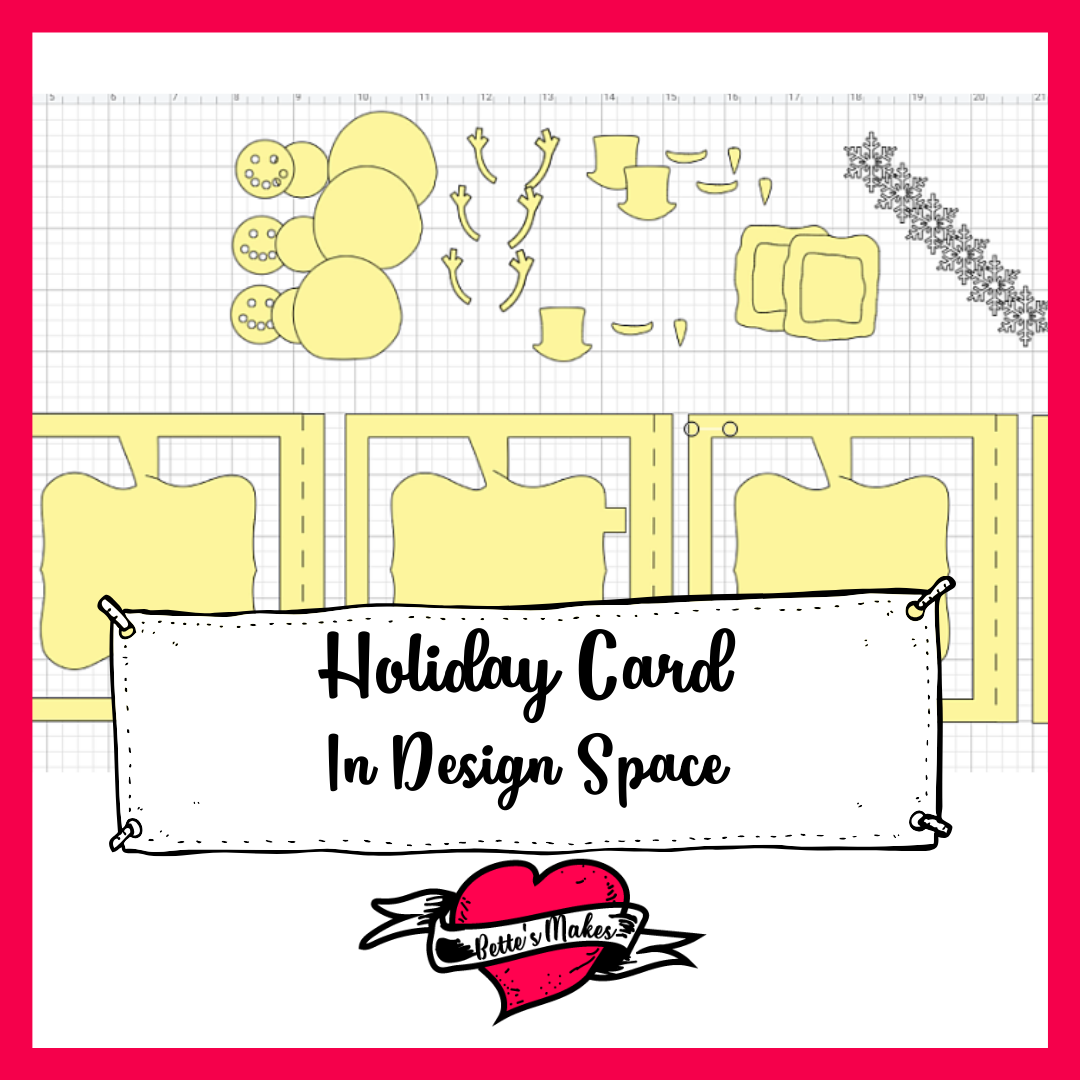
Set the color of the pages to yellow (you should have 4 pages in total)
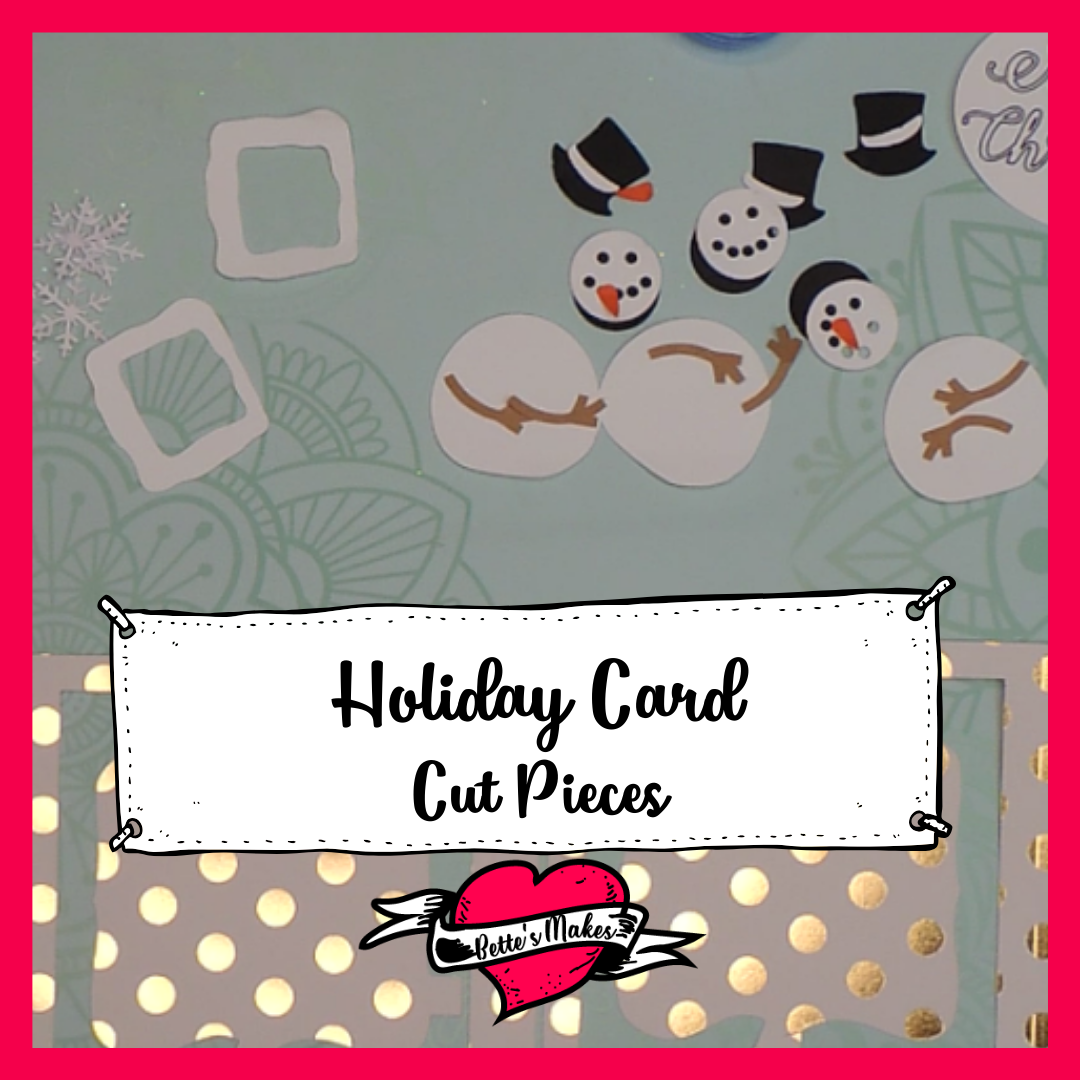
Set the color of the top hat and the plain circle to black (you want to have 3 of each shape as you will be making 3 snowmen)
Set the color of the nose to orange and make sure you have 3 copies (use the duplicate function to make more copies)
Set the body and head of the snowman to white (3 copies of each)
Set the arms of the snowman to brown - you will need 3 sets of arms
Set the color of the snowflakes to white, unless you want to use a different color. I made 6 snowflakes for gluing on to the card.
Set the color of the joining small frame and the message oval to a color of your choice. For this project you will only need 2 small frames and one oval.
Step 4
Double check to make sure you have all the pieces you need then save your project.
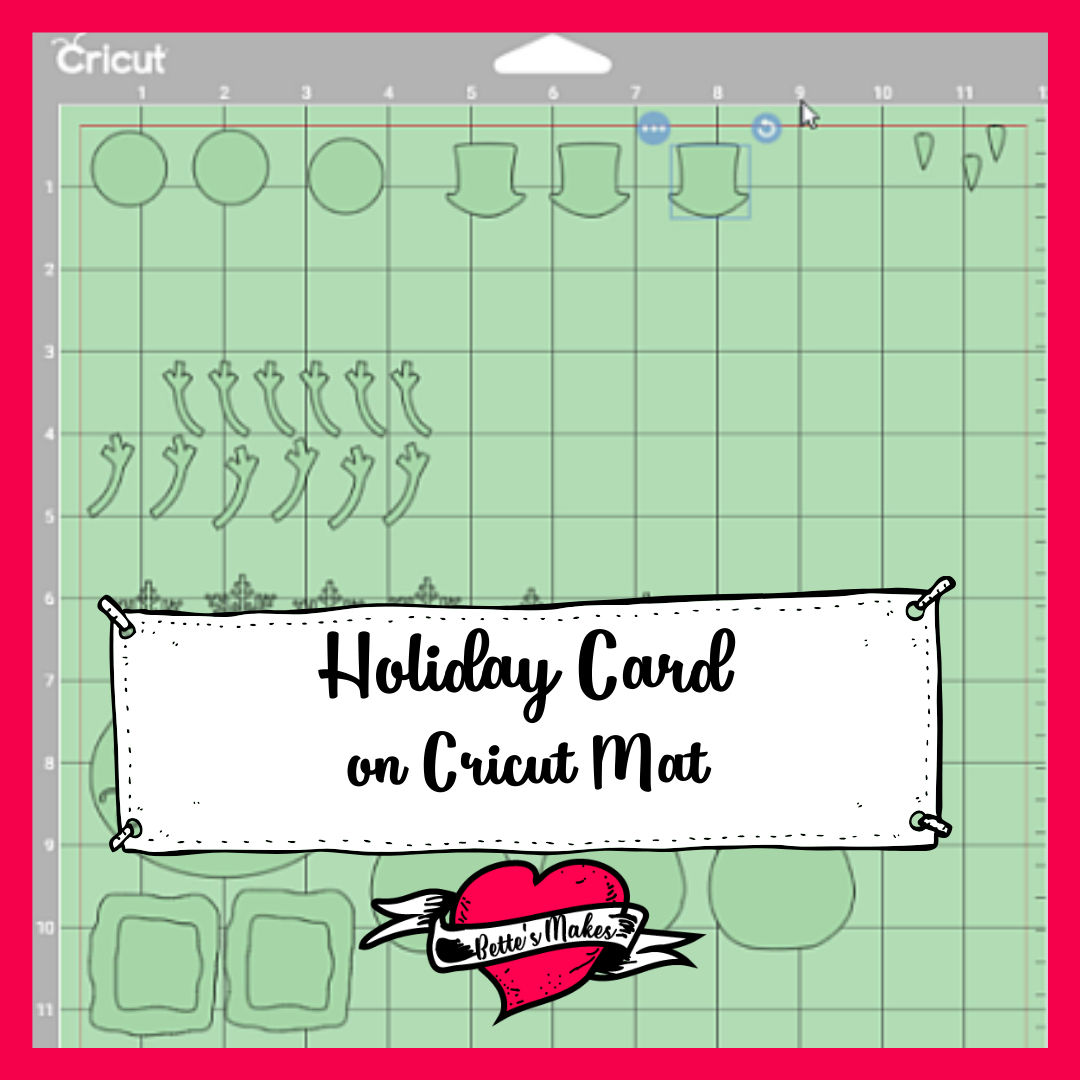
Click on Make it - Cricut Design Space will sort the items onto mats. Check each mat carefully to make sure the pieces are intact and that you have the right colors for each component.
NOTE:
I often have the smaller pieces cut from the same mat. For example, the nose is orange but uses very little paper. The hat and black circle also use very little paper as do the arms, and of course, the snowman body parts and the snowflakes.
I move all the elements to one mat and place them so that I can put the right color papers. I generally divide the mat into 4 quadrants and use each quadrant for a different color paper. This really saves time and paper wastage.
You may want to try this trick as well.
Press continue and select your paper type from the list.
Did you know that you can call up the list of paper types and click on the star to make it your favorite? This way the papers you commonly use will always be shown when it comes time to select your material.
Insert the correct tools and load the mat. Press the flashing Cricut button to start the score and cut process.
Step 5
Now that you have everything scored and cut, it is time to remove the cut pieces from the mats. You can roll the mat away from the cut pieces. This way the cut pieces do not curl. Don't roll the mat too tightly as it will crack.
Step 6
Fold all the score lines on the pages so the first and third pages fold as a mountain fold. Page two will be a valley fold.
Assemble the pages first. Glue the right tab of page one to the back of the page two frame.
Glue the right tab of page two to the back of the frame of page three.
Glue the right tab of page three to the back of page four.
Your basic pages are now put together.
Fold up the pages into a "book" and make sure you burnish the folds.
Step 7
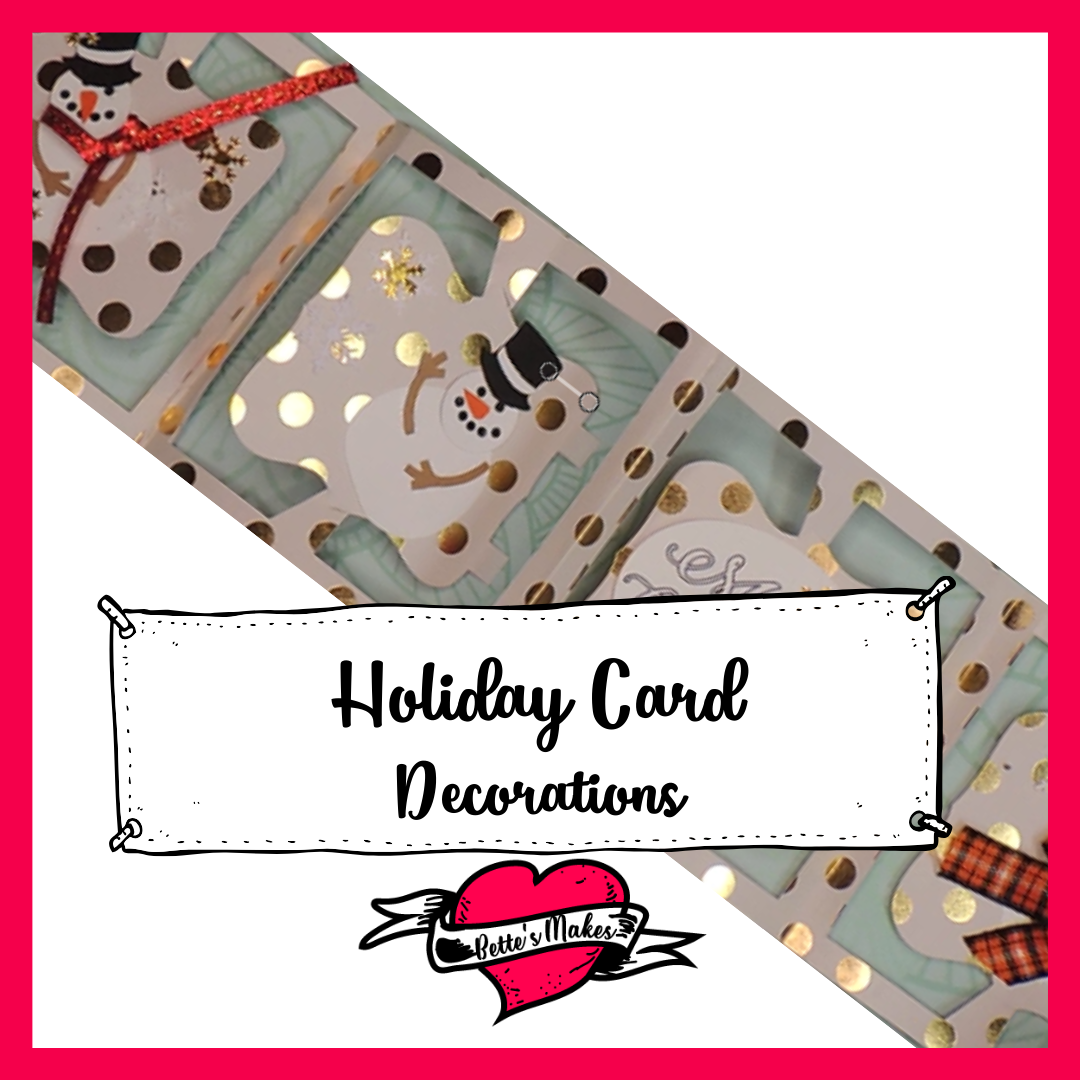
Now it is time to decorate each page. Add the message oval to page three (center it as best as you are able).
We will now assemble the snowman:
1. Glue the black circle behind the head for each of the 3 snowmen.
2. Glue the hat in place.
3. Glue the nose in place.
4. Glue the body in place.
5. Glue the head to the body.
6. Glue the arms in place.
7. If you wish, you can add a little ribbon as a scarf. Cut slits into the neck of the snowman to secure the ribbon in place, then tie it in front.
Glue the snowmen onto pages one, two, and four.
Step 8
Add the embellishments to each page. Glue on the snowflakes as you see fit. You can add other decorations to make your card amazing.
Step 9
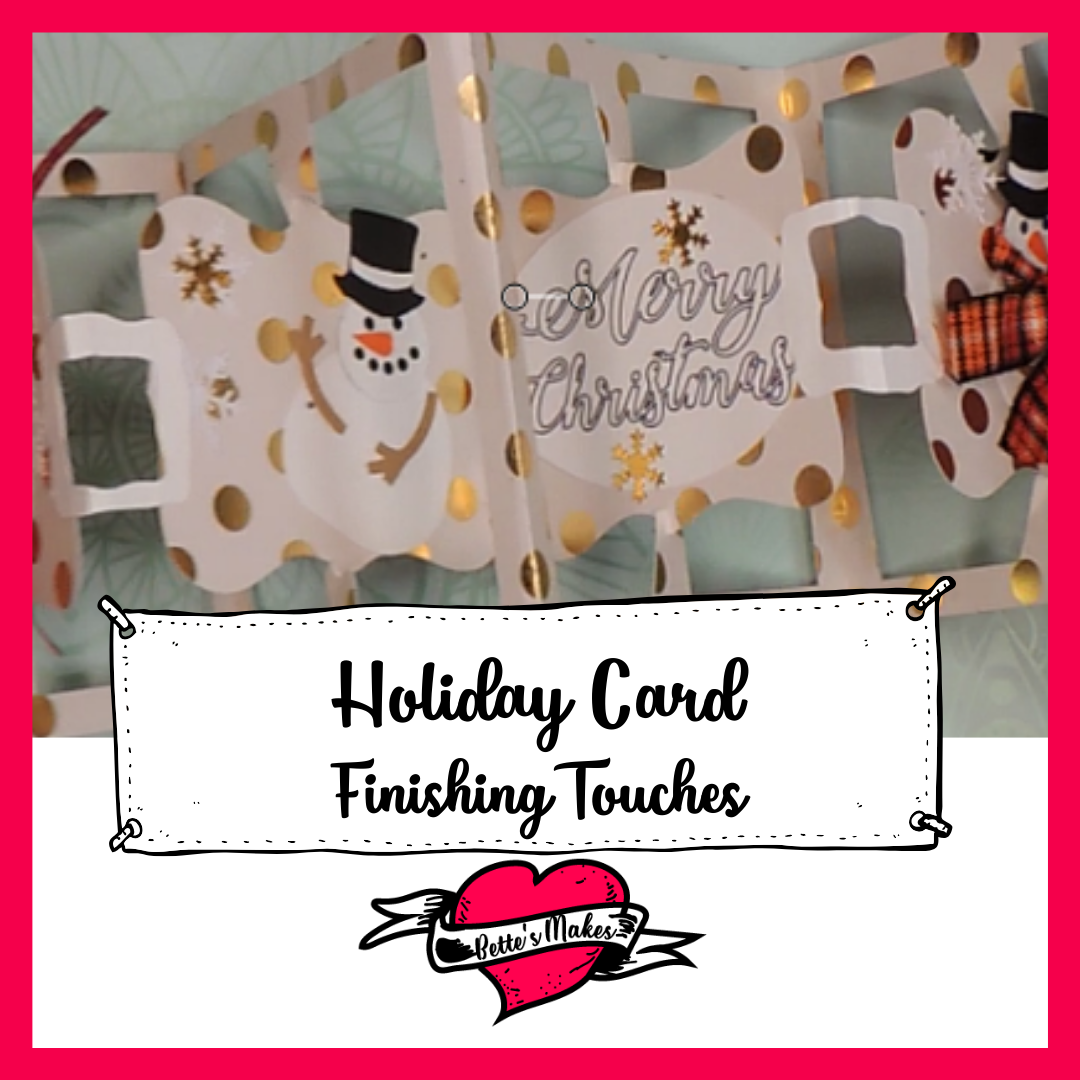
It is now time to thread the centers of each page together to finish off the card.
Before we glue each center piece together, you will need to "train" the center pieces to swivel. This means you will fold the center frame back and forth until it moves easily. As a word of caution, you do not want to tear the paper when you swivel it, so please be gentle!
How to Make an Incredible Holiday Card Video
Last Word
This card was a lot of fun to make, it had lots of design elements such as the snowman, greeting and the folding of the card. At first it looks so complicated, but once the steps are broken down, it is very easy to make.
The biggest issue I had was the glue sticking to my hands as I put the pieces together!
I hope you enjoyed this project as much as I did.
If you made a card, please share it on our Facebook group. https://Facebook.com/groups/BettesMakes
Until next time,
Happy Crafting!


Please join me on Pinterest: https://Pinterest.ca/BetteMakerCreations
Join my Facebook group: https://facebook.com/BettesMakes
Follow me on Instagram: https://Instagram.com/BettesMakes
Subscribe to my YouTube Channel: https://www.youtube.com/c/BettesMakes
Please pin the following image to your favorite Pinterest board!
