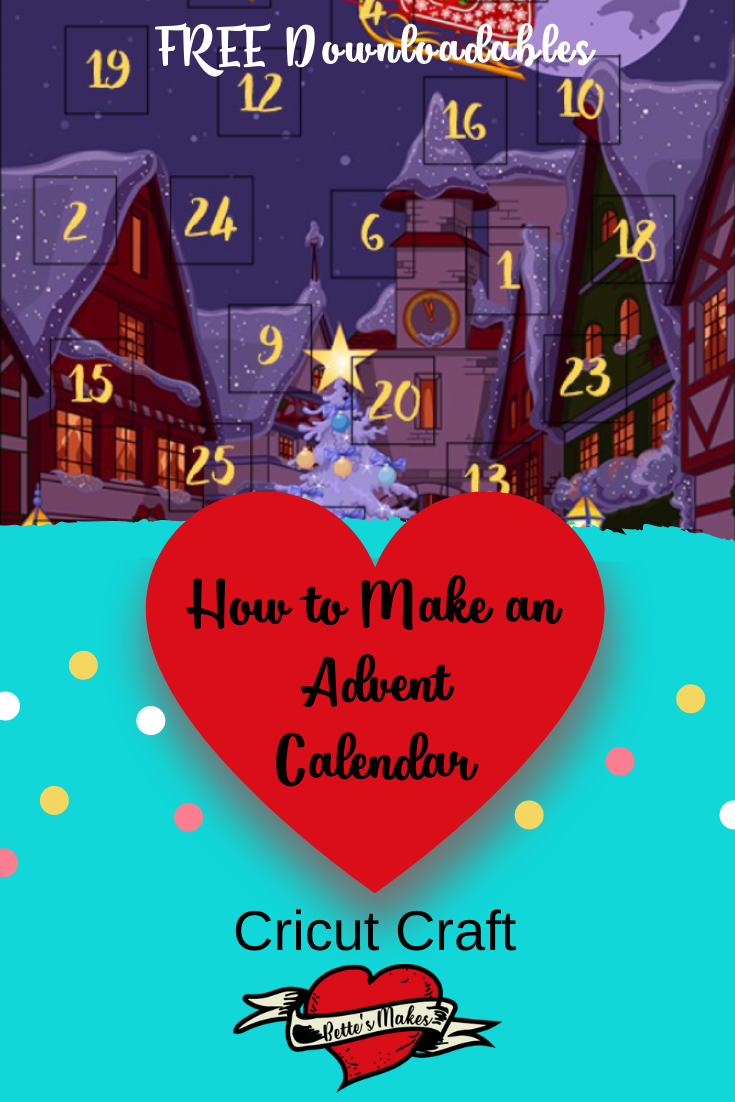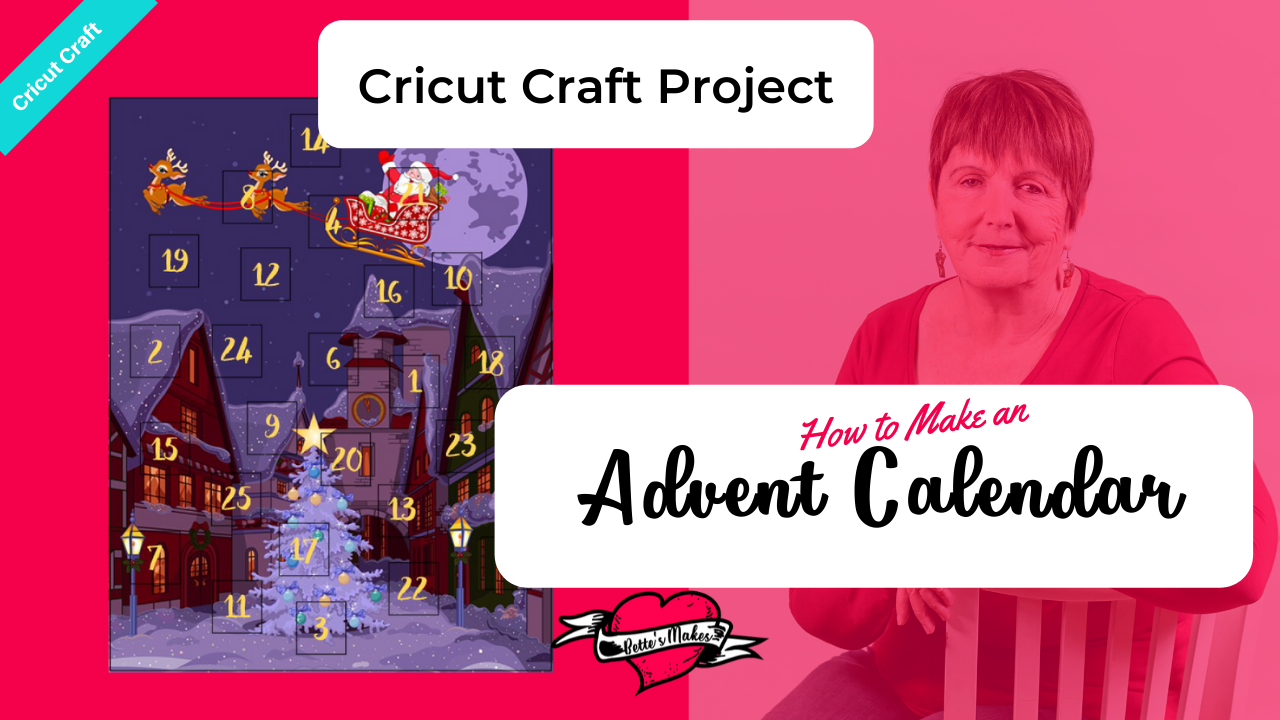
Advent Calendars - Where did it all Begin?
Advent Calendars have been around since the mid-nineteenth century. They were originally used to make the days before Christmas, usually with a chalk mark on the doors. Today it is much different, we tend to place sayings, images, or even chocolates behind the doors.
Advent calendars do not always follow advent traditions in the formal way. For the purposes of the calendar, we mark the days from December 1st right up until Christmas day. Therefore, giving treats for each and every day.
Did you know that the most expensive Advent Calendar stood 4 feet tall and was carved from burr elm and walnut wood (around 2007). Behind each door was a piece of organic chocolate from Green & Black. The cost? $50,000 USD. BTW all the proceeds from this went to support cocoa farmers in Belize.
For this project, I worked on the shape design. My good friend, and extremely talented, Wendy Dewar Hughes created the outside design and inside stickers. All the design and art can be found in my resource library!
Quick Links to Information in this Post
Here’s what you need to make your own Advent Calendar. This post does contain some affiliate links for your convenience (which means if you make a purchase after clicking a link I will earn a small commission but it won’t cost you a penny more)! Read my full disclosure policy.
Advent Calendar Project Materials
Advent Calendar Step-by-Step Guide
Step 1 - Template
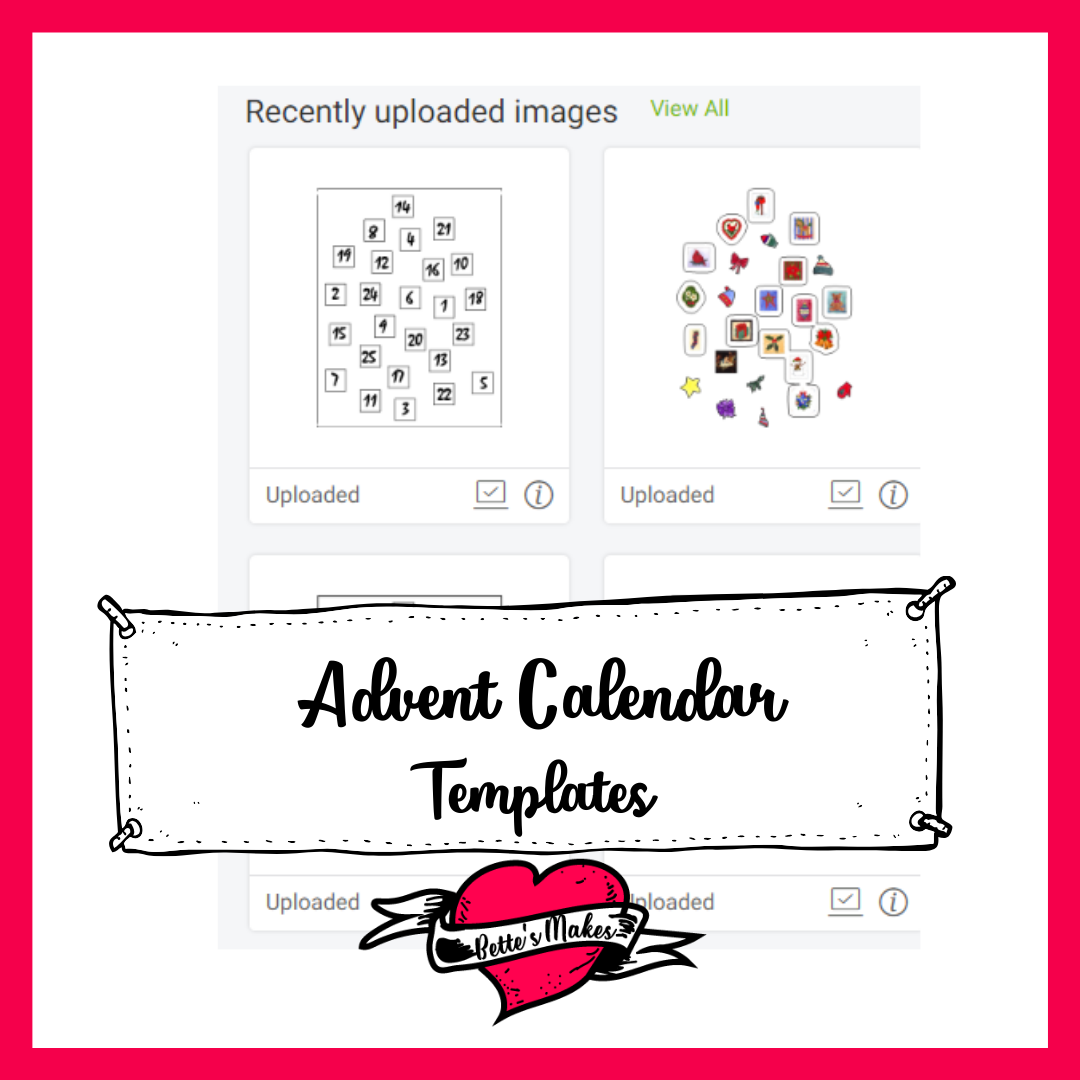
Download the template files (resource library) for this project and upload them to Cricut Design Space.
There will be 3 files:
1. The Calendar bottom
2. The stickers
3. The calendar top (without the image)
Please note that you will need the artwork from Wendy Dewar Hughes printed ahead of time, so that you can use it in this project.
Step 2 - Design Space Adjustments
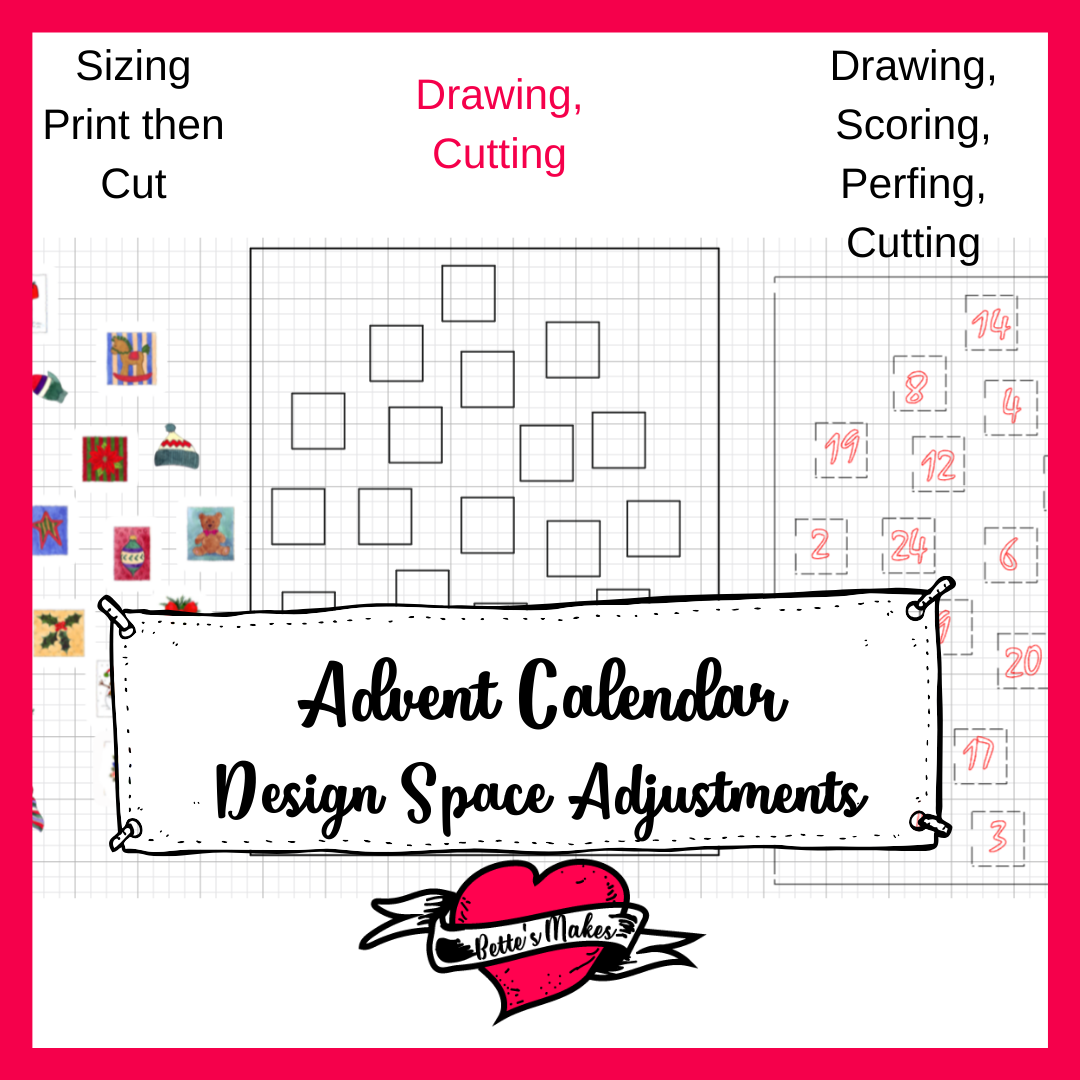
Make changes to the SVG files from all cut lines to cut, score, perf, and draw lines as shown.
You will need to adjust the size of the stickers so that they fit over the advent calendar bottom. Use the outline as a guide for the correct size. Make sure you set these to print then cut.
For the bottom, you will need to set the boxes in the center to draw. These will be used to line up the top, once the project has finished being made.
The top of the advent calendar has several adjustments.
1. Change the numbers to draw
2. Change the left side of each door to score
3. Change the other 3 sides of the doors to perf
Step 3 - Make it!
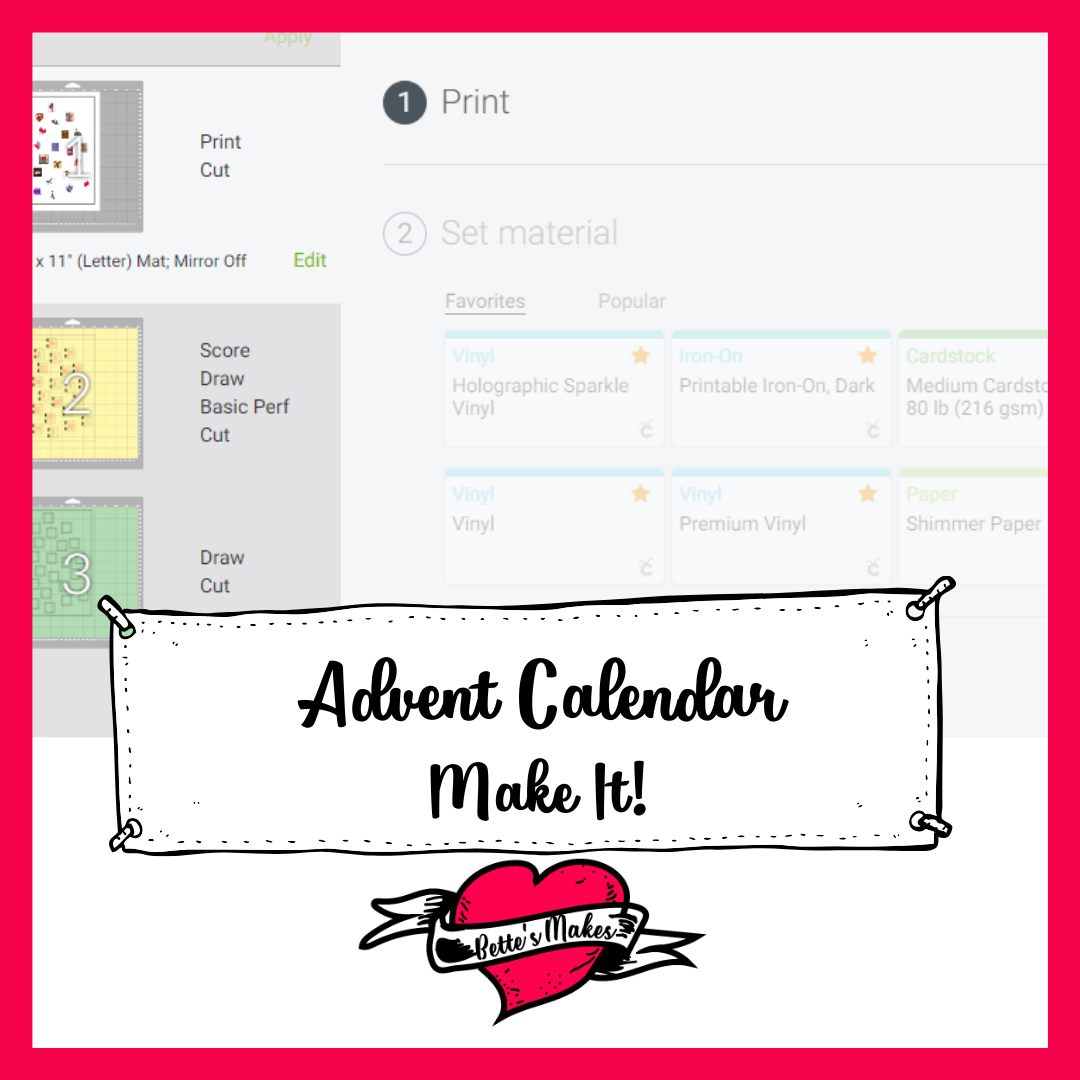
Check your mats and the processes to make sure all the lines are being processed correctly. In other words, make sure you are scoring and perfing in the right locations, while cutting is only the outside of each shape.
The stickers will need to be printed first, then cut. For this you can use sticker paper or cardstock. If you decide on cardstock, you will need to glue the stickers in place.
Step 4 - Assembly
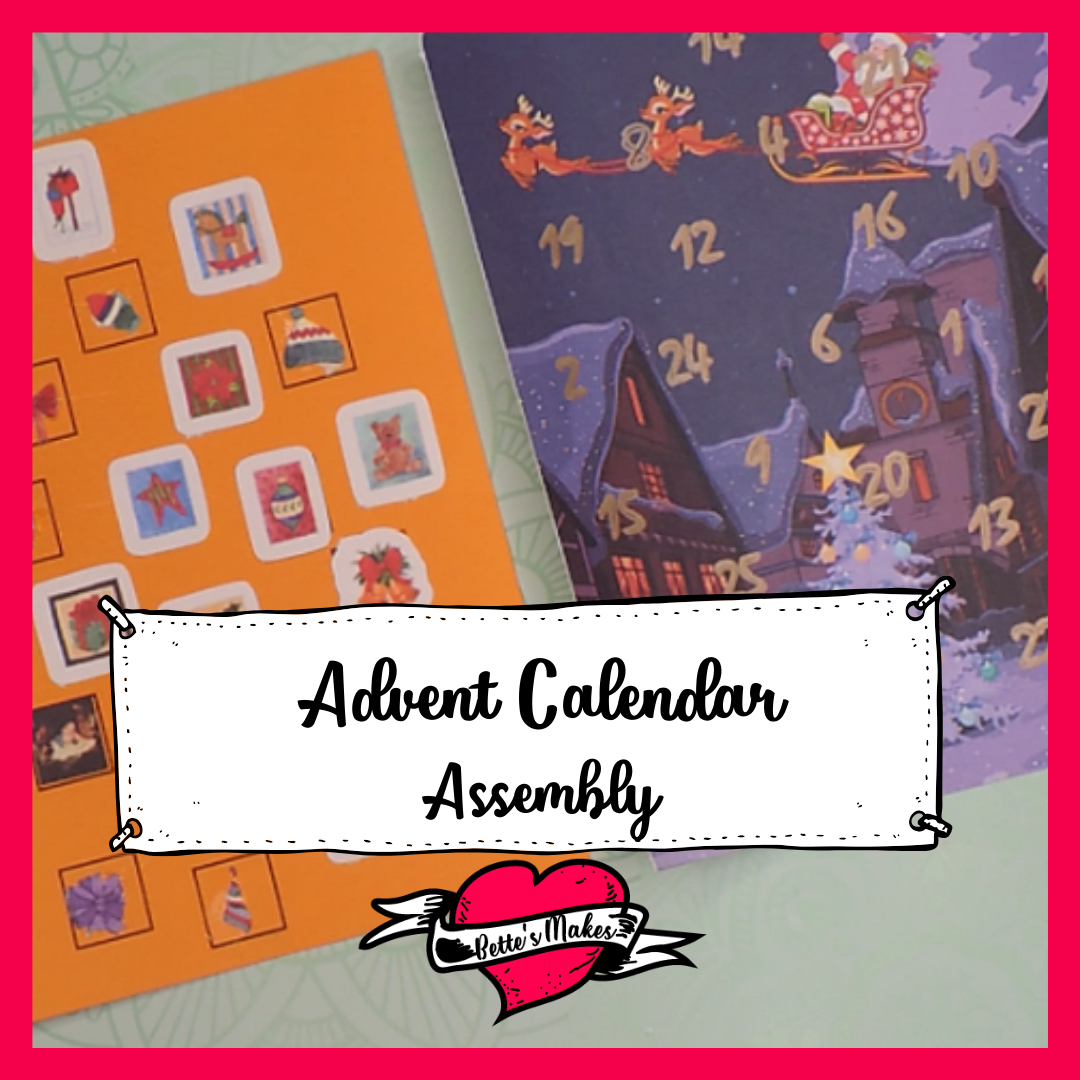
Glue the stickers onto the backing for the Advent Calendar.
Align the top and the back so that the stickers will show in the perfed doors.
Glue the top to the back but just around the outside edges. Do not glue the middle or the doors as they will no longer open.
Trim the edges to make a nice, neat, and clean project.
Share your project on https://facebook.com/groups/BettesMakes
More Craft Ideas from BettesMakes
Here are some amazing crafts you can make from BettesMakes.com
This is just a sampling of the dozens of crafts you can find on my website.
Disney: Storybook Collection Advent Calendar
Christmas is Coming: An Advent Book of Crafts
How to Make an Advent Calendar Video
Last Word
This advent calendar was a pleasure to make. I love working with incredible artists like Wendy Dewar Hughes! Her art is extraordinary!
One thing I had to remember to do was to color in the numbers with a lighter colored pen. I used the Cricut metallic gold for my project so it would match the draw from my Cricut Maker.
Lining up the stickers with the back was a bit challenging at first, until I figured out how to fold the top down a little but so I could see the corresponding lines. Once I had conquered that, it was clear sailing!
I do hope you make this calendar, even if you are a few days late getting started. This way you can pre-open some of the doors to check out your alignment.
If you made an advent calendar, please share it on our Facebook group. https://Facebook.com/groups/BettesMakes
Until next time,
Happy Crafting!


Please join me on Pinterest:https://Pinterest.ca/BettesMakes
Join my Facebook group: https://facebook.com/BettesMakes
Follow me on Instagram:https://Instagram.com/BettesMakes
Subscribe to my YouTube Channel: https://www.youtube.com/channel/UCzMHoceK1XiXi8IykicnUmQ
Please pin the following image to your favorite Pinterest board!

