Christmas Tree Ideas
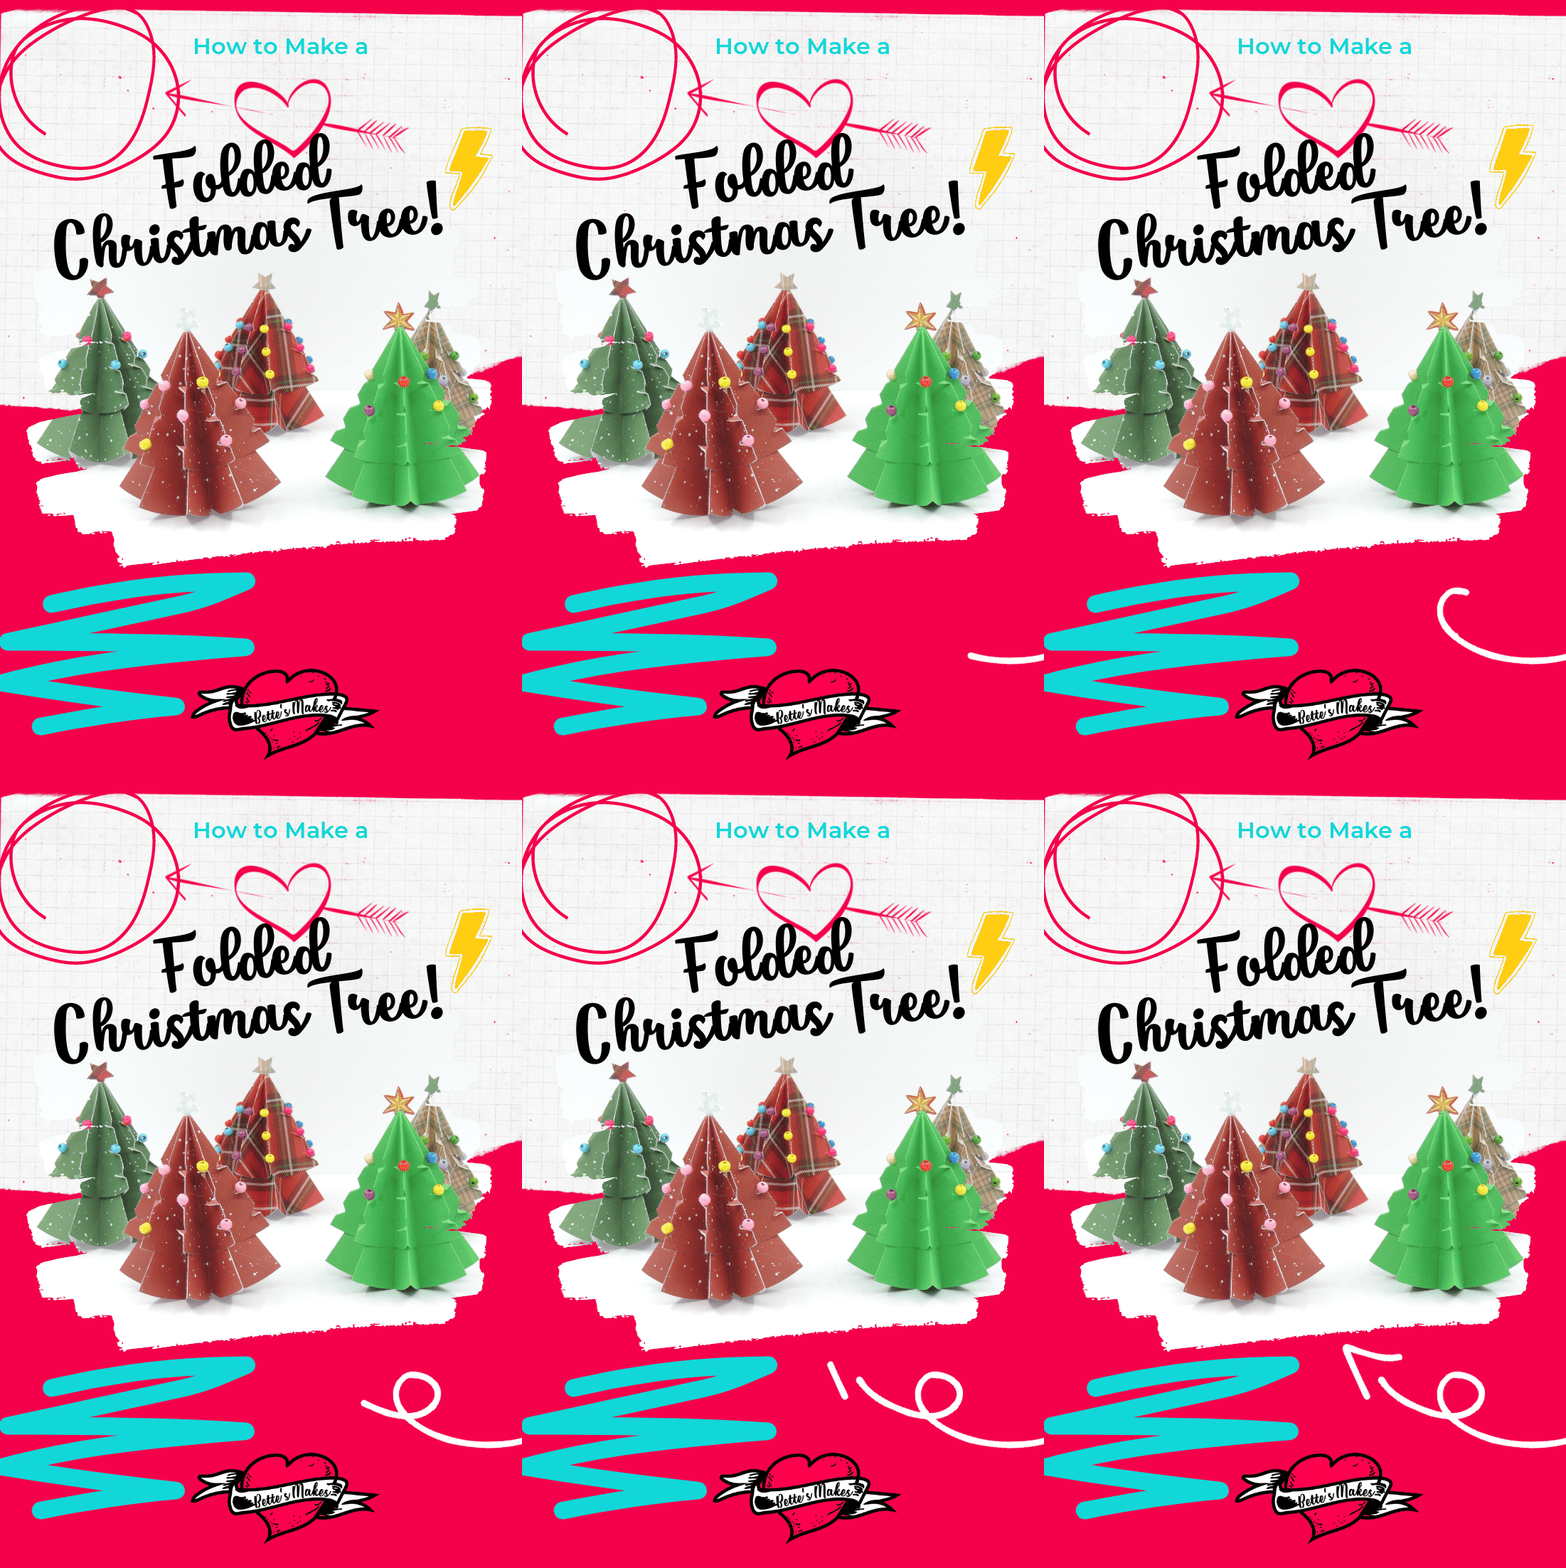
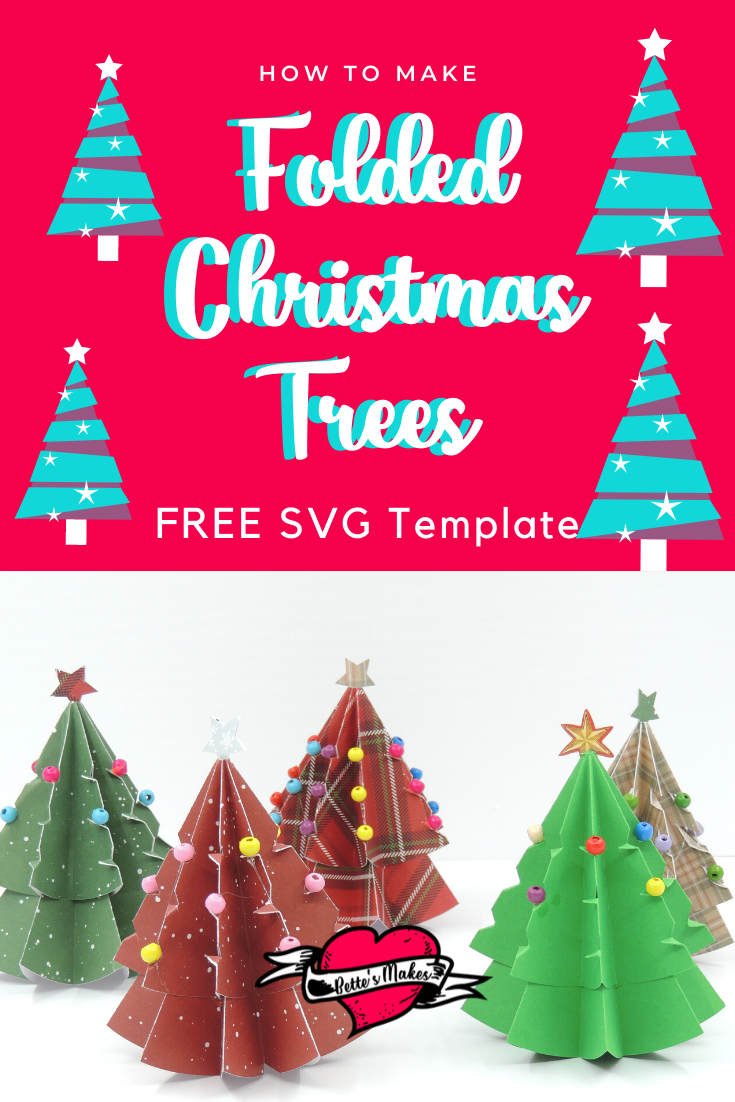
I Christmas Tree ideas are all around us and this Christmas tree is absolutely perfect for DIY Home Decor. This tree was originally a paper folding tree, which I adapted for use with your Cricut cutting machine! I actually designed the template and SVG file from scratch with no idea that the project would turn out of beautifully!
My goal was to create something that the whole family could put together, whether you had a Cricut cutting machine (or other product), or if you wanted to take the template and print it on cardstock and cut it by hand.
Either way, making these trees is so very simple - I know you will enjoy this.
Did you know that you can also do this project using Origami papers and simply fold and cut where necessary? Many Origami projects can be converted into Cricut Craft cut files - this way your folds will always be perfect. If you have an Origami project you want to have designed to use with the Cricut or other cutting machine, be sure to let me know and I will add the project to my list. My contact information is available at the end of this blog post.
Other projects made with a cutting machine can include score lines - perfect for getting that ideal fold. You can also use other tools such as the perf tool, the perforation tool, and the knife tool. You can even double score with a special tool! I have even purchased the wavy blade just to add more fun to my projects!
Don't forget that I have posted the template for this project in my resource library (#215) and also made a video on how to assemble the tree (see below in the video section).
Quick Links to Information in this Post
Here’s what you need to make your 3D Frame. This post does contain some affiliate links for your convenience (which means if you make a purchase after clicking a link I will earn a small commission but it won’t cost you a penny more)! Read my full disclosure policy.
Christmas Tree Materials
Christmas Tree Step-by-Step Guide
Step 1 - Template
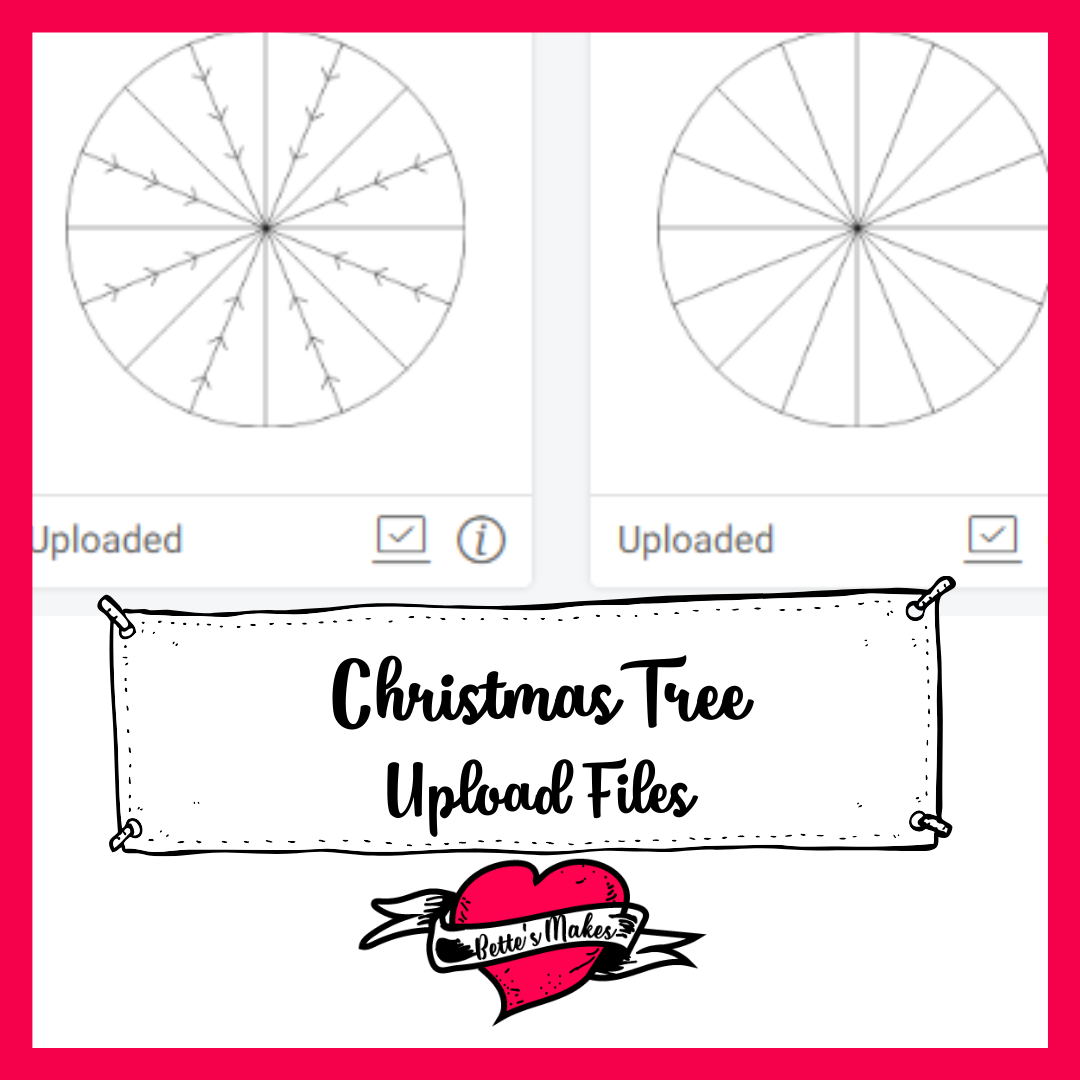
Download the template files (resource library) for this project and upload them to Cricut Design Space.
There is 1 file to download:
Folded Tree ZIP file
Extract the 2 files from the Zip container
Please note that you will need to upload these files to design space once you have unzipped them.
You will need to draw your own stars on the canvas unless you have your own to upload.
Step 2 - Design Space Adjustments
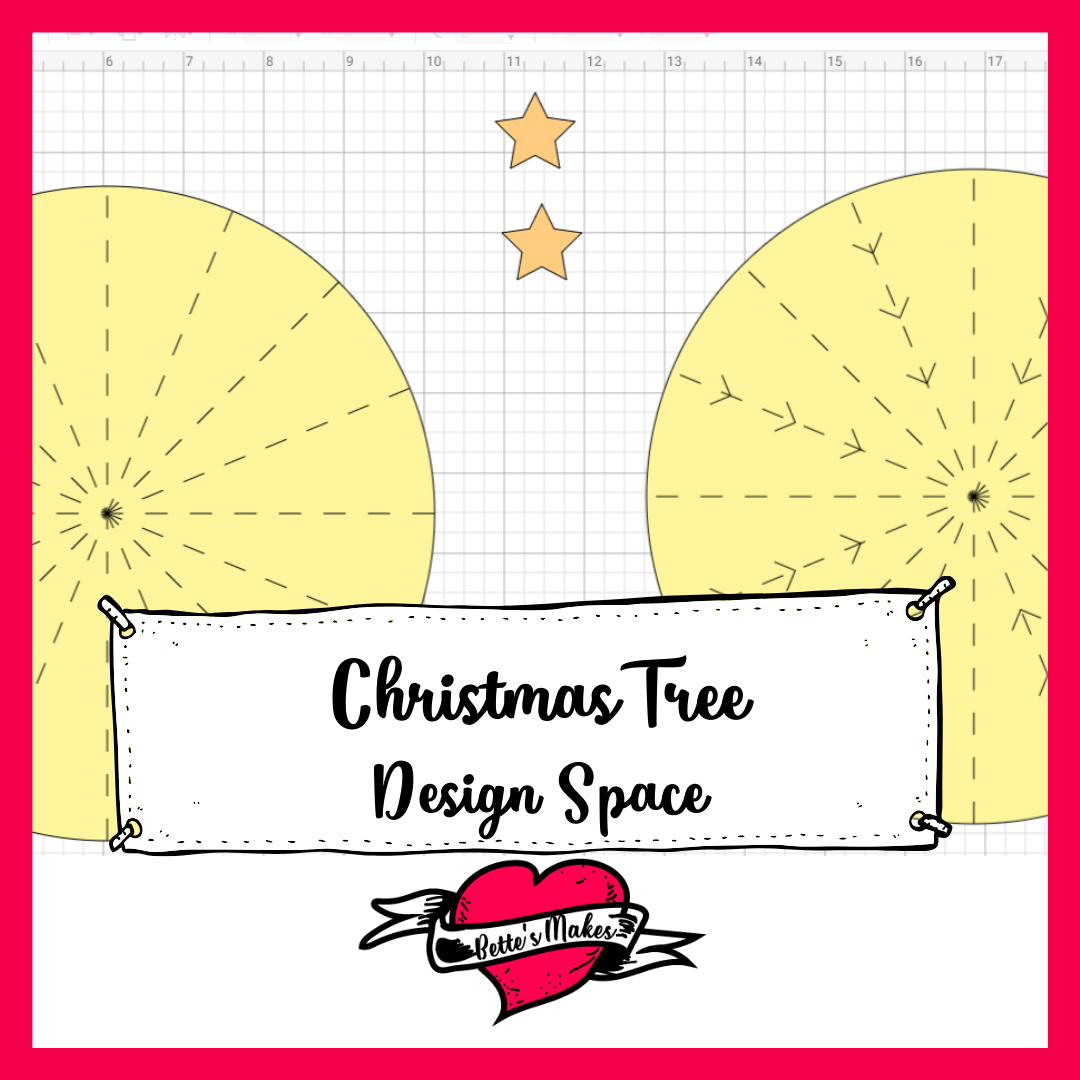
Make changes to the SVG files from all cut lines to cut and score lines as shown.
The sizing should be perfect when you bring in the file to design space, but you can adjust the size to larger or smaller, depending on your needs.
If you make any adjustments, make sure both tree pieces are exactly the same size or your project will not fit properly when you put the two pieces together.
The SVG file often comes in as black and you will not be able to see all the lines. Here is what you need to do so you can make this project.
1. Change color of the project to yellow or other lighter color.
2. Move the two pieces away from each other then ungroup each one. Watch the layers panel to make sure everything is ungrouped. Be careful not to move anything when the pieces are ungrouped.
3. In the layers panel select the circles (one at a time) for each piece and Arrange them so they are at the back. This way you will be able to see the radial lines.
4. Change the radial lines for each group from cut to score.
5. Regroup each circle.
6. Select each circle, one at a time, and click on Attach. This way this score lines and small cut lines will stay together when you go to make the project.
7. Save your file, select your machine, click on Make it!
Step 3 - Make it!
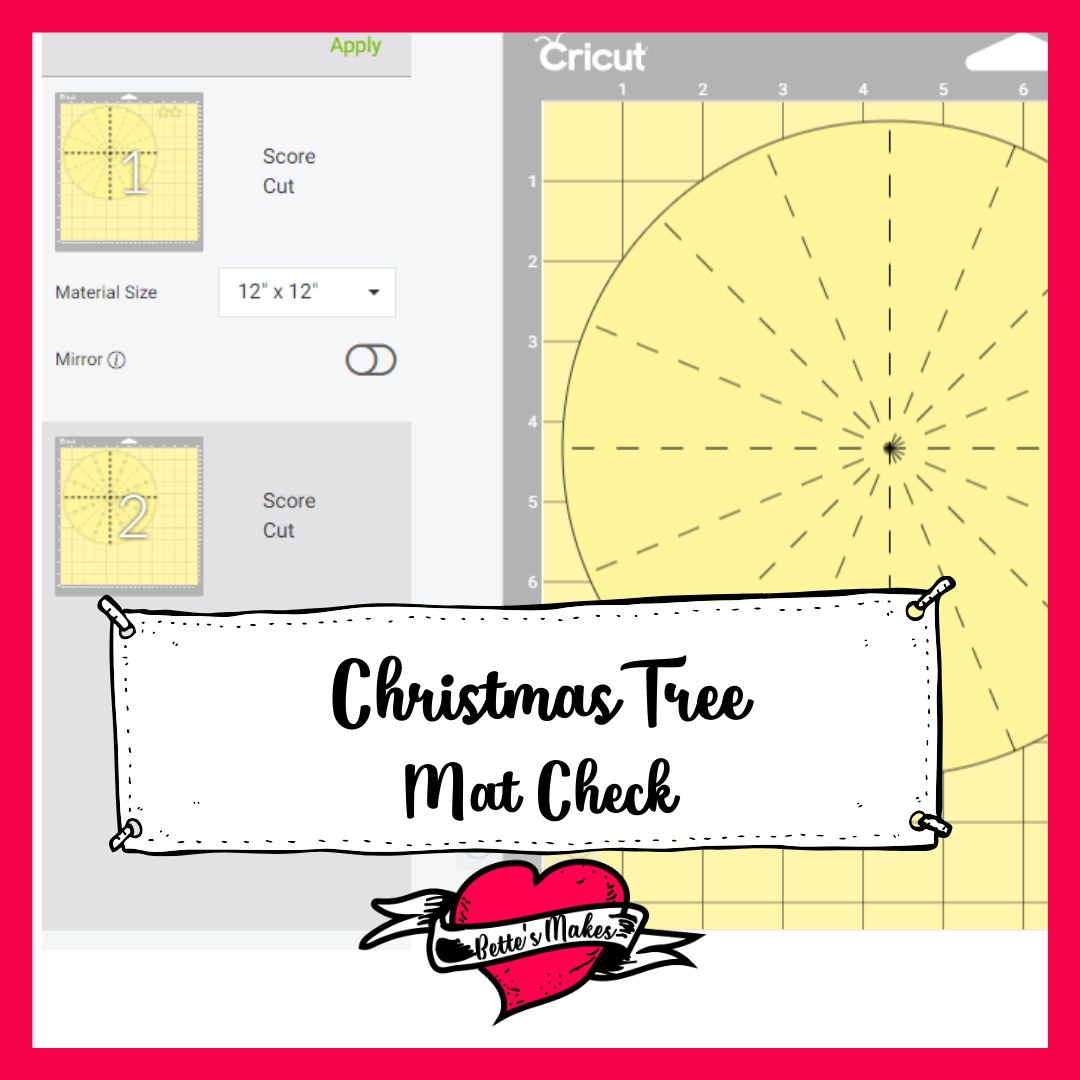
Check your mats and the processes to make sure all the lines are being processed correctly. In other words, make sure you are scoring and cutting in the right locations. Scoring should be for the radial lines in each circle, while cutting is for the outside of each shape plus there are also small "V" shaped cut lines on only one of the circle templates.
When everything checks out - press continue, choose your paper type, add the cardstock to your mat, and press the load button.
Your Cricut should now cut the pieces you need for making the Christmas Tree.
Step 4 - Assembly
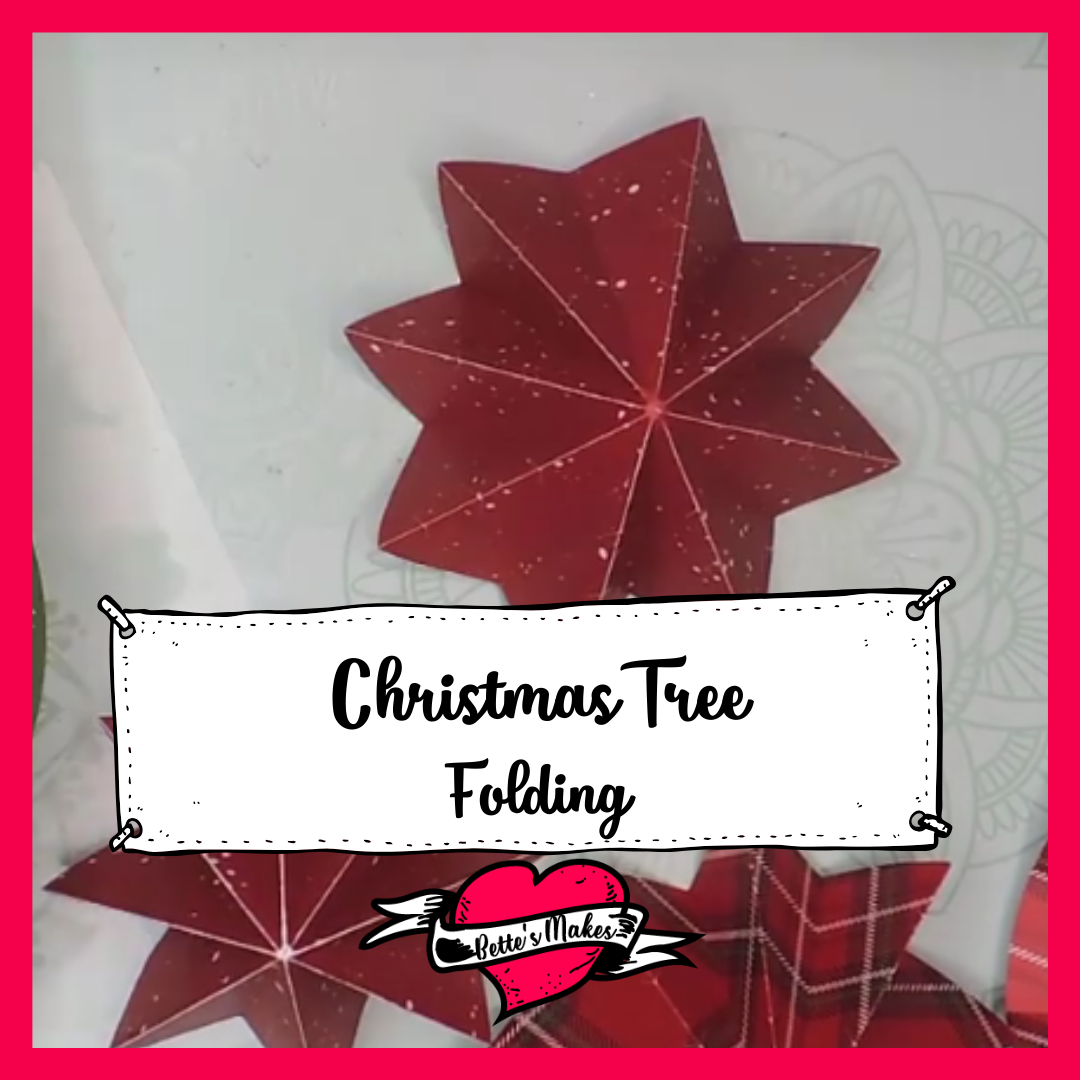
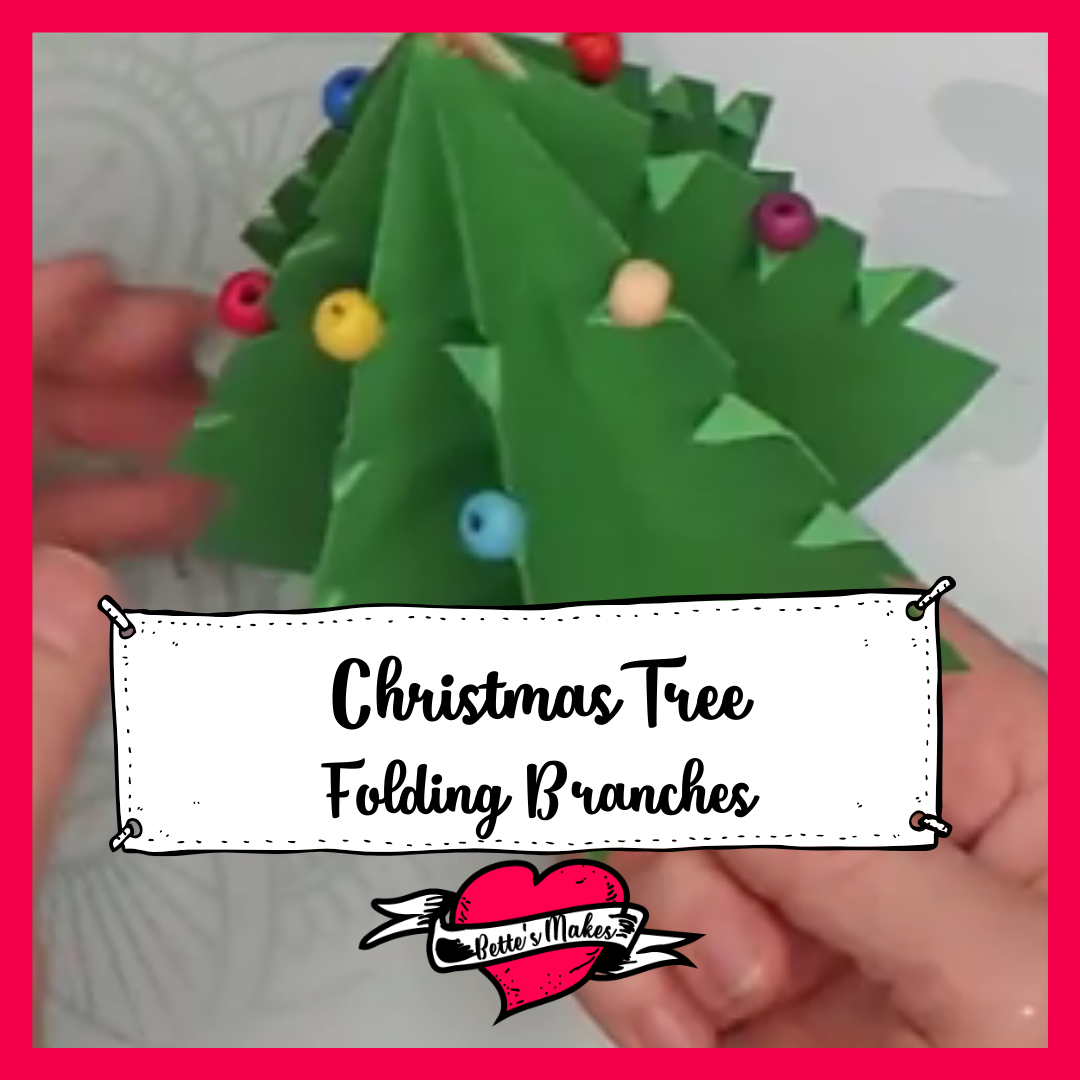
Once you have all your pieces cut and have removed them from your mats, it is time to put the tree together!
We will start with the bottom layer of the tree. This is the circle without the extra cuts in it.
You will be folding your circle using mountain and valley folds.
Locate the first score line, and fold a mountain fold so that the image side of the paper is on the outside.
For the next fold (valley), you will fold in the opposite direction with the image side of the paper to the inside.
Repeat inside, then outside until all the folds are completed for both circles.
Take the circle with the small cuts and make sure the image side of the paper is on the outside.
Find the first small cut at the top of any mountain fold and fold it down (it forms a small platform). Do the same for all the remaining small cuts.
Take your scissors and snip off the top of the tree (not too big a cut, just enough so that the point of the star can fit into the slit. Glue the star pieces together, then glue the star in place (put one of hte points into the slit you just made in the tree).
Time to decorate!
Glue small beads or other objects onto each of the platforms to finish off the tree.
Lastly, stack the second folded circle inside the decorated tree. This will form the stand for your tree. It will also allow you to adjust the height of the tree.
You are now finished your project!
Share your project on https://facebook.com/groups/BettesMakes
Great Reading on Christmas Crafts
If you have not had enough crafting this holiday season, then here are a few books to give you more ideas. I love decorating, and these books will inspire you as well.
Christmas Paper Crafting - this is my favorite - 30 incredible ideas to use!
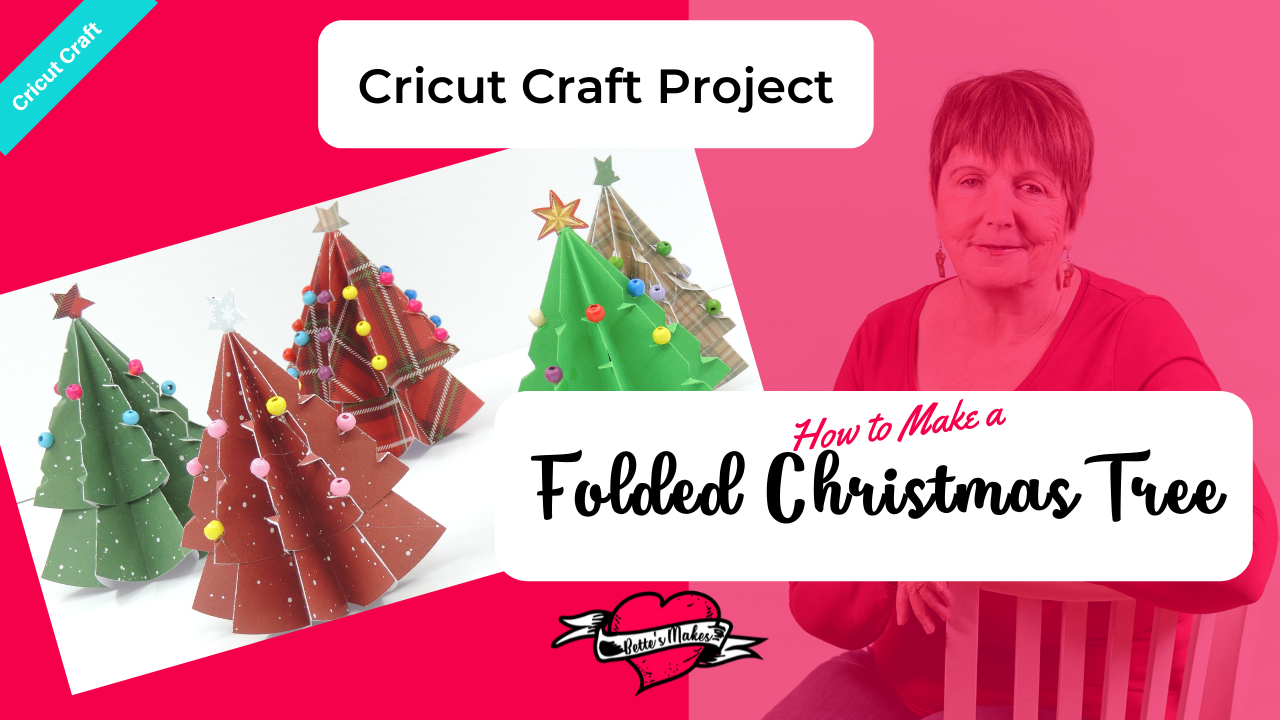
How to Make Folded Christmas Tree Video
Last Word
These trees provided a lot of fun and entertainment for my family! We have decorated all over our home! The best part was that by cutting and scoring with my Cricut, we were able to put together these trees a lot faster. Without a Cricut, it would be more time consuming but still fun!
I love the decorating part. I used small beads from the dollar store but you could use any kind of small ornament - I also found some brads that were a good fit although I did not use any. I am thinking about using the stick-on gems for one of my next trees. The possibilities are endless. You could even make something to hang from each folded branch.
The biggest issue I had was the glue sticking to my hands as I put the pieces together! I need to find a good solution for my glue attempts! I am sure glue will get me in more trouble in the future. Any suggestions on how to stay out of the muck? Let me know at bette@bettesmakes.com
I hope you enjoyed this project as much as I did.
If you made a card, please share it on our Facebook group. https://Facebook.com/groups/BettesMakes
Until next time,
Happy Crafting!


Please join me on Pinterest:https://Pinterest.ca/BettesMakes
Join my Facebook group: https://facebook.com/BettesMakes
Follow me on Instagram:https://Instagram.com/BettesMakes
Subscribe to my YouTube Channel: https://www.youtube.com/channel/UCzMHoceK1XiXi8IykicnUmQ
Here are my graphics you can pin to your favorite Pinterest board. I truly appreciate everything you pin from my blog posts.
