Parchment Paper is a Game-Changer when it comes to layering!
Making Layering Easy
Parchment Paper? YES! I have never been so impressed with how easy it makes layering and minimizing any bubble you may have when add large layers (and small ones as well), to a design.
You are likely to avoid any large pieces when layering as the transfer tape tends to stick where you do not want it to stick. You want to line things up but making adjustments until it is right have always been a struggle, to say the least.
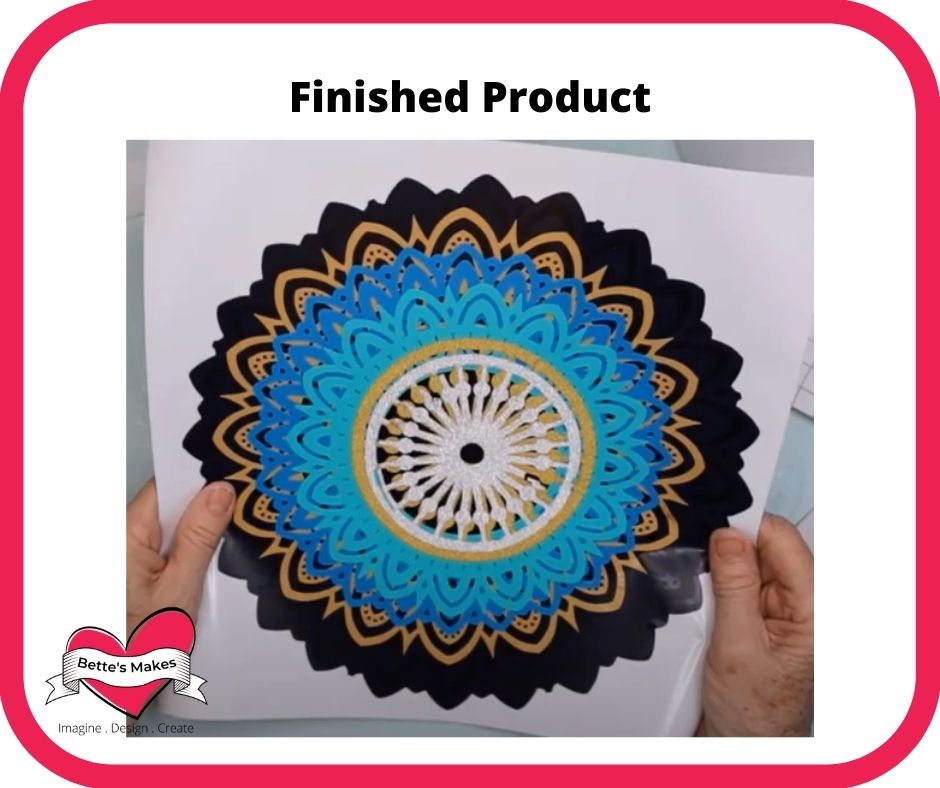
Parchment paper has now made this issue a thing of the past. We proved it with a 7-layer Mandala in this tutorial. You can get the FREE Mandala file from Design Bundles, click here to access yours.
Here’s what you need to make your 7-Layered Mandala. This post does contain some affiliate links for your convenience (which means if you make a purchase after clicking a link I will earn a small commission but it won’t cost you a penny more)! Read my full disclosure policy.
Quick Links to Information in this Post
7-Layered Mandala Materials
7-Layered Mandala Step-by-Step Guide

Step One - Download the Template from FontBundles
Upload the SVG file into Cricut Design Space.
Add the file to the Canvas

Step Two - Deciding on Colors and Materials
There are 7 layers in this project and making it will require you to make a decision on what colors you want to use.
First, choose the back layer color. For mine, I used plain black. This backing should be non-permanent vinyl
Choose the other 6 colors as you wish. I used a series of blues for mine. These layers should be permanent vinyl.

Step Three - Cricut Design Space
You do not need to make any adjustments once you upload your file.
If you want to make the mandala smaller, you will need to resize the entire group to the size you want.
Do this with all layers selected to make sure everything will still fit.
Set up your materials and cut the project.

Step Four - Weeding
This is where you can have some fun
You will need to weed each piece of the mandala before putting it together. There are many small pieces so make sure you get them all.
I use baby powder to place on top of the weeding surface in order to see all the small pieces.

Step Five - Using Parchment Paper
Do this for each element except the back layer. Add your transfer paper (tape) to the top of each piece and pull it off the backing.
Cur a piece of parchment paper for each element and place it under the element.
For layer 1 - the back, leave the backing in place as all the other layers will be attached to this layer.

Step Six - Layering
Start with the largest element, place the parchment paper underneath with approximately 1" below the top. this way the element will be sticking out at the top.
Take the top part that is sticking out and line it up with the back element. When you are happy with the way it lines up, press it down with your scraper.
Gradually pull the parchment paper out and press down from the top until the entire element is stuck in place.
Remove the Transfer Paper.
Repeat for each of the subsequent layers until all of them are stuck in place.
More Craft Ideas from BettesMakes
Here are some amazing crafts you can make from BettesMakes.com
This is just a sampling of the dozens of crafts you can find on my website.
7-Layered Mandala Video
Last Word
This mandala came in 7 layers and looked really complicated to put together. However with using parchment paper, the layers were so easy to line up.
This was so perfect for someone just starting out on their Cricut Crafting journey! Remember if you do not have all the supplies (as in the vinyl) you can always find a work around and use paper layers instead. With paper, you will need to apply glue to the back side of each layer.
I hope you enjoyed this project as much as I did.
If you made a mandala please share it in our Facebook group. https://Facebook.com/groups/BettesMakes
Until next time,
Happy Crafting!
Please join me on Pinterest: https://Pinterest.ca/BetteMakerCreations
Join my Facebook group: https://facebook.com/BettesMakes
Follow me on Instagram: https://Instagram.com/BettesMakes
Subscribe to my YouTube Channel: https://www.youtube.com/c/BettesMakes


