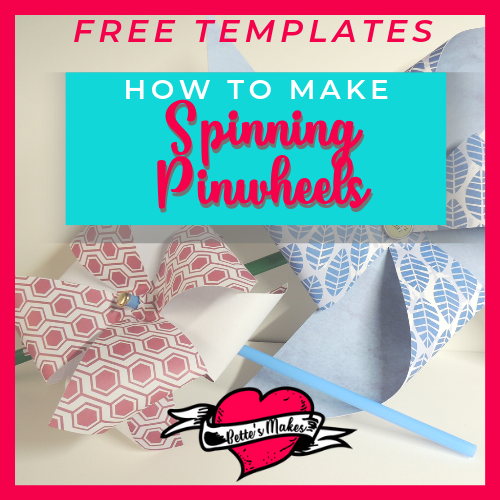
Pinwheels Promote Creativity
Pinwheels are sometimes part of summer and spring but did you know that you can create pinwheels any time of the year and make them a part of your DIY Home Decor? I make pinwheels for all seasons and it takes creativity to come up with themes each month! This fall I plan on making Hallowe'en pinwheels and then adding some for Christmas as well.
In some areas pinwheels are also called windmills. So don't get confused with the terminology as pinwheels and windmills for this article are totally interchangeable.
As you may be aware (or not) I love to design using Illustrator, and I designed some templates just for this post over the past couple of weeks. I have made these templates available for you to use anytime you wish. I do not charge for the designs, I just want you to enjoy them for your own crafting needs,
You will find the templates in my resources library - all free for the download! If you are not already a subscriber to my newsletter, you will need to do so in order to get the password to the resource library - it is all FREE and I do not charge anything for the files there.
Here’s what you need to make your own Spinning Pinwheels. This post does contain some affiliate links for your convenience (which means if you make a purchase after clicking a link I will earn a small commission but it won’t cost you a penny more)! Read my full disclosure policy.
Quick Links to Information in this Post
Spinning Pinwheel Materials
You need very few supplies for this project (budget friendly)
Folding Umbrellas Step-by-Step Directions
This is a general step-by-step guide. I suggest you watch the video below to get more details on how to put together these gorgeous folding umbrellas. For this guide I have used a template made for using with a Cricut cutting machine. You can also cut any of the templates by hand.
Step 1
Download the template from the resource library.
Upload the file to Design Space and open it in a new project.

Step 2
Remove your cut project pieces from your Cricut mat.
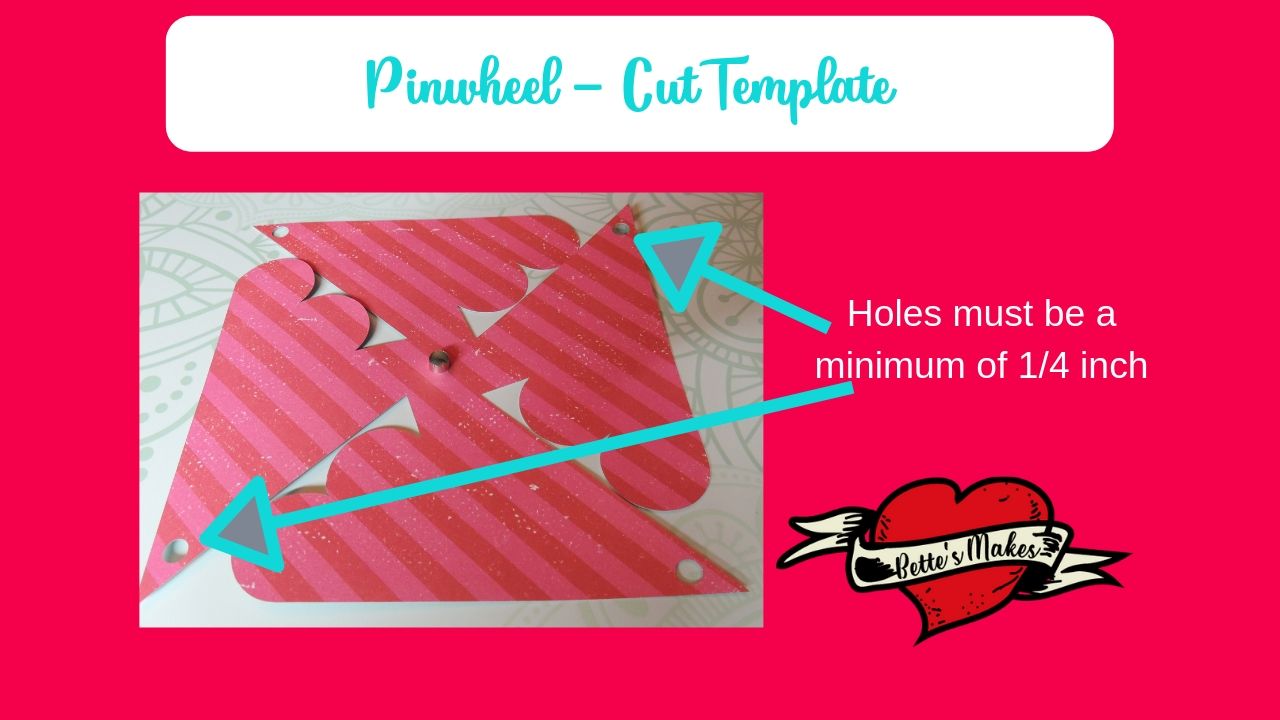
Your cut project should have round holes cut out of the main design (one quarter inch holes work the best) - these will be used for placing ends together into the eyelet.
Step 3
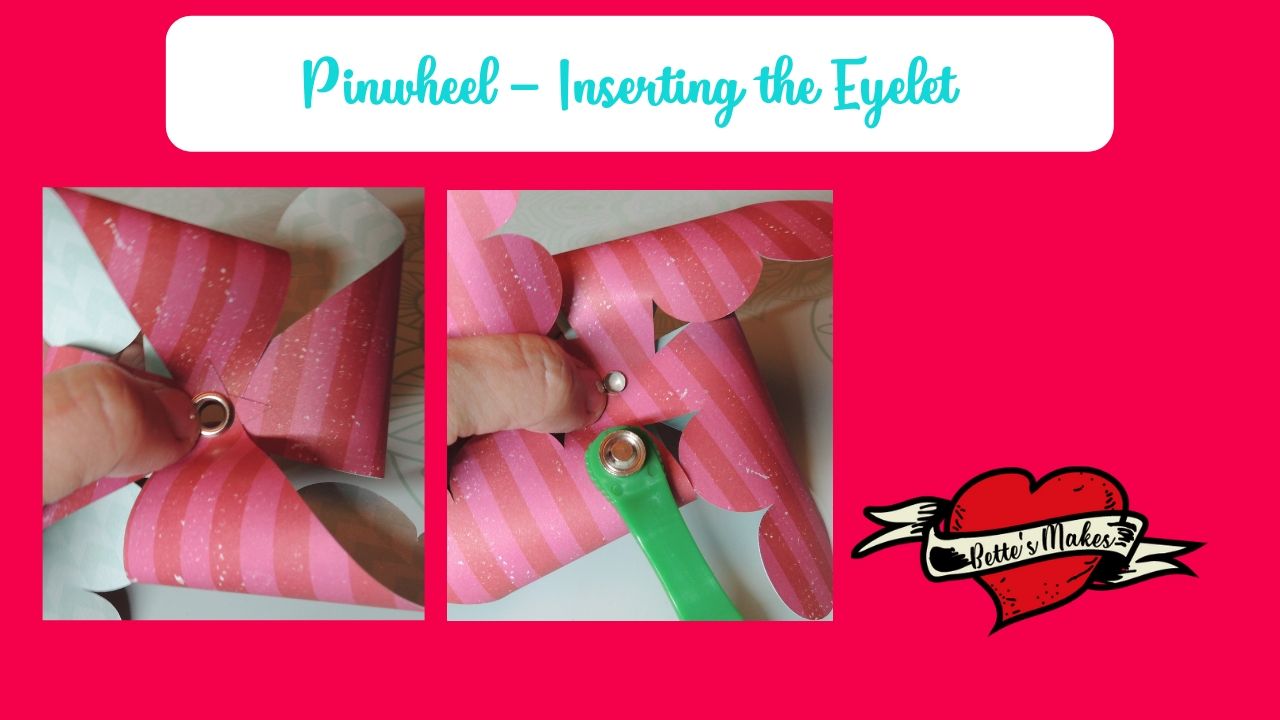
In this step we will be putting the eyelet in place. You will want the smooth side of the eyelet at the front of the pinwheel to give a great appearance when the project is finished. Start by placing the ends of the pinwheel onto the eyelet then place the center on top.
You will need to flip the pinwheel over so you are viewing the back side and the rough edge of the eyelet is visible. Make sure you place everything on a flat surface and if you have an eyelet tool, place the smooth edge on top of the round disk and hold it in place.
Now place the eyelet tool into the eyelet making sure it is secure and pound it with a hammer 3 or 4 times to make sure the edges are bent outwards.
The end result will be a crimped eyelet that holds the entire pinwheel together. This eyelet is what will help your pinwheel spin.
Step 4
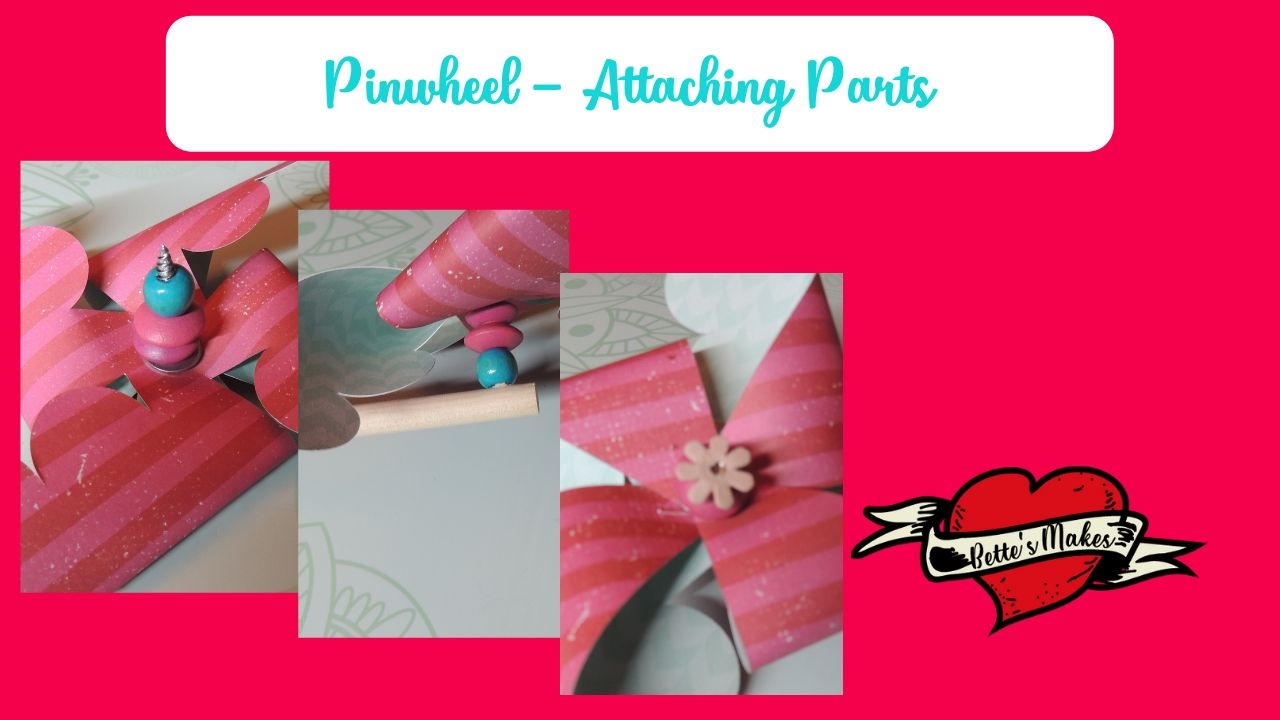
Take your long wood screw and insert it part way into the dowel to make sure it will be easy to screw in place once you have all the beads in place.
Add a bead to the screw - this will be the bead that shows in the front of the pinwheel.
Slide on the pinwheel through the eyelet.
Slide on more beads or tubing but leave enough space at the end of the screw so it can penetrate the wooden dowel handle.
Using your screw driver, attach the screw end into the dowel - make sure you move it gently so you will not split the dowel - You only want the screw to go halfway through the dowel.
Check your pinwheel to make sure it will spin and not be too loose. If it is loose, you will need to add more beads. If it is too tight, loosen the screw by half a turn (make adjustments as you deem necessary)
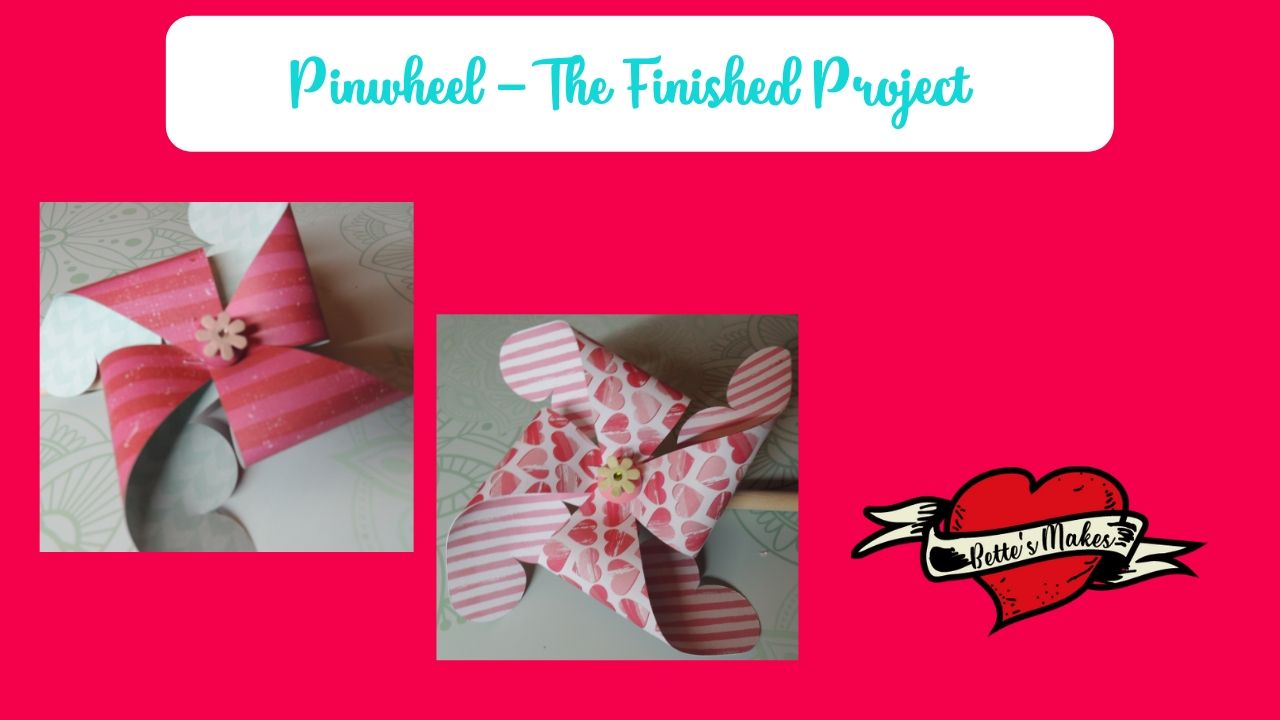
Add any other decorations you wish to your pinwheel and start spinning!
Pinwheels Reading
There are so many designs you can use for your pinwheels that it is difficult to stop at 2 or 3. Once you get the hang of putting these great decorations together, you will be able to make many more. Don't forget that I have added a number of templates into my resource library that you can use. In any case, here are some great books on making pinwheels.
How to Video for Making Pinwheels that Spin
Here is the step-by-step video on how to make pinwheels that spin!
Last Word
There are so many ways you can make a pinwheel and my method is just a starting point. I experimented with many "spinning" techniques and found that more of those presented did not work very well. There are attachments you can purchase but I found that the shipping price was way over the top plus the attachments were always out of stock. Very perplexing! So it was time to invent my own spinning techniques that would work and be durable (and safe). I did not like the idea of using tacks for pinwheels because of the safety factor with sharp pieces coming loose. By using a screw, I eliminated the ease of coming apart.
I am planning more experimental crafts in the near future (fall is approaching and I will e spending more hours indoors than I have been during the summer months.
Until next time,
Happy Crafting

Pinterest: Pinterest.ca/BettesMakes
Instagram: Instagram.com/BettesMakes
Group: Facebook.com/groups/BettesMakes
Facebook: Facebook.com/BettesMakes
YouTube: https://www.youtube.com/channel/UCzMHoceK1XiXi8IykicnUmQ
Please pin this image to your favorite board so that you can return to make these fun and creative pinwheels at any time.
