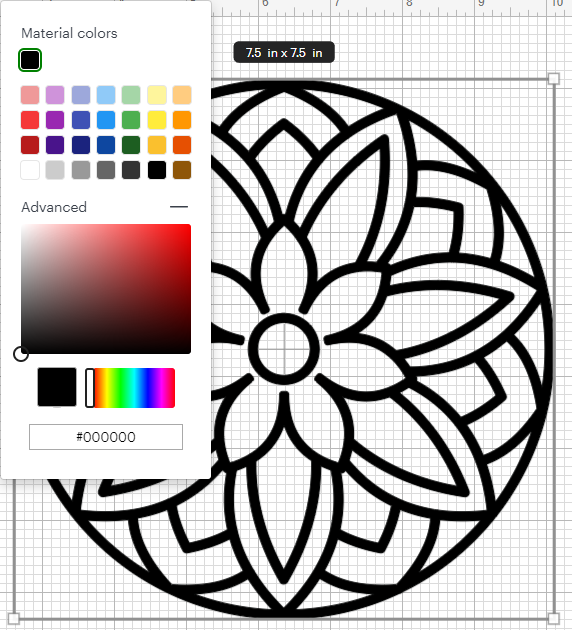
Learn how to use the Cricut Contour tool to remove unwanted cuts, create custom layers, and design intricate multi-color projects like a pro—even if you're just starting out.
Discover how to master the Contour feature in Cricut Design Space to create stunning layered projects. This step-by-step guide will help you build intricate mandalas, flowers, and dragonflies with ease—perfect for card making, wall art, and personalized crafts.
Whether you’re a Cricut beginner or a seasoned crafter, chances are you’ve overlooked one of the most powerful tools in Cricut Design Space: Contour. In this step-by-step tutorial, we’ll walk you through how to use Contour to clean up your SVGs, create beautiful layered effects, and elevate your crafting game.
🎯 What Is the Contour Tool in Cricut?
The Contour tool allows you to hide or reveal cut paths within an SVG file. It’s especially useful for:
- Removing unwanted holes (like in offset layers)
- Filling in tags or shapes
- Creating custom multi-color layers
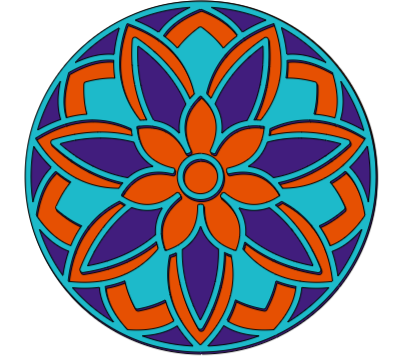
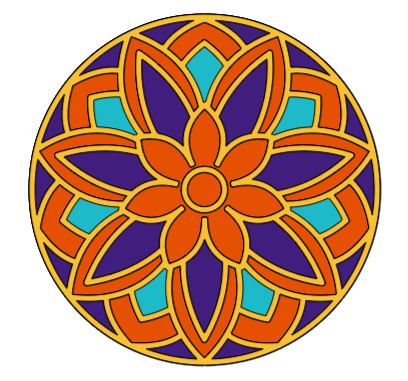
- Designing your own mandalas
🛠️ What You’ll Need:
- A Cricut Maker, Explore, or Joy
- Cricut Design Space
- SVG files (try the included Floral and Dragonfly designs: Assets #485 & #486)
- Your choice of materials (e.g., cardstock, vinyl)

🔍 Step-by-Step Guide to Using Contour for Layered Designs
🔹 Step 1: Upload Your SVG File
- Open Cricut Design Space.
- Click “Upload” and choose your SVG file (e.g., a floral or dragonfly design).
- Insert it onto your Canvas.
Tip: SVGs work best with Contour. PNGs do not support this function directly.
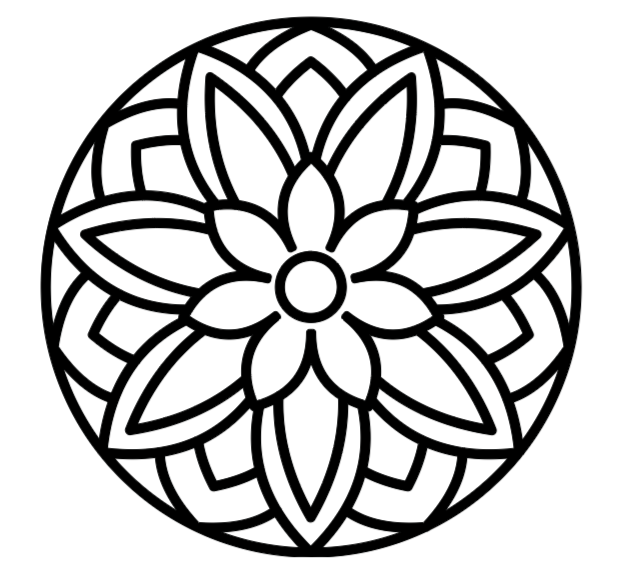
🔹 Step 2: Create a Back Layer
- Duplicate the image. This will become your back layer.
- Select the duplicate.
- Click “Contour” in the bottom-right panel.
- Click “Hide All Contours” to create a solid shape.
- Change the color to something bold like red (to differentiate layers).
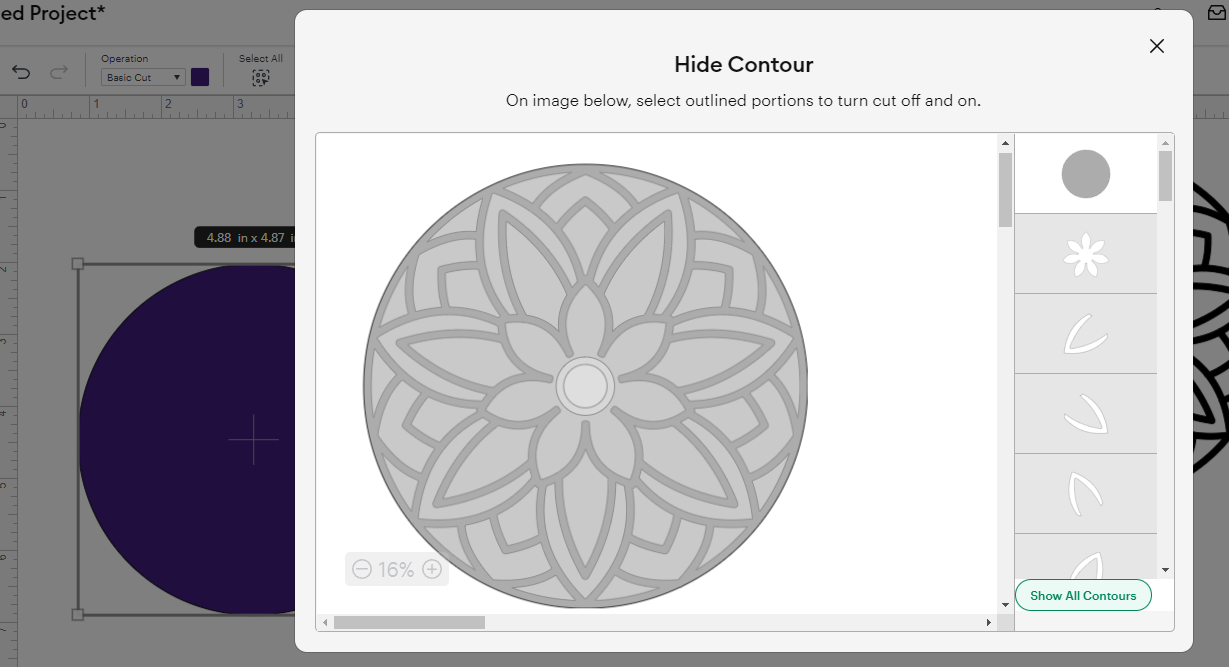
🔹 Step 3: Build Your Second Layer
- Duplicate the original again and stack it above the red base.
- Change the new layer’s color (e.g., purple).
- Click “Contour” again.
- Keep the outer edge for alignment.
- Click individual sections of the design that you want to show as purple.
- Exit the Contour window and check your design.
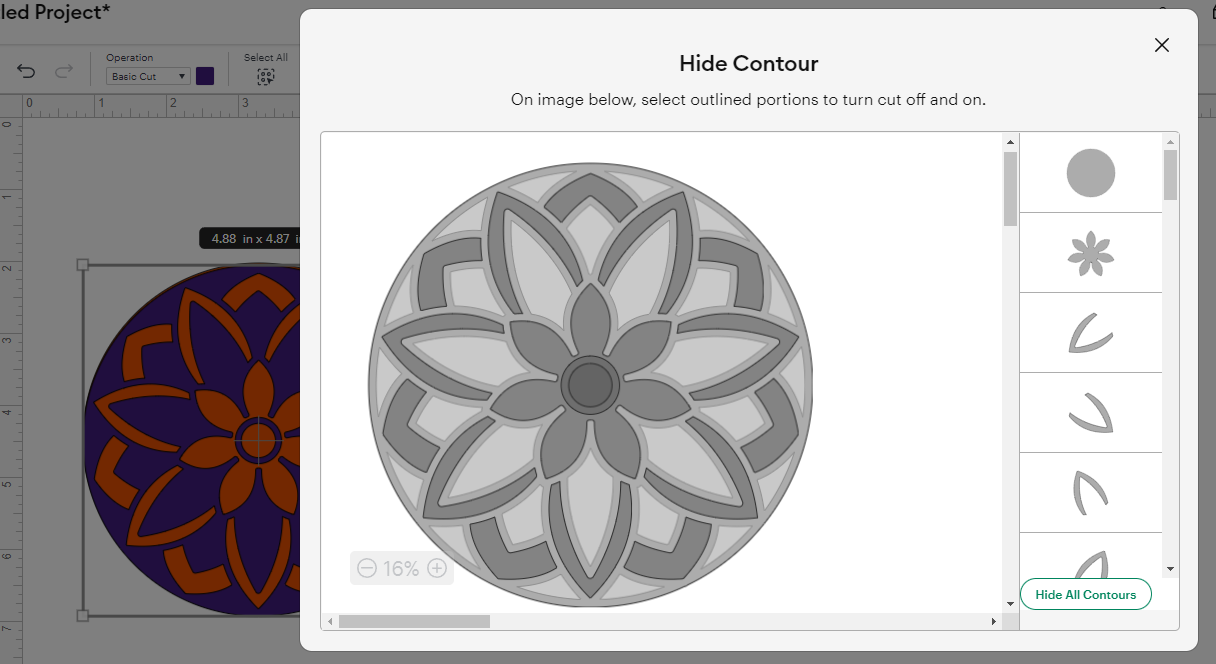
🔹 Step 4: Add a Third Layer (Optional)
- Duplicate the original again.
- Change the color (e.g., yellow or gold).
- Align with the existing stack.
- Use Contour to hide all but select interior areas—maybe highlight flower centers or wings.
Tip: Always leave the outer edge to help with alignment.
💡 Bonus Project Ideas
- Layered mandalas using floral shapes
- Layered dragonflies with gradient colors
- Personalized name tags by removing interior holes with Contour
- Wall art with bold color blocking
❗Troubleshooting Common Issues

🎁 Free SVG Bundle
Grab your free floral and dragonfly SVGs plus six bonus layered mandala files at:
👉 https://bettesmakes.com/mandalas
📢 Final Tips:
- Start with simple shapes like flowers.
- Always make a solid back layer first.
- Name and group your layers for easier management.
- Use Contour to customize every layer’s color story.
Crafting with Contour is like creating your own coloring book—one cut at a time.
#CricutDesignSpace, #CricutContour, #LayeredSVG, #CricutCrafts, #MandalaMaking, #CricutTips, #PaperCrafting, #VinylLayering, #CricutTutorial, #CraftingCommunity
You can grab an Access membership at anytime to use this feature.
