Easter Greeting Cards Woven Style
Handmade Easter Greeting Card That is Simple To Make
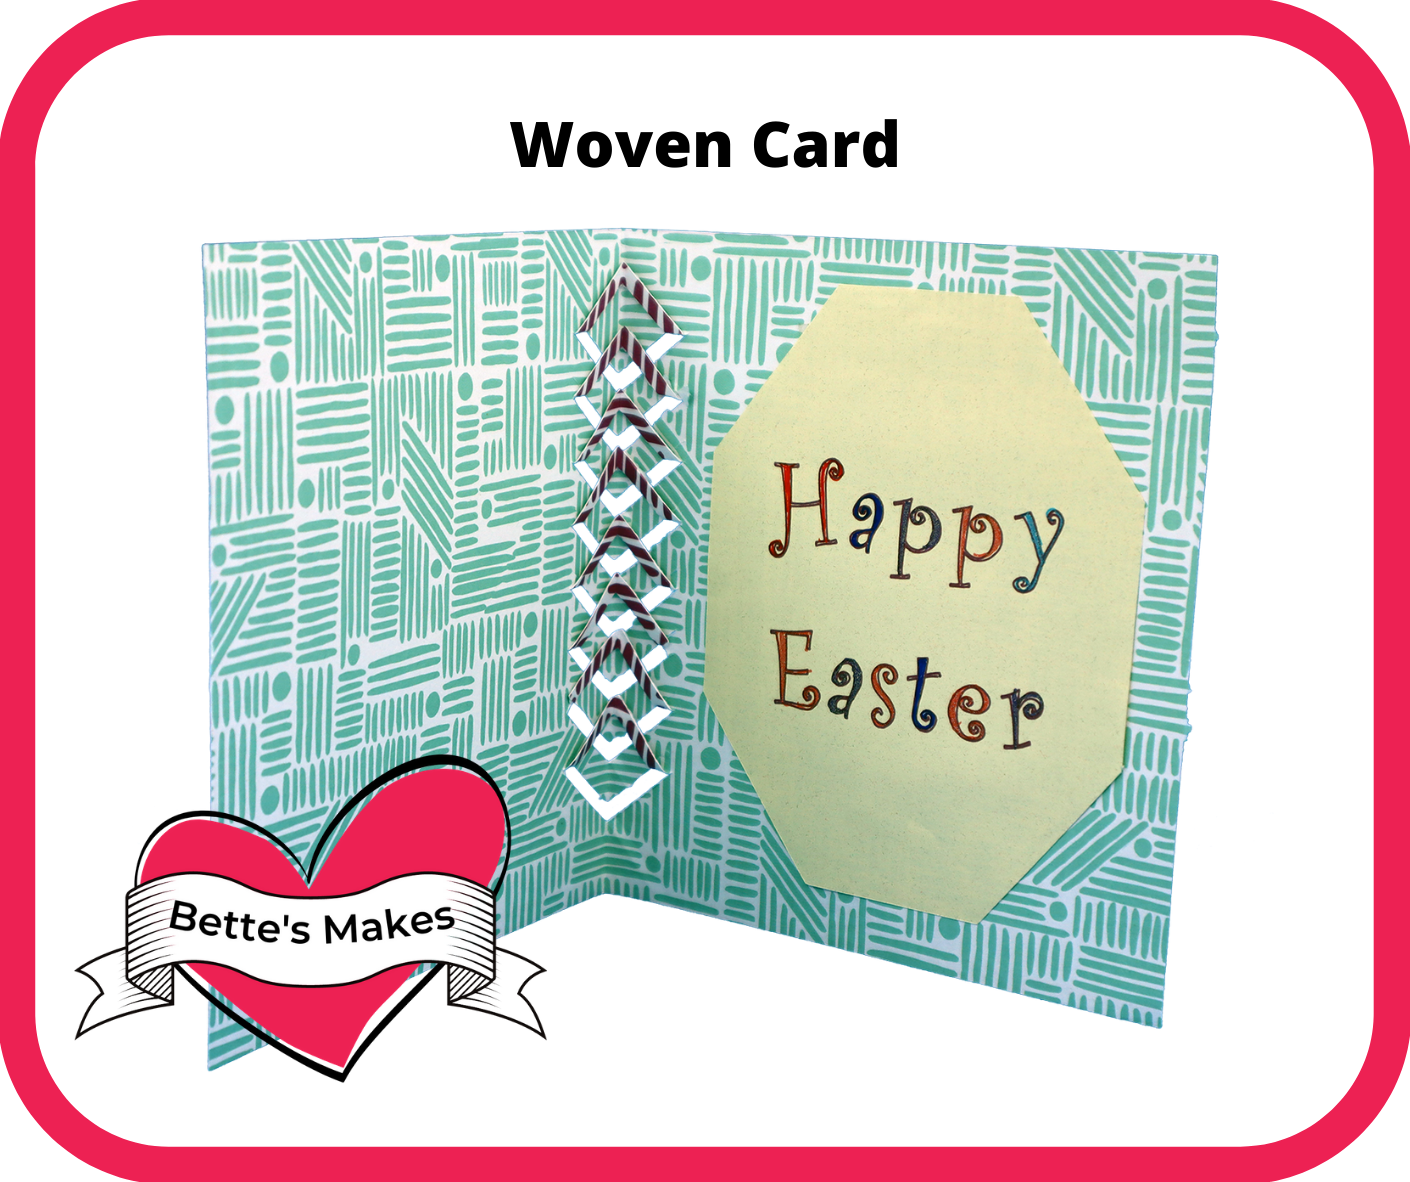
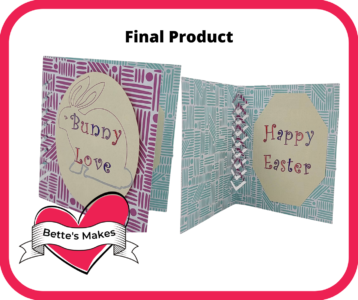
Handmade Easter greeting cards are so simple to make once you know how to jazz them up with a unique fold and cut plus a couple of stylish greetings inside! Take this unique style and really let your cards stand out! Use this one for Easter or any other occasion. This unique fold is from the Card Compendium from BettesMakes.com You will also find the template already to go in my resource library (asset #322)
Here’s what you need to make your woven Easter Greeting Card. This post does contain some affiliate links for your convenience (which means if you make a purchase after clicking a link I will earn a small commission but it won’t cost you a penny more)! Read my full disclosure policy.
Woven Easter Greeting Card Materials
Woven Easter Greeting Card
Step-by-Step Guide
Step One - Download the Template
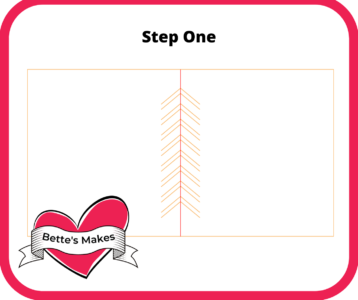
To start you will want to download the template (asset #322) from my resource library.
Unzip the file and upload the SVG file called Woven Card Cricut Score. This file has all the cut and score lines in place for you. You will not get the greetings for the inside in this file as we will be creating those on our own.
Step Two - Design Space Changes
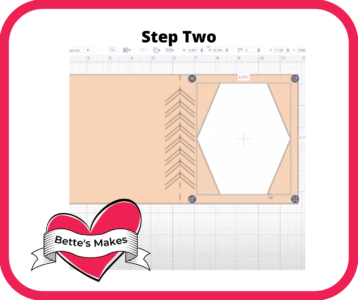
We will not be making any changes to the card itself as it already has the score lines and cut lines in place and they are attached to each other.
We will be making our own greetings with a shape behind and these will be cut separately.
Here are some suggestions for greetings:
Create a circle shape, unlock it and make an oval that will fit on the front of the card. When you have the shape you want, click on the lock to make sure it stays the way you want it.
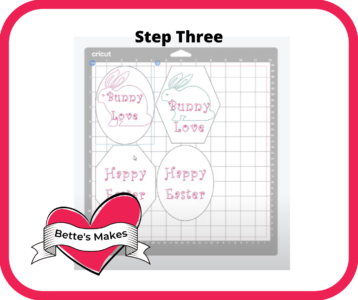
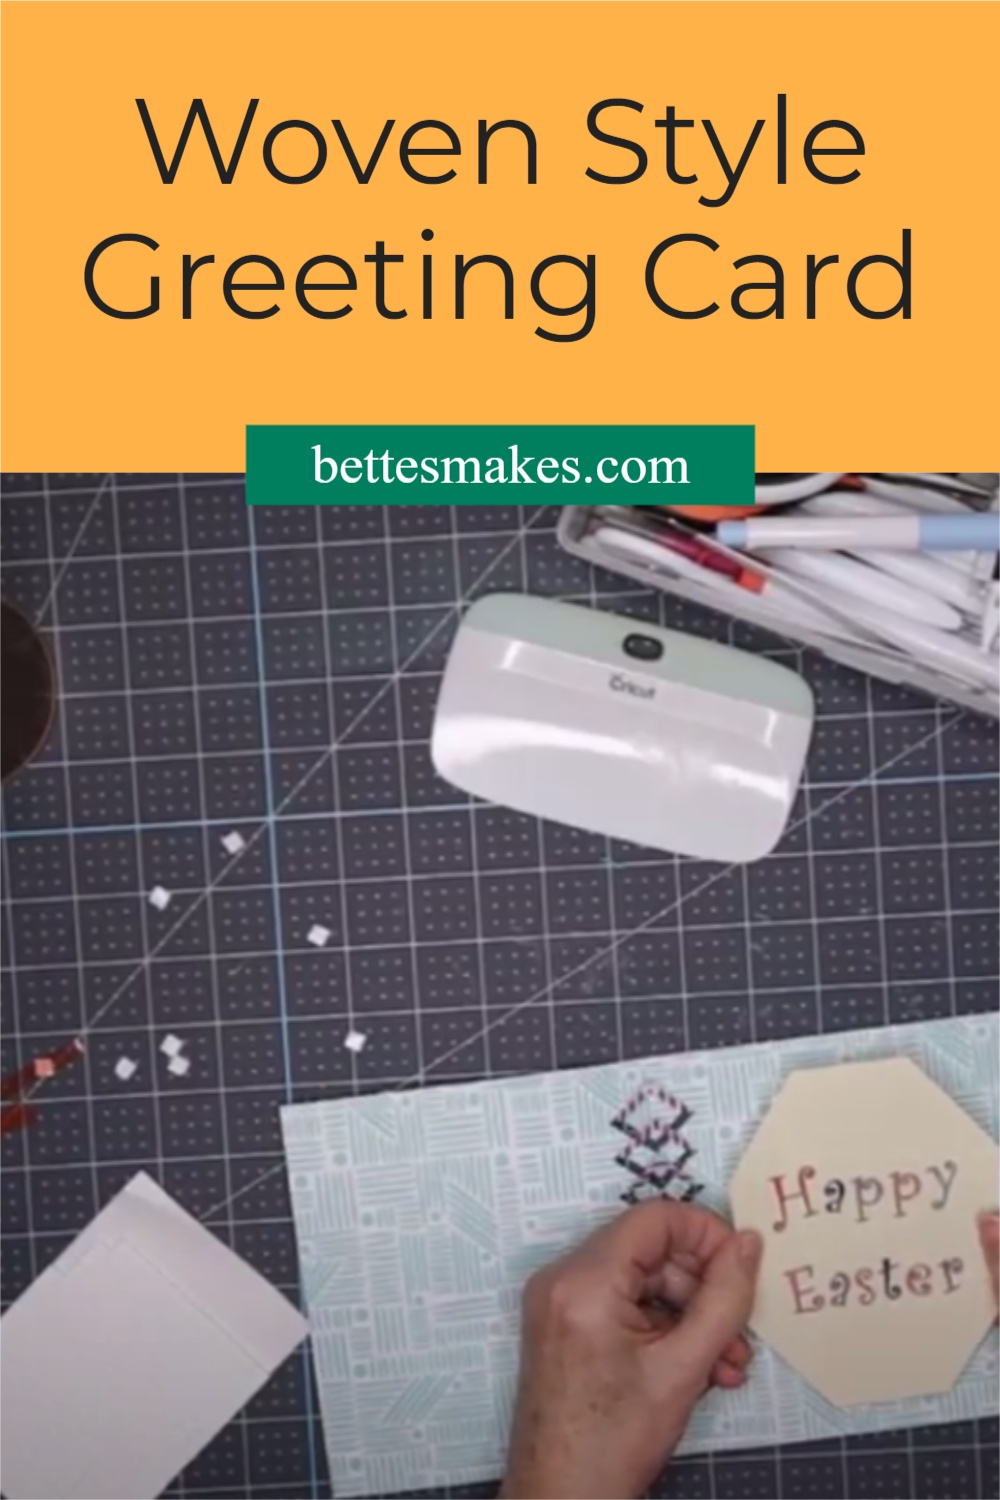
Add some text such as Happy Easter (on 2 lines) and change the font to one you really want to use. Change the text type to Draw/pen. Now you can change the color of the pen if you wish.
Select both the shape and the text and align them horizontally and vertically. While everything is still selected, click on Attach to make sure the greeting stays in the right place when you go to make the card.
Repeat this process for a second greeting that will go on the inside of the card.
This time you may want to add an image that can also be drawn in place.
Step Three - Mats and Materials
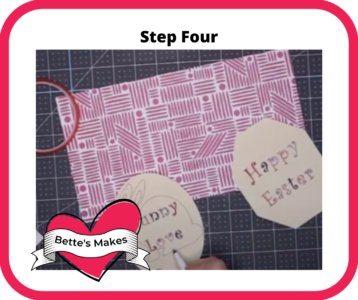
Although you can put everything on one mat, I suggest that you cut the card out of heavy cardstock that is double-sided. That way you will get a nice design on both sides without having to cut another piece of cardstock to fit inside.
I would cut the greetings out of a lighter or medium cardstock that is a solid color so the writing will show. I quite often use white, beige or light yellow to have the maximum effect.
Once everything is ready, make sure you change the material type for each mat when it is time to switch mats.
If you are working on an Air 2 - set your dial to Customize and then the paper selection screen will appear for you. You really want to take the guesswork out of where the dial should go.
Step Four - Folding
Now is the fun part! This fold is so easy once you know how.
Before you fold the card in half, decide which side will be the inside of the card.
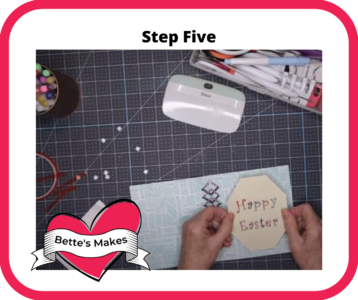
With the inside of the card facing you,, make sure all the small cuts in the middle are all the way through then fold up the thin pieces towards the top of the card. Do this for each one so you can see the colors from the outside of the card. This is the weave effect you are making.
Now gently crease the center of the card making sure all the folds are creased in the center. Once everything looks straight, close the card and burnish the fold.
Step Six - The Finishing Touches
Finally you will have a finished project that you can share with me in my Facebook group. Take a photo and post it to https://Facebook.com/groups/BettesMakes
Don’t forget to share this post with others.
More Craft Ideas from BettesMakes
Here are some amazing crafts you can make from BettesMakes.com
This is just a sampling of the dozens of crafts you can find on my website.
Last Word
This is an amazing card to make for sure! I love the woven pattern that shows through on both sides and the fact that this does not need to be just an Easter greeting card, you can use it for any occasion. This simple woven card is the start, there are so many ways you can make this work for you. Try it with an S-fold card and see how it looks - it does look amazing for sure.
Don’t forget to subscribe to my YouTube channel and to pin this tutorial to your Pinterest account.
If you made a card, please share it on our Facebook group. https://Facebook.com/groups/BettesMakes
Until next time,
Happy Crafting!
Please join me on Pinterest: https://Pinterest.ca/BetteMakerCreations
Join my Facebook group: https://facebook.com/BettesMakes
Follow me on Instagram: https://Instagram.com/BettesMakes
Subscribe to my YouTube Channel: https://www.youtube.com/c/BettesMakes


5 replies to "Easter Greeting Cards – Woven Style"
Hi Dr. Bette!!! This is what i was looking for on internet. Enjoyed every bit of your blog post. Really thank you! Keep writing.
Amara recently posted…50 Happy Easter Wishes To Send All Your Favourite Bunnies
I am excited to learn about this card and give it a try. Thank you so very much.
I cannot get into the resource library to download a template. The password I saw in the newsletter doesn’t work. It says if I sign up for newsletters I get instant access. Can anyone help me?
you will need to use all lower case for the password – email me if you still have issues bette@bettesmakes.com
I can’t wait to try this. Thank you so much.