How to Make Cricut Foil Projects Using Egg Shapes
Fun with your Cricut foil Transfer kit
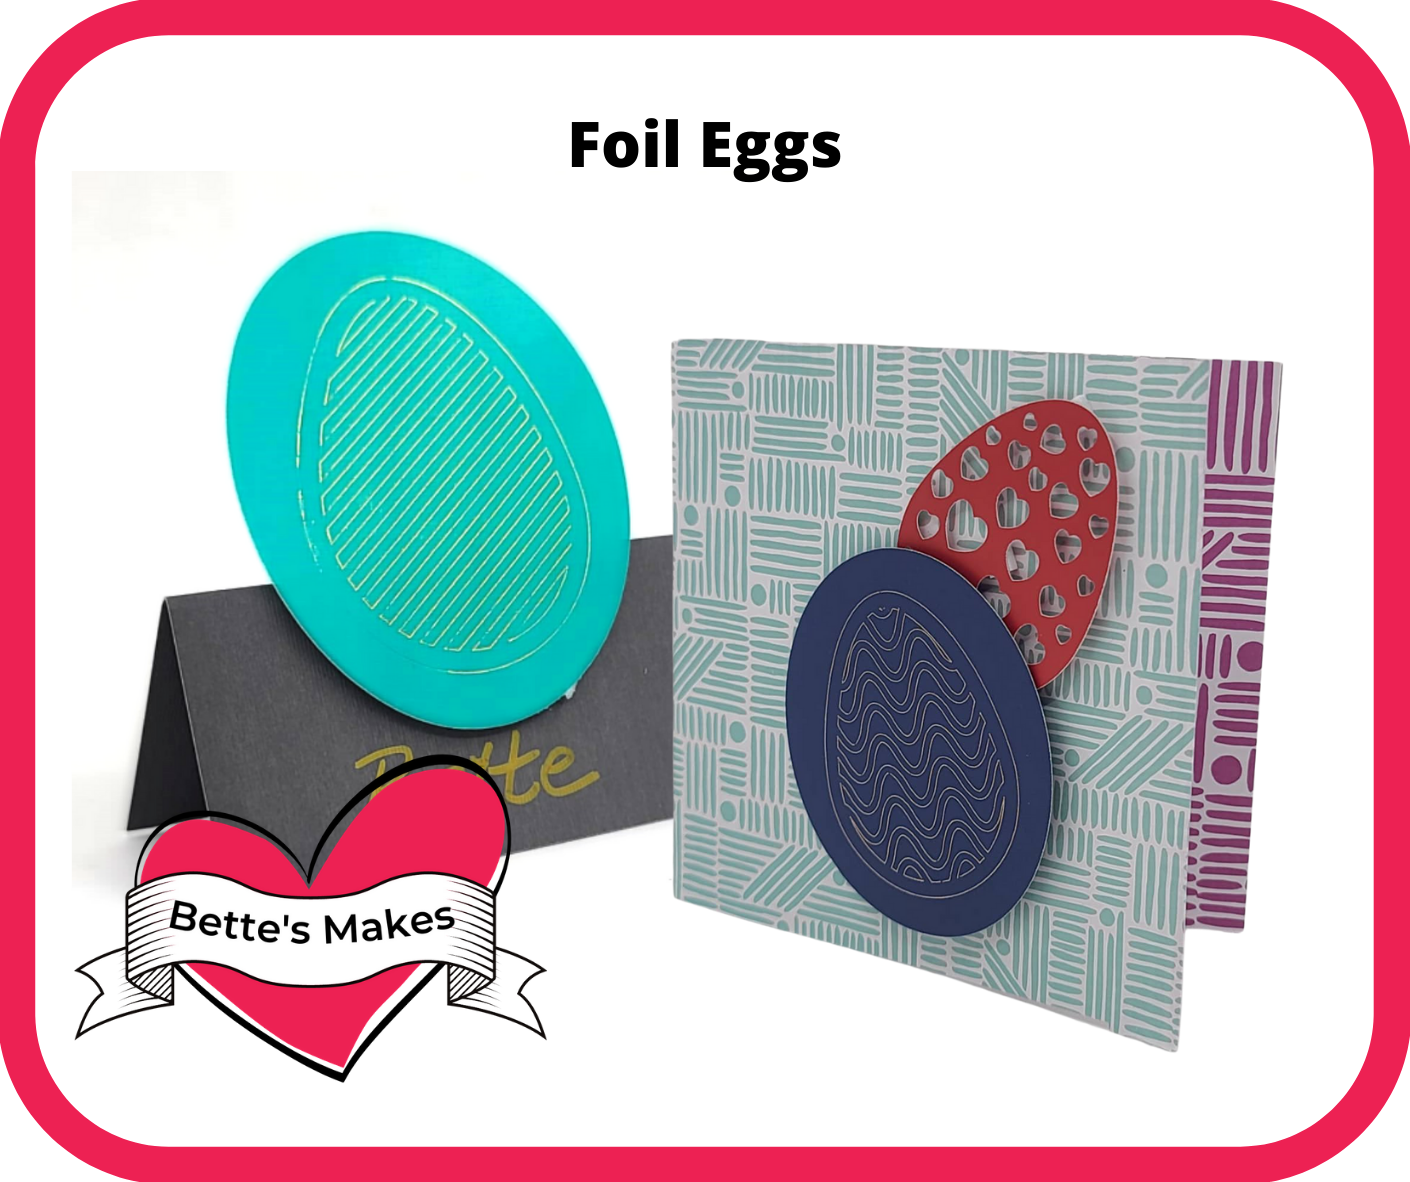
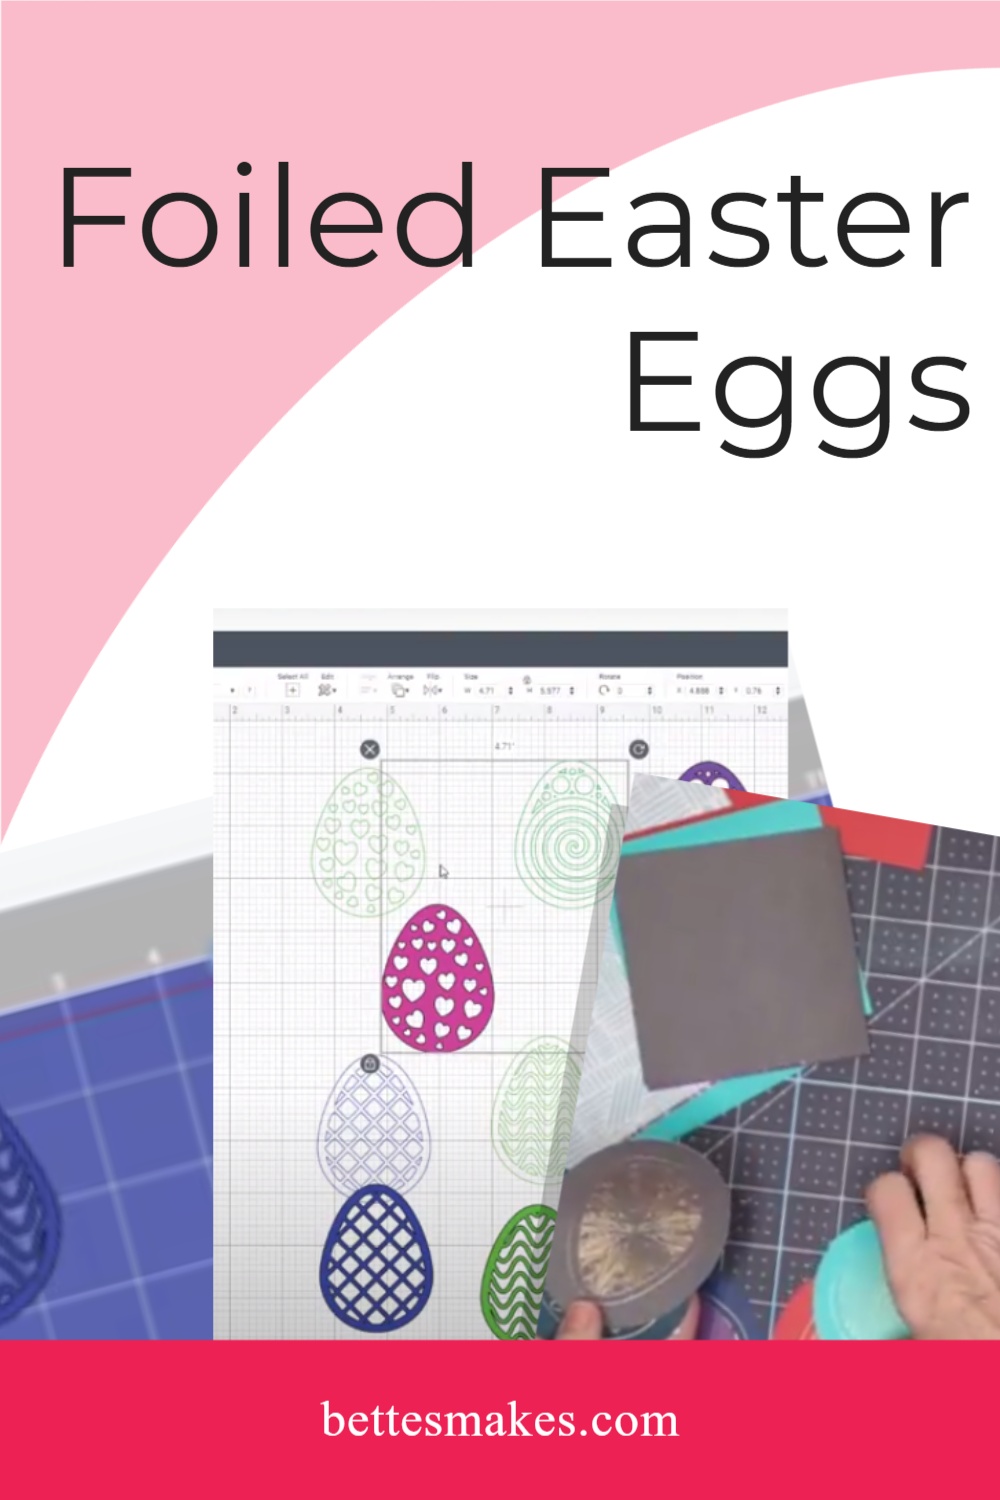
Wondering what to do with your Cricut Foil Transfer Kit? Here is a simple idea that you can make for Easter or any other occasion. Today, the project is to make some foiled Easter eggs using cardstock that you can use in many different projects.
The Cricut Foil Transfer Kit is a fun way to add so much to your papercrafts, leather makes, and even on some vinyls.
For this project you can get the template from my resource library and look for asset #324.
Here’s what you need to make your Foiled Easter Eggs. This post does contain some affiliate links for your convenience (which means if you make a purchase after clicking a link I will earn a small commission but it won’t cost you a penny more)! Read my full disclosure policy.
Quick Links to Information in this Post
Foil Quilled Eggs Materials
Foil Quilled Eggs
Step-by-Step Guide
Step One - Download the Template
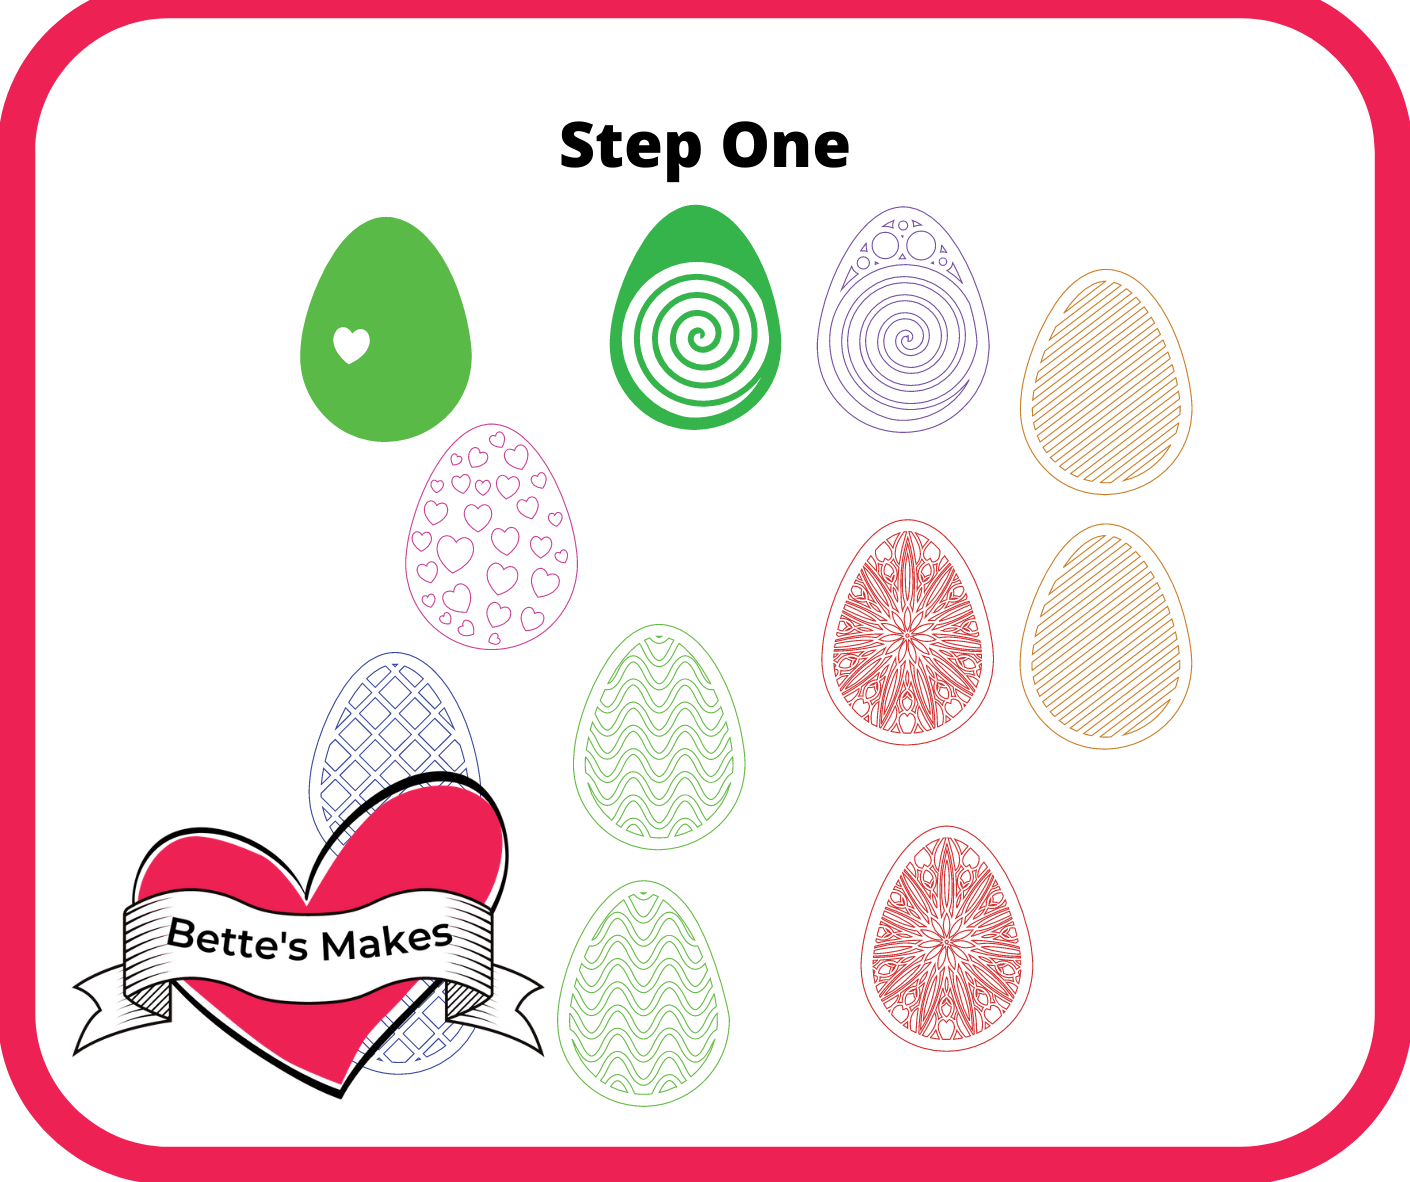
For this project you will need to download the foil eggs file from my resource library (asset#324). After you have downloaded the file, unzip the file and then upload the SVG file to Design Space.
Step Two - Design Space Changes
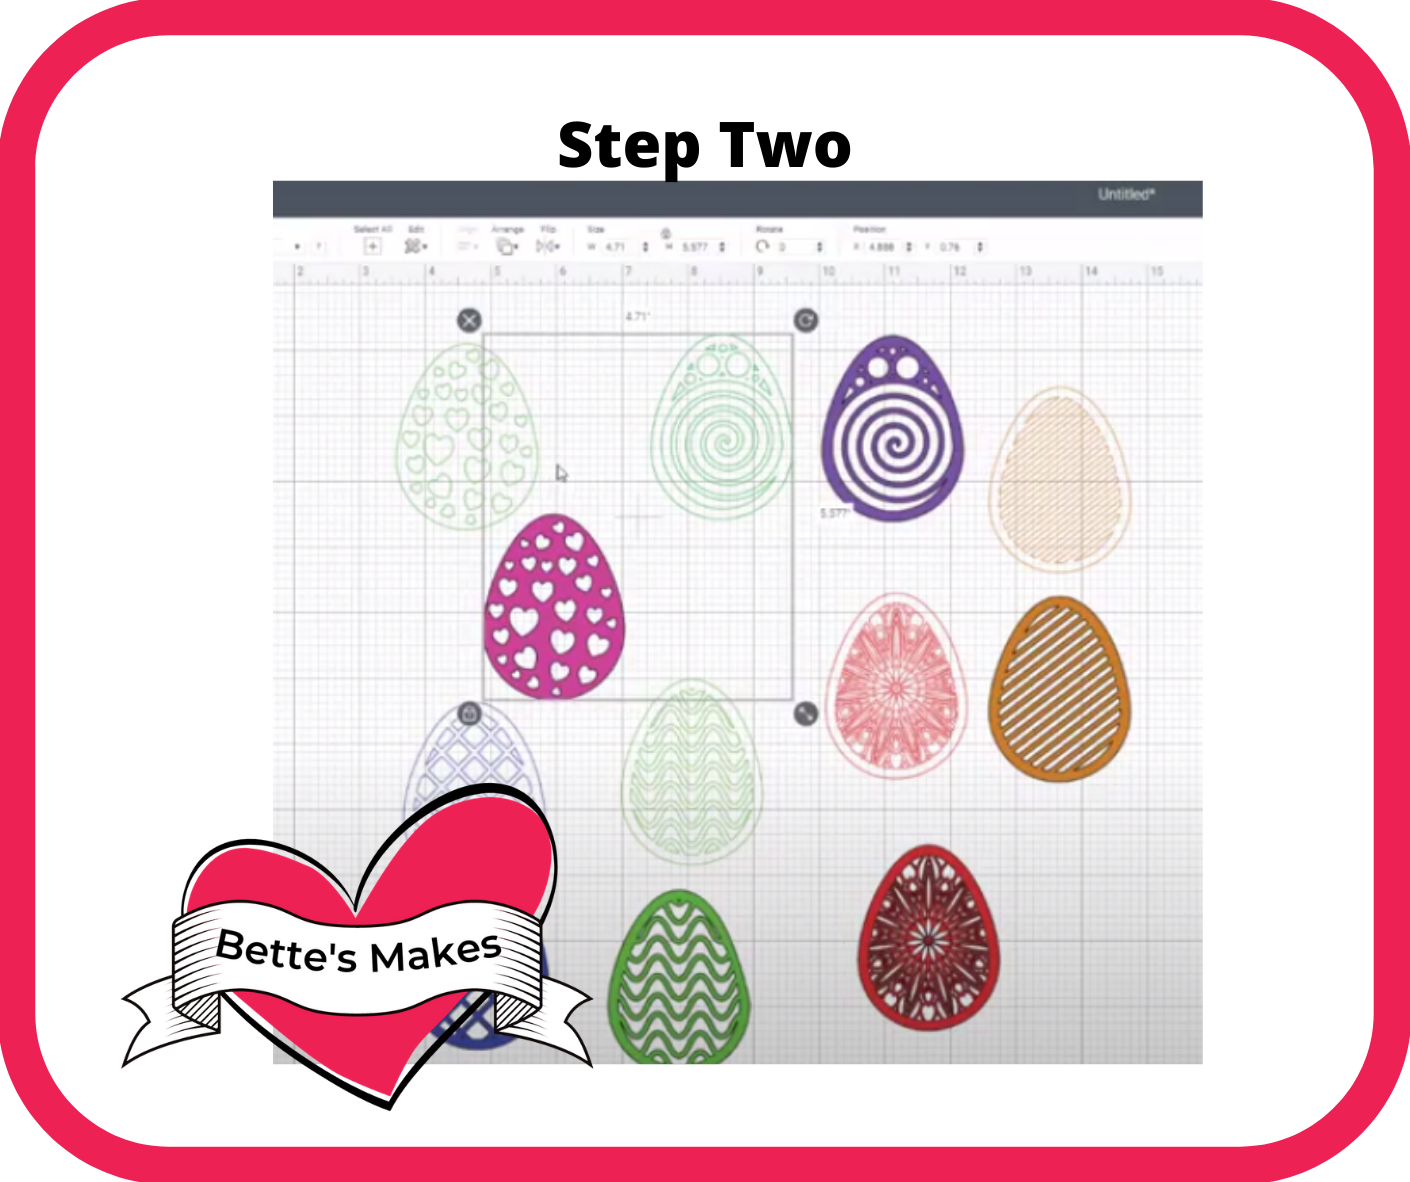
Once you have uploaded the file, you will need to put it on the Canvas so you can start using all the different patterns.
The first item on the list is to make sure nothing is Attached or Grouped. Start by Ungrouping the file, then selecting the eggs and Detach the ones that are attached to each other.
For all the eggs that are set to “pen”, change these to “Foil-medium” or “Foil-fine”. This way these designs can be foiled onto any shape you wish.
For the foil designs, you will want to add a shape in behind. For this project, start with a circle, unlock the shape and make it into an oval. Fit the oval behind one of the foil eggs and adjust the sizing until it is the way you want it to look. Then click on the lock to set the shape in place.
You can use the same shape for the other eggs as well.
Next duplicate the shape enough times so you have one for each of the eggs that will be foiled.
Set the shapes to be arranged to the back. This way the foiling will be on top.
Place one of the shapes behind one of the foil eggs and align them horizontally and vertically (select both shapes to do this). Once they are centered, click on Attach.
Do the same for the other 5 eggs.
Step Three - Cut the Egg Shapes
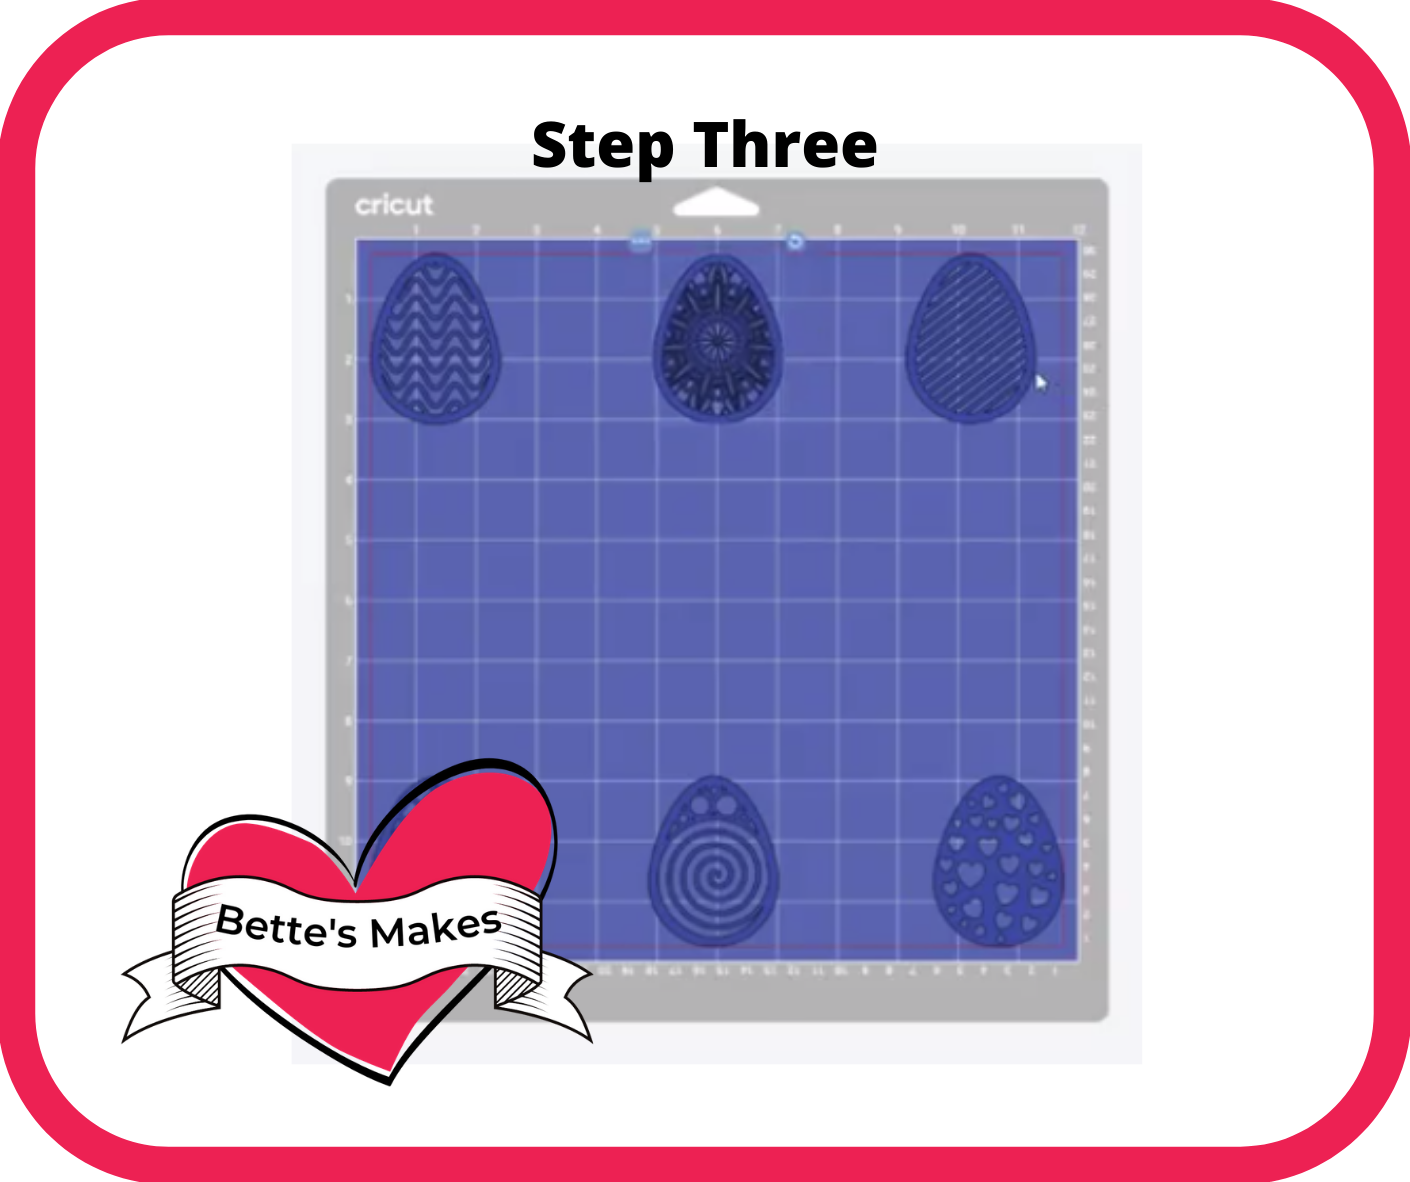
There are also 6 other eggs that can be cut out of cardstock or vinyl. You do not need to do anything with these except I would change the color to the same so they fit on one mat.
Once you have all your eggs prepped, it is time to save your project and click on Make It.
Step Four- Adjusting Your Mats
If you simply want to foil all your eggs onto the same cardstock you will not need to make any adjustments.
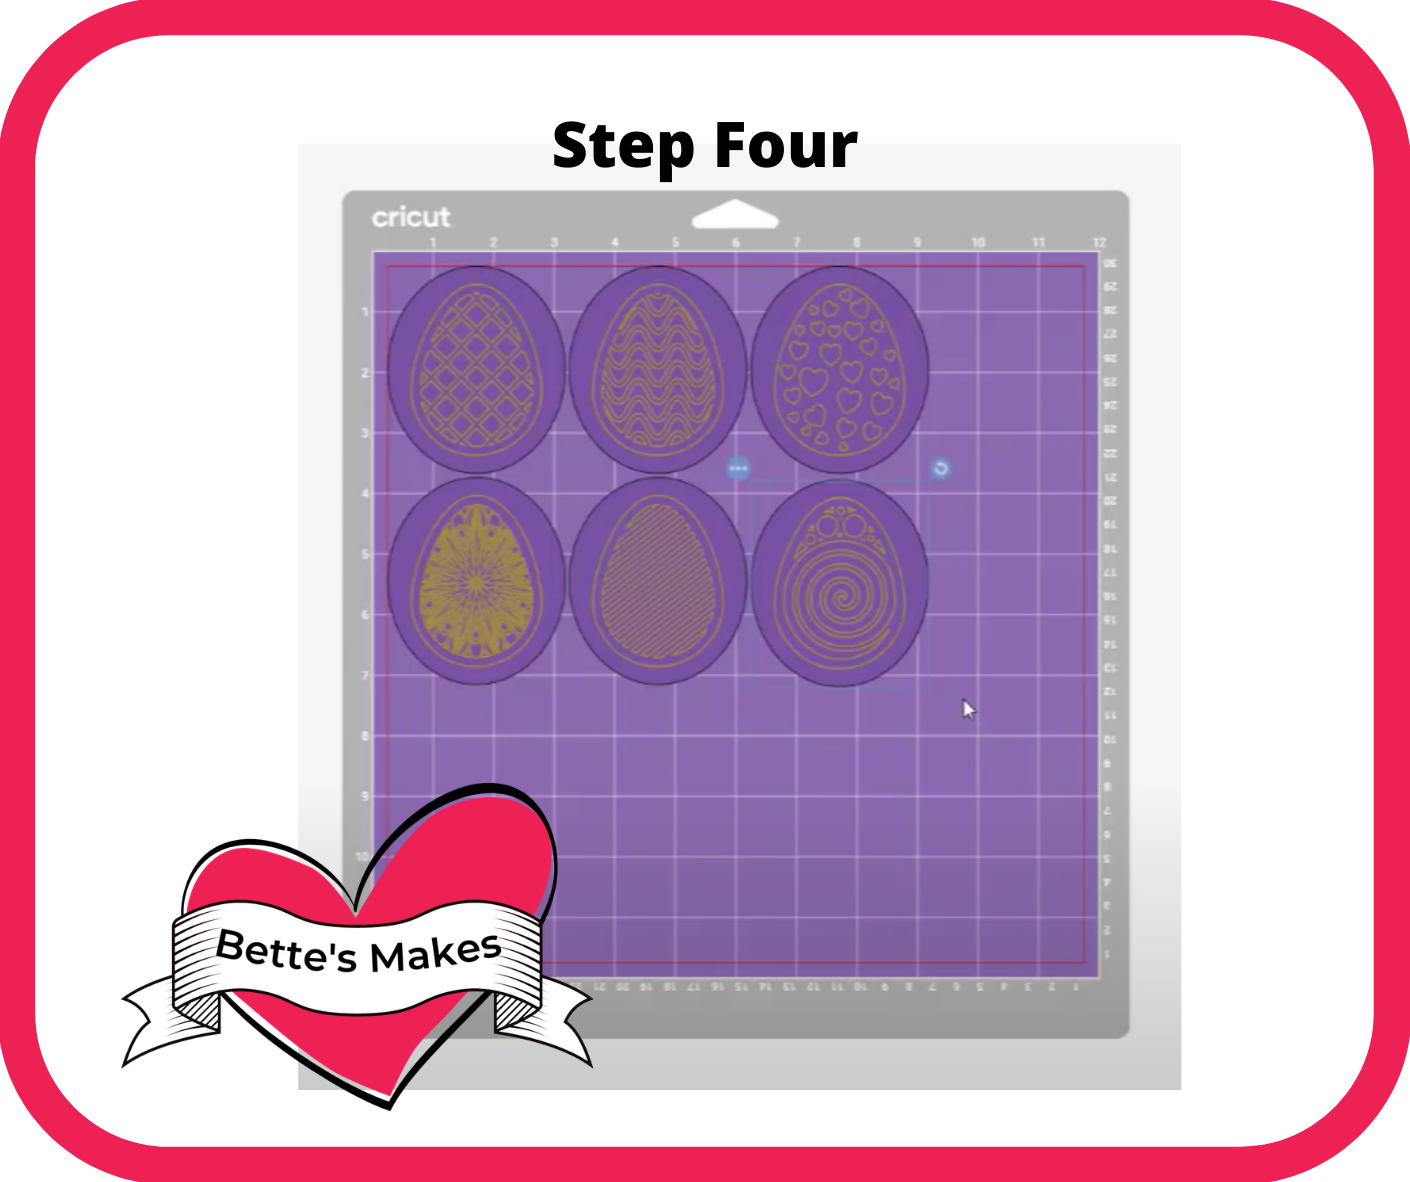
My suggestion is to foil each egg on a different color cardstock. To do this, space out the eggs so they occupy a 4” by 4” space on the mat. Also, try and place everything towards the bottom of the mat to make it easier for removing the foil tape.
By doing this, you will be able to cut pieces of 4 x 4 cardstock and place them on the mat at the appropriate place. This way it will be easy to tape down the foil.
Do the same for the cut eggs.
Click on Continue then prepare your foil mat. Tape down the foil over the eggs. Tape the sides and the top and bottom.
Follow the directions set out by your Cricut machine for which tools to use.
NOTE: by having the foil near the bottom of the mat, it will be easier to remove it when it is time to take off the foil and switch tools.
Step Five - Assembly
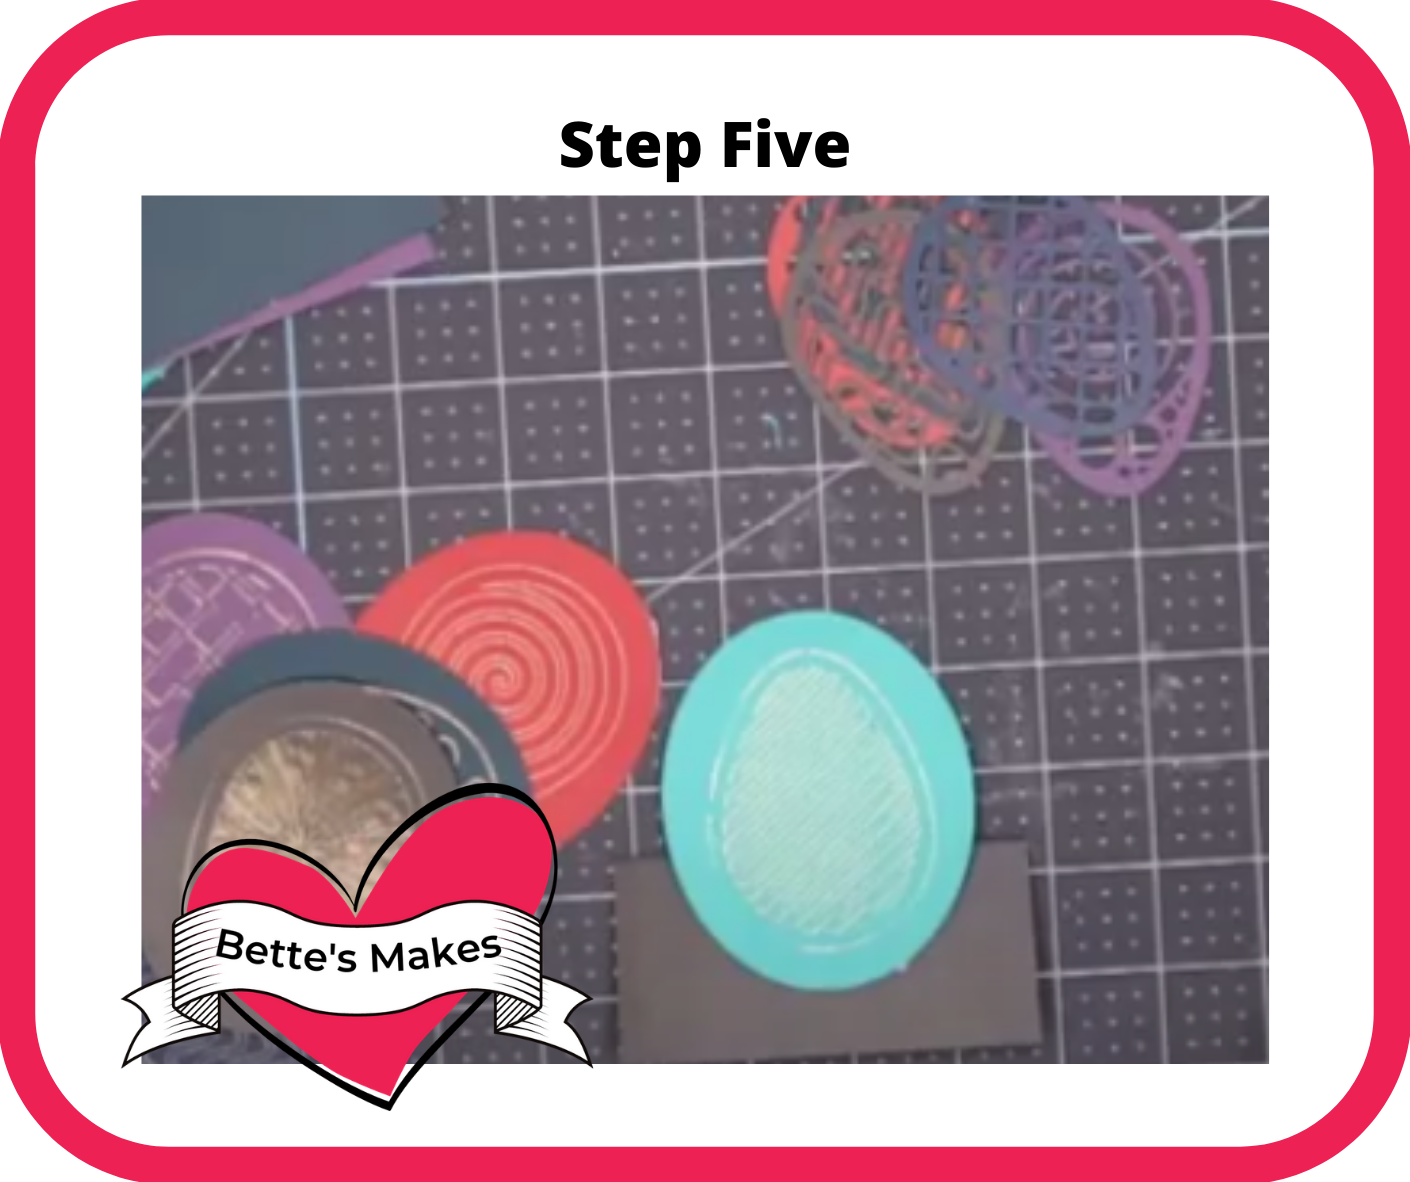
Everything should be foiled and cut and ready to use in your project.
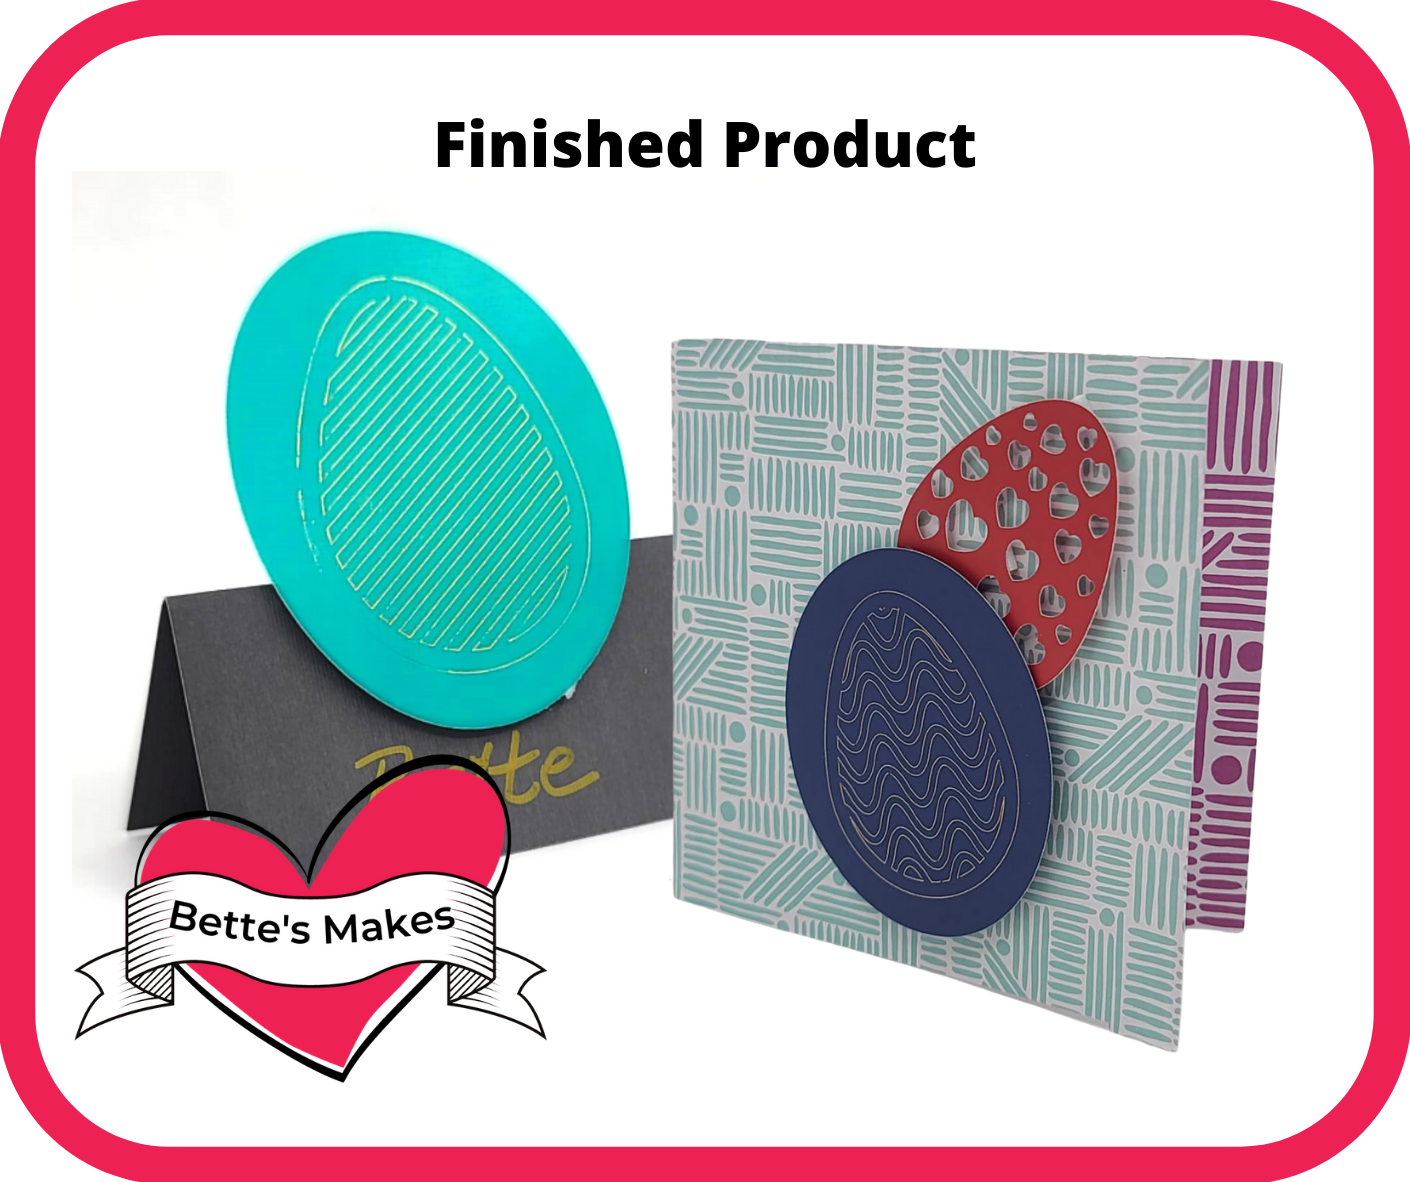
You can glue down eggs on the front of cards. Add the eggs to place holders, or simply make a banner with the eggs. The choice is yours.
In our example, we made a card and a placeholder.
Share your project in our Facebook group. https://Facebook.com/groups/BettesMakes
More Craft Ideas from BettesMakes
Here are some amazing crafts you can make from BettesMakes.com
This is just a sampling of the dozens of crafts you can find on my website.
How to Make a Super Cute Easter Egg Card Set
Last Word
The Cricut Foil Transfer Kit makes it so easy to add foiling to any Cricut foil projects. In this tutorial we made eggs but you can use this same technique to add other designs to your cards and other makes.
Remember that one of the secrets here is to place your material towards the bottom of the mat so that the foil is easy to remove after the foiling is done. This will save you a lot of frustration!
I really hope you enjoyed making these eggs!
If you made these eggs, please share it on our Facebook group. https://Facebook.com/groups/BettesMakes
Until next time,
Happy Crafting!
Please join me on Pinterest: https://Pinterest.ca/BetteMakerCreations
Join my Facebook group: https://facebook.com/BettesMakes
Follow me on Instagram: https://Instagram.com/BettesMakes
Subscribe to my YouTube Channel: https://www.youtube.com/c/BettesMakes




2 replies to "How to Make Paper Foiled Easter Eggs"
I like your tutorial. It was detailed and perfect for me. I also watched the video because a visual is a great help. Thank. you for all your help.
These are pretty. I will be watching more of your videos. I like how you show step by step and easy to follow.
Wendy G Kasper recently posted…How to Make a Debossed Card for Mother’s Day