
Paper Plates and Crafting
Did you know that paper plates were meant to be recyclable? You use them once and then toss them out. In the early days of paper plates there was a movement to stop them because of the damage there was to the forests. This was before the days of forest management and reforestation programs. Thanks to tree planters and a business that looks after their own harvest, the fear of the paper plate is no longer an extremely loud voice. We have turned our attention to plastics which are far more damaging to our world.
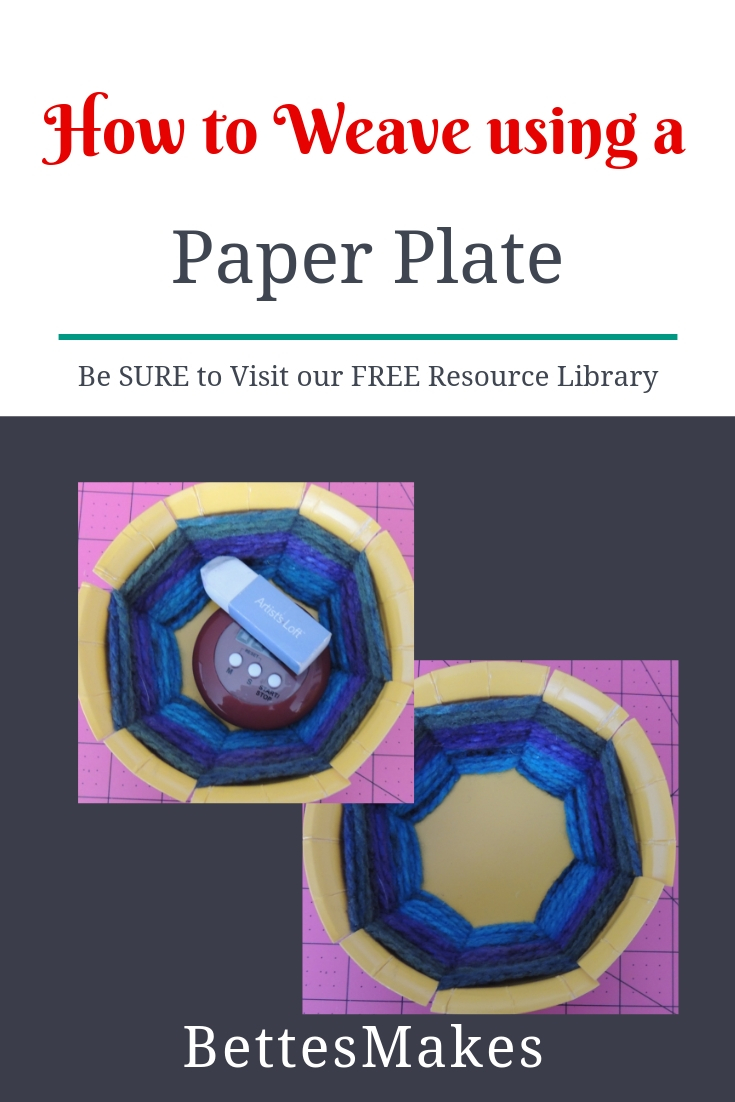
Today we are going to weave a bowl using a paper plate. When you are finished, you will have a project that can last for years.
Materials Required for this Project
Although there is no download for this project you can still find other items to use. Yesterday we created a downloadable ebook for creating Toilet Paper Roll Art. Check out the article here and go to the resource library to pick up the ebook.
- Paper plates – I always have 3 or 4 available just in case I make a mistake doing my project. I used small plates for today’s craft.
- Wool – 9 mm or US 13 is the ideal size. If you do not have any wool available you can use tightly twisted paper. I found some at the dollar store already made up but making your own can be more fun. You just want to make sure you roll it tightly in very long pieces twisted together (you want it to act as a strand of wool.) You could also use strips of fabric twisted into “string”.
- Tape – to hold down your beginning thread when you start weaving.
- Scissors.
- Ruler
- Circle template or a round item for defining the bottom of the plate.
Directions
This project is fairly easy and you should be able to complete this within an hour. Measuring and cutting will likely take the longest time to complete.
Project Step-by-Step Guide
Step 1 – Place a paper plate upside down on your table (where you will be making this craft.)
Step 2 – You will be dividing the plate into eighths and leaving a circle in the middle. First, draw a circle in the middle of the plate. This area will not be part of the weaving but the bottom of the bowl you are creating. Second, draw four lines across the plate so that the lines intersect in the middle. See the diagram below. Last, erase the lines inside the circle (we do not need these as we will not be cutting the plate inside the circle.)

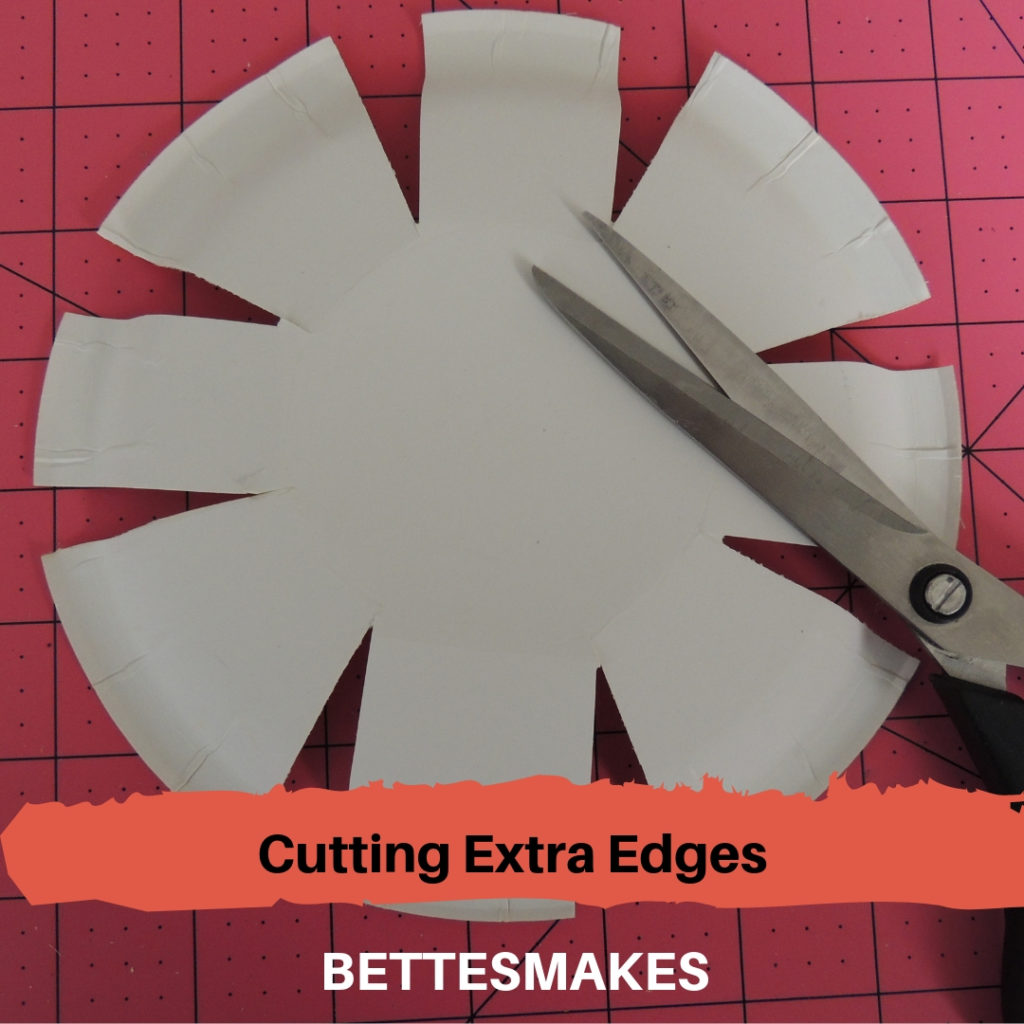
Step 3 – Cut the lines from the outside edge right to the edge of the circle. You should have 8 cuts in all.

Step 4 – Score the circle with a blunt instrument. I used a scoring tool but you could use any pen that is closed and does not have a sharp point. You want to trace the circle making a groove. This way the plate is easy to fold at the circle edges.
Step 5 – Bend up the odd number flaps and leave the even number flaps straight for now.

Step 6 – The flaps which are not to be bent will now be cut so they are a rectangular shape. We are taking away the slanted edges so that we can make a bowl. See the diagram below.
Step 7 – On the back side of the plate tape down the end of your wool or other


Step 8 – Start wrapping the wool around the plate by going over and under each flap. When you get to the beginning you will wind the wool around that flap and start going in the opposite direction. Keep the wool tight to the circle part of the plate so there are no gaps. Keep weaving back and forth until there is approximately 1/2″ of the paper plate showing at the top.

Step 9 – Tie off and slip the ends into the weave so they do not show. See the image below.

Step 10 – Your bowl should now be ready to use! Keep it at your bed stand, desk, or kitchen. This bowl is very versatile but not water resistant so the bathroom is likely a not great place to use it! Here is an image of my finished project.

More Paper Plate Ideas
Motion for Learning
Videos always help when you are doing crafts. These videos are not about the weaving we just completed but they are great for more ideas!
Paper Plate Crafts
How to Create Paper Plate Animals
Last Word
This project did not take very long to put together but it did take a few tries to get the measurements right for the cutting of the paper plate. I also tried the weaving several times to make sure how I was doing it worked well for a plate that had an even number of flaps. The process would be different with an odd number because you would not have to switch direction while threading each round.
I love the 2 plates I completed and will be using them at my desk for all my odds and ends that somehow land near me. Could it be I am a collector of sorts?
Were you able to complete your project? If so, please share it with me in the comments or on my Facebook page. I love seeing what others are able to accomplish.
Until tomorrow…
Bette
PS – Although there is no download for this project you can still find other items to use. Yesterday we created a downloadable ebook for creating Toilet Paper Roll Art. Check out the article here and go to the resource library to pick up the ebook.
The password for the resource library is love