Do you make paper ornaments and are looking for some unique designs?
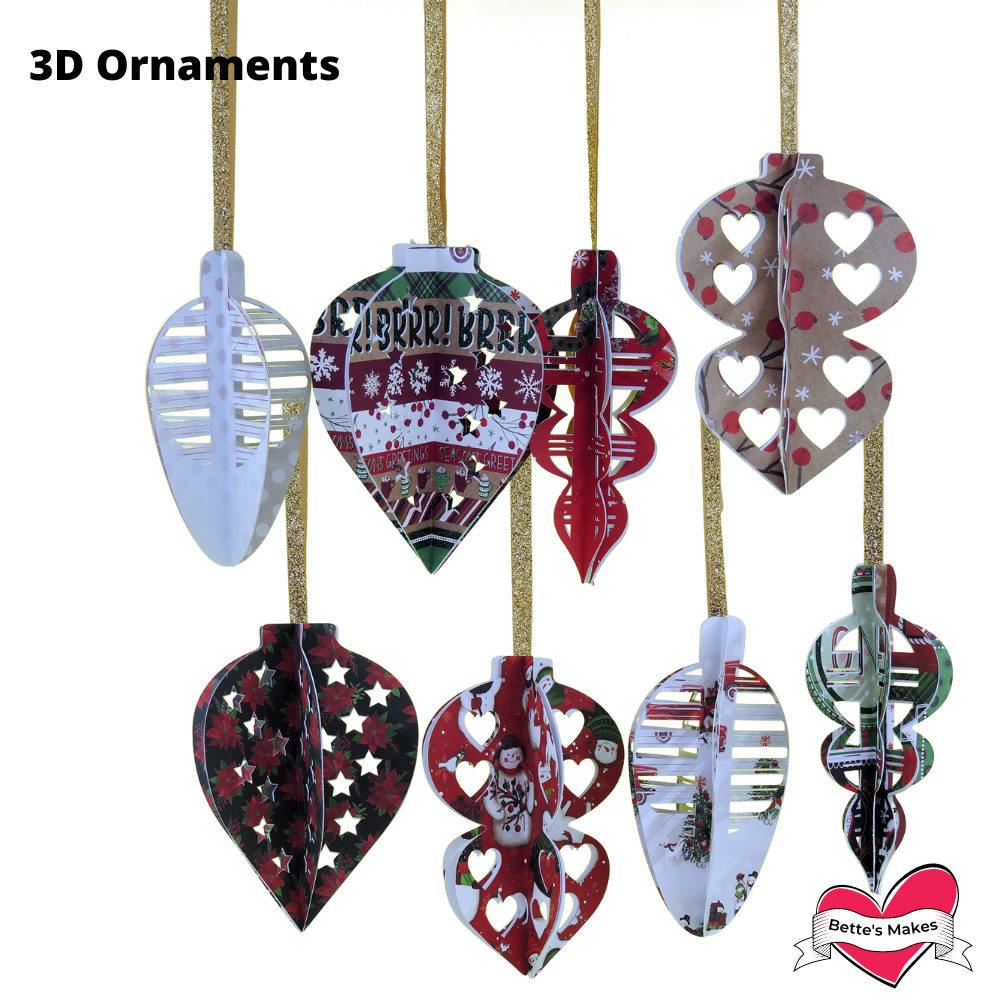
Paper Ornaments - Easy and Elegant
Do you love making paper crafts? I know I do and these paper ornaments are perfect for the whole family to make!
Use your Cricut to cut that perfect ornament piece!
For this project I made 4 different designs you can use and they are ready for you to cut. All you need to do is go to my resource library and download the templates (zip file asset #286). You can sign up for your free membership here to access the library.
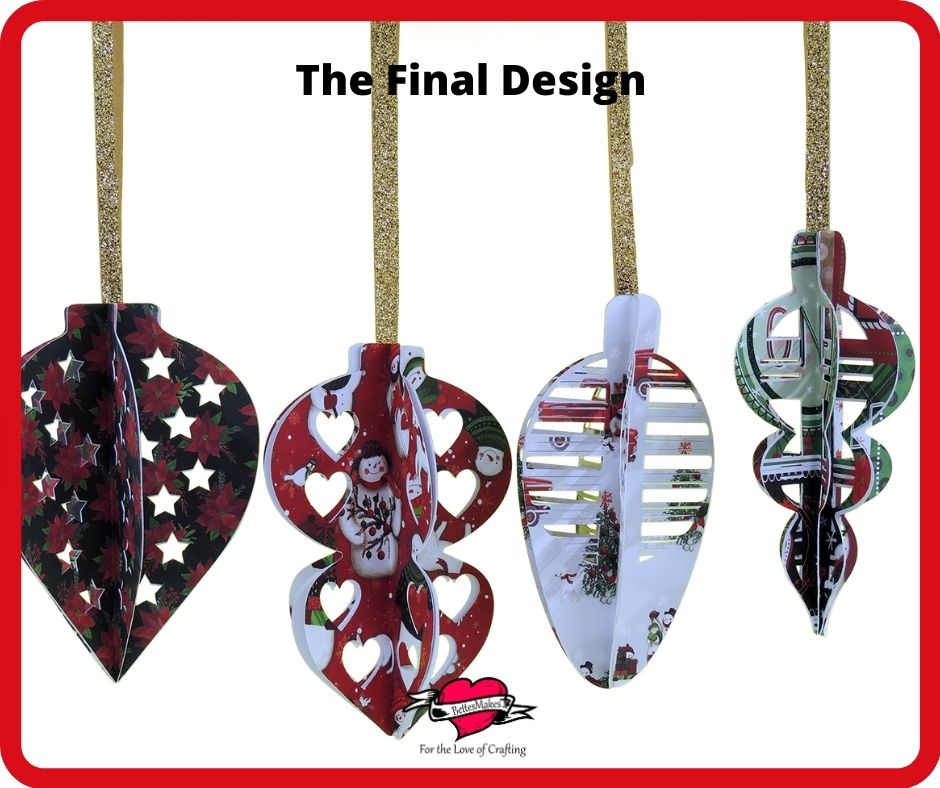
The paper spinning ornaments just need some glue and ribbon to put them together. You can do this craft in under 15 minutes!
For special fonts (you can some of these for FREE) https://bit.ly/MyFontBundles
Here’s my suggestions for making layered tile ornaments in many different shapes! This post does contain some affiliate links for your convenience (which means if you make a purchase after clicking a link I will earn a small commission but it won’t cost you a penny more)! Read my full disclosure policy.
Materials for Paper Tile Ornaments
Card stock - you can get some amazing designs here (I used the plain ones for this project but the Christmas papers are also perfect).
You can use some glue runner tape such as this Tombow one (this is the one I use all the time). I like the runner tape for these types of projects but if you prefer you can use thin foam pads. Adhesive foam squares can be purchased here.
As for the ribbon, you can use almost anything you wish. Dollar store ribbon works well and a thin one such as this craft ribbon is perfect. If all you have is a thicker ribbon, then just cut it in half. For this project I had a wide gold glitter ribbon and I simply cut it in half by hand.
Step 1 Download the Resources

- Download the tile ornament template from my resource library (Sign-up is FREE)- look for resource #286 Spinning Ornaments
- There are 4 different designs in the template folder. We will be making all 4.
Step 2 Prepare Your Tiles in Design Space
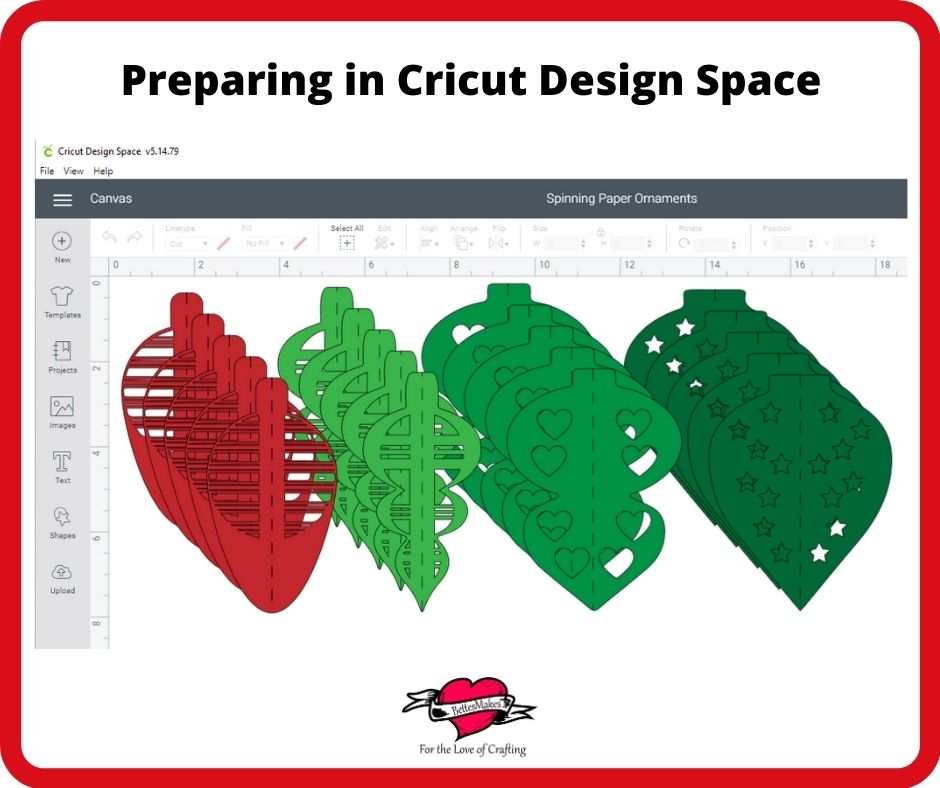
- The templates give you four (4) options to use for your ornaments, For this project, we will make all 4 different designs so you will be able to apply the same skills to the remainder of the templates. Each of the designs has a total of 4 duplicates.
- You can add any text you wish if you are going to use plain colors. This will give your ornament some extra appeal.
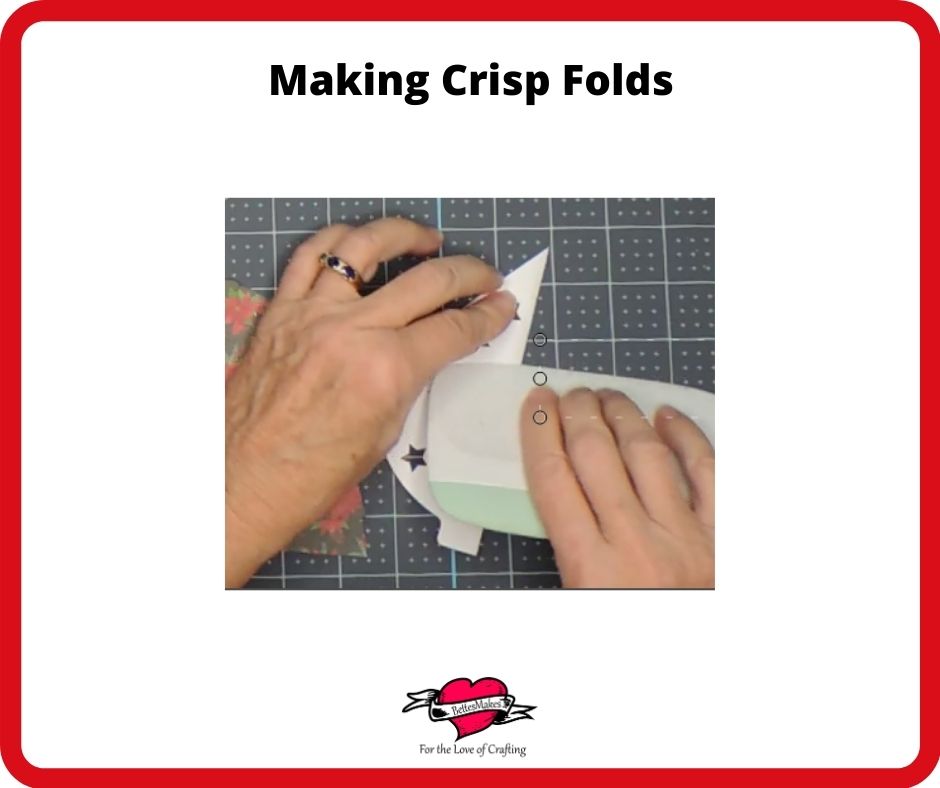
- Once all of your pieces are cut (you can cut these by hand if you do not have a cutting machine), it is time to start putting all the pieces together.
- Begin by crisply folding all the score lines down the center.
- Stack the pieces together to make sure they line up - you will need to eyeball the fit so that the designs are perfectly centered.
Step 4 Using the Glue Runner or Tacky Glue
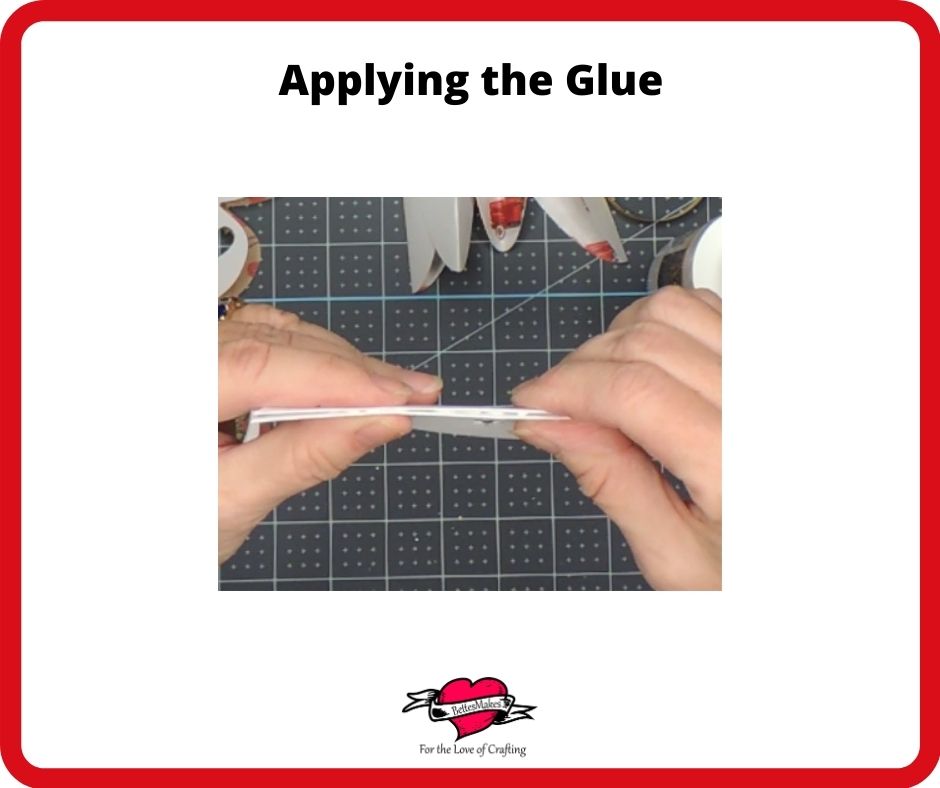
- Start with the first piece of your ornament and add your runner tape to the center seam only - you can also add more to the rest of the folded side, if you wish.
- Line the next piece up to the one with the runner tape and make sure it fits into place before pressing it down on the first piece.
- Continue adding all the pieces so you have a stack of 5 all put together.
- Add the runner tape to the stop piece in the stack and attach it to the first piece (you will fold it around to the back to form the ornament).
- Repeat these steps to put all the ornaments together.
Step 5 Adding the Ribbon
- Fold your ribbon in half and glue the open end together (on the inside)
- I suggest measuring out 24".
- Glue the ribbon in the center of the ornament by pulling the top apart and inserting the ribbon. You can use your runner tape or other glue to secure the ribbon in place. and center.
- Your ornament is now ready to hang!
How to Make a Paper Spinning Ornament
Last Word
How many of these gorgeous ornaments are you going to make?
There is nothing like decorating your home with things you make for yourself and these tile ornaments made of paper make it easy to hang them anywhere you wish. Just imagine all the places (including your tree) where you can hand these cute ornaments. If you add a protective covering to them, you can also hang them outside.
I loved making these ornaments and will be making more for this year's holiday celebrations!
Visit my YouTube channel to learn even more! https://YouTube.com/c/BettesMakes
If you made any of these projects, please share it on our Facebook group. https://Facebook.com/groups/BettesMakes
Until next time,
Happy Crafting!


Please join me on Pinterest: https://Pinterest.ca/BetteMakerCreations
Join my Facebook group: https://facebook.com/BettesMakes
Follow me on Instagram: https://Instagram.com/BettesMakes
Subscribe to my YouTube Channel:


8 replies to "Paper Craft Spinning Ornaments"
[…] Paper Craft Spinning Ornaments from Bette of BettesMakes.com […]
[…] Download the craft spinning ornaments here by Bettes Makes […]
[…] Paper Spinning Ornaments […]
[…] Visit The Tutorial […]
[…] Bette of Bette’s Makes uses cardstock to make these easy, spinning 3D ornaments. […]
Can not get the free templates
Hi Judy, Did you sign up for a free account? Just go to https://bettesmakes.com/membership/
I can’t access the library even with the secret password, it’s asking me to join the membership. For now I just want to make the ornaments from The Holiday Workshop.