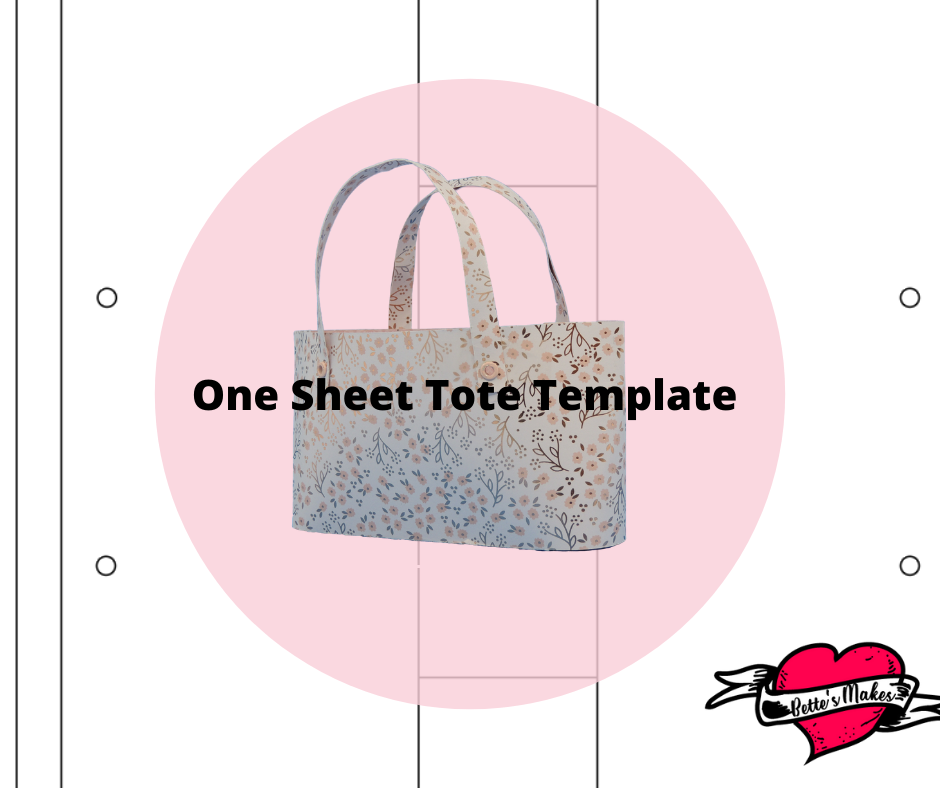
One Sheet Tote Bag made with Cardstock
Have you often wondered how to make a tote bag with paper? This one sheet tote bag is so easy to make, you will want to make several. I thought this might be the perfect basket to use for Easter but also found it was perfect for birthdays as well. As a matter of fact, one of my readers suggested that it could be used as a stylish handbag that could be used for show! With that in mind I also thought of my daughters playing dress-up, they could make their own purses, so to speak!
This one sheet tote bag is truly easy to make once you have the template, which is available for free from my resource library. In order to download the template you will need to sign up for my newsletter and get the password. It only takes less than a minute to get the password.
Here’s what you need to make your One Sheet Tote Bag with cardstock. This post does contain some affiliate links for your convenience (which means if you make a purchase after clicking a link I will earn a small commission but it won’t cost you a penny more)! Read my full disclosure policy.
Quick Links to Information in this Post
Other Fun Projects From BettesMakes.com
If you like this project, you may also want to make the following:
How to Make a pleated Card (uses Cardstock!)
How to Make an Easy Macrame Feather (popular tutorial)
How to Design Patterns (lots of easy step-by-step in this article)
One Sheet Tote Bag Materials
Advent Calendar Step-by-Step Guide
Step One - Download the Template
For this project there is only one file you need to download.
The file is named One Sheet Paper Tote.
This file has both a PNG and SVG file inside.
You can cut the tote bag with scissors or use your Cricut cutting machine.
The file is designed for a 12" by 12" sheet of cardstock.
Step Two - Design Space Adjustments
Once you have uploaded your SVG to Design Space, you will need to change the color from black to a lighter color in order to see all the lines in the project.
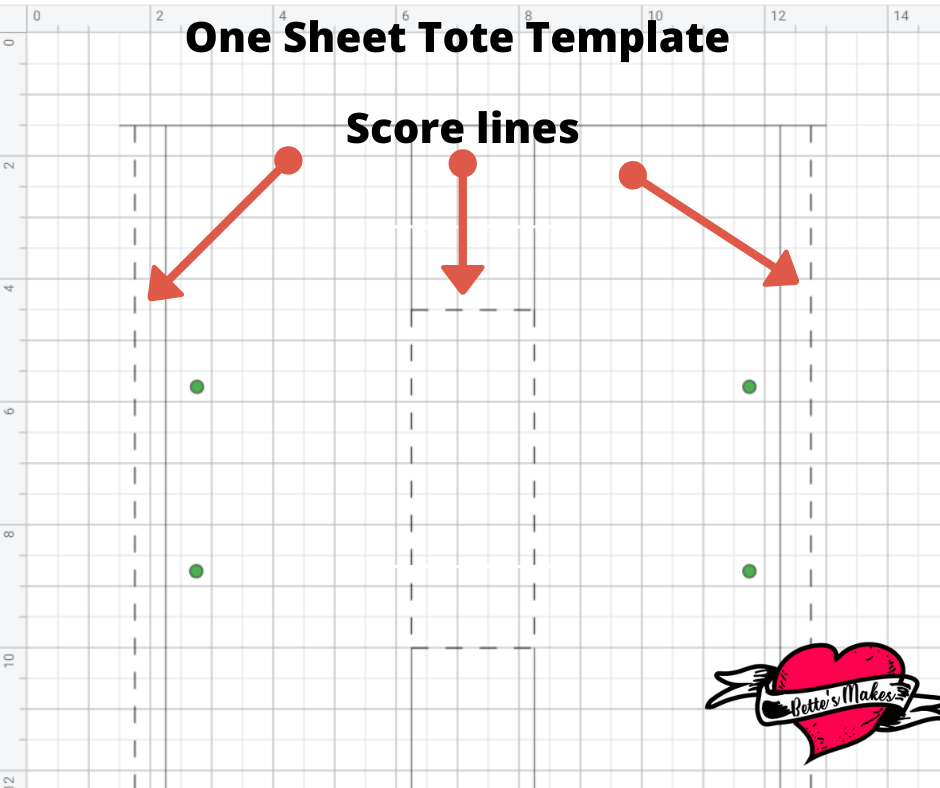
SCORELINES
There are 6 lines to change to scorelines.
1. The center rectangle sides.
2. The two outer lines, one on the right and one on the left. See the diagram here on where to make the changes.
All other lines need to be cut lines including the 4 circles.
ATTACH
Do not forget to select the entire project then click on the Attach button at the bottom right of the screen. This will ensure the score and cut lines will be in the correct position.
MAKE
Choose your paper type from the selection offered. I found it best to use a double-sided medium card stock. I tried thinner paper but it did not stand up as well as a medium card-stock.
Cut the project and get ready to assemble the parts.
Step Three - Assembling the Tote Bag
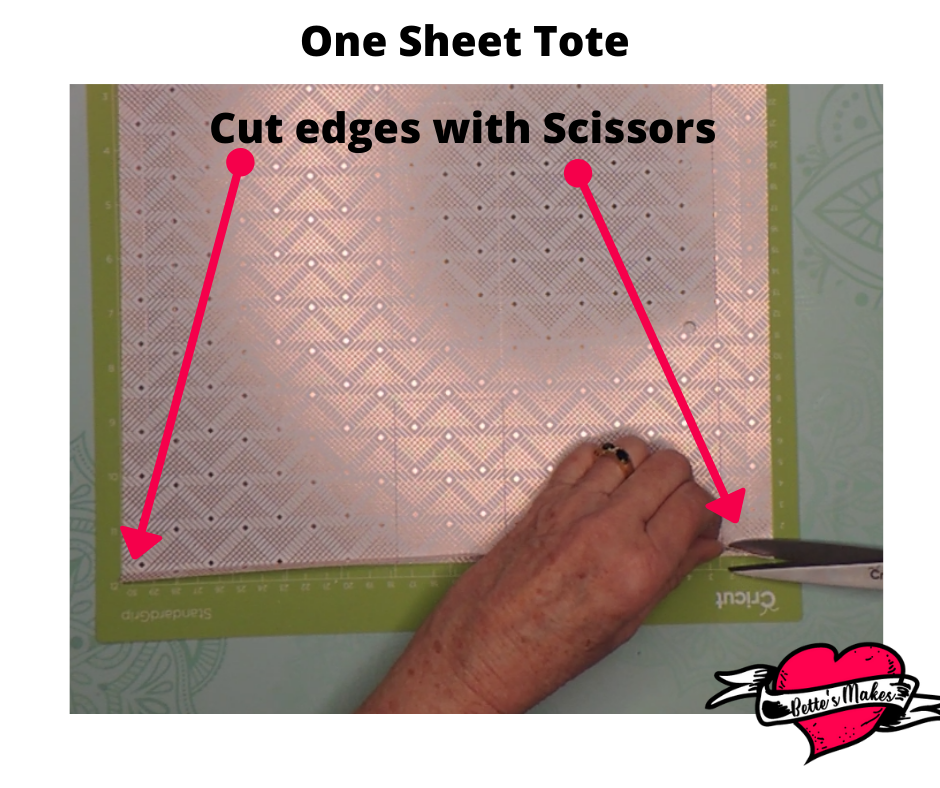
After you have cut the project, there are a couple of things you need to do before lifting the cut from the mat.
First, fold up the bottom cut the take your scissors and cut the parts that did not go to the edge. In other words, you want to make the bottom cut go all the way from the left to the right. This will mean you need to make two cuts - one on the left and one on the right.
Second, repeat that process for the top cut.
Throw out the extra from the top and the bottom.
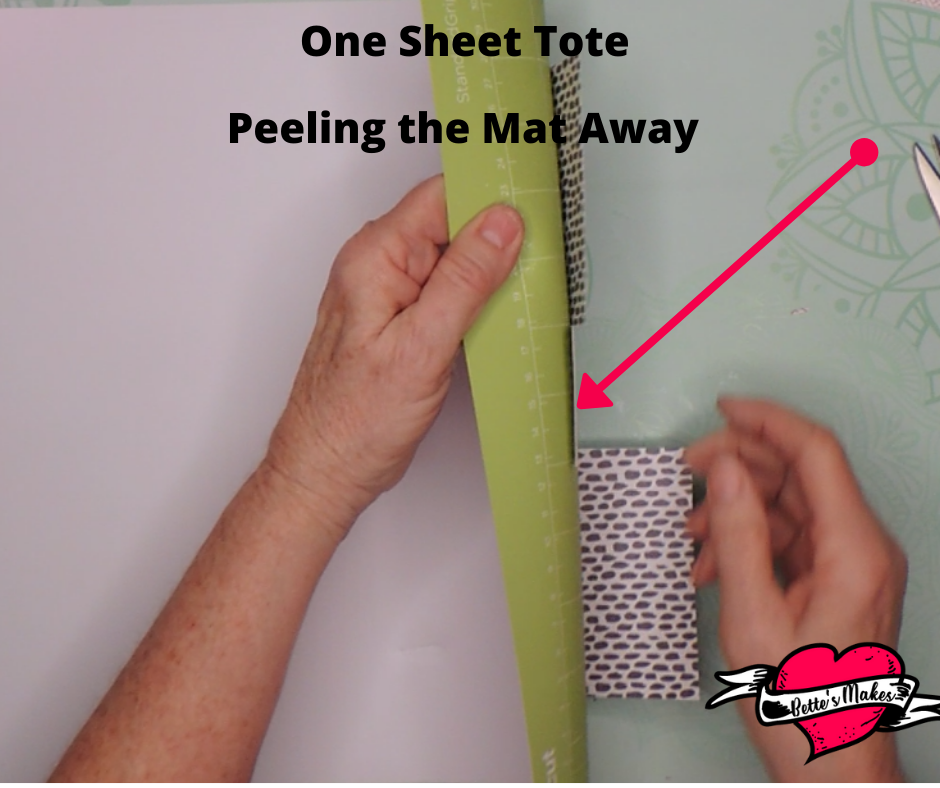
PEELING FROM THE MAT
To start you will need to remove the two long strips from the sides of the mat. These will be your handles.
Once you take away the handles, remove the remaining large piece being careful not to tear any of the paper. The best way to do this is to roll the mat off the paper instead of the other way around.
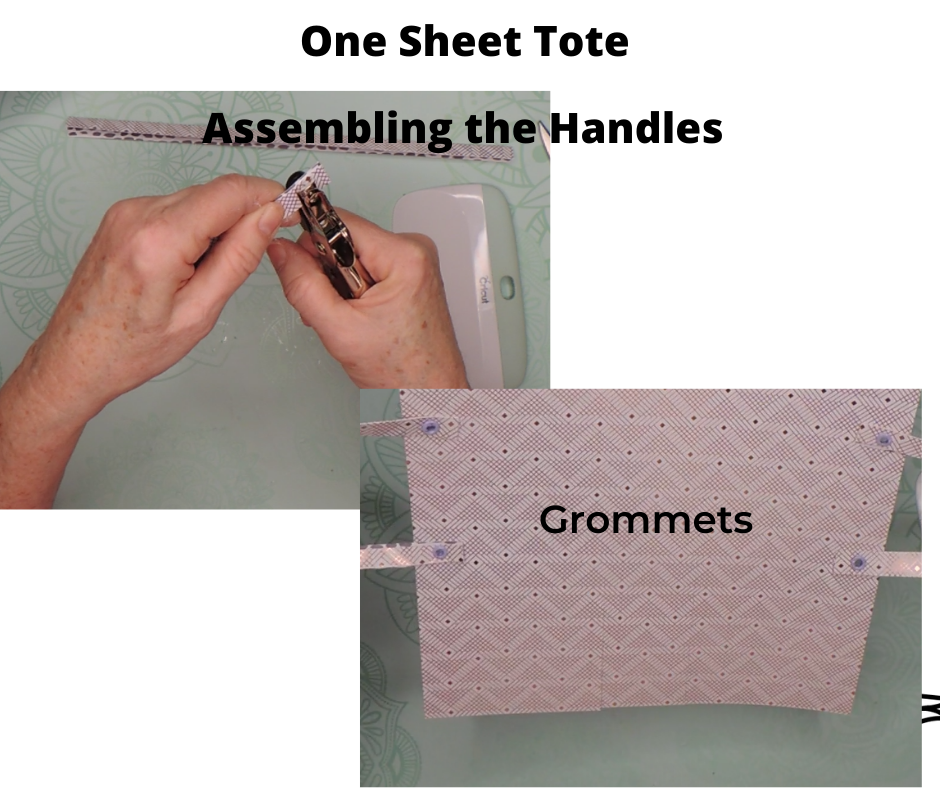
ASSEMBLE THE HANDLES (Do this first)
Fold the handles in half along the score lines. Make sure you have the side you want showing on the outside.
Use a one-hole punch or other instrument to punch a hole 1/2" above the ends (and centered) for all 4 ends.
Use a grommet or other fastener to attach the handles to the bag.
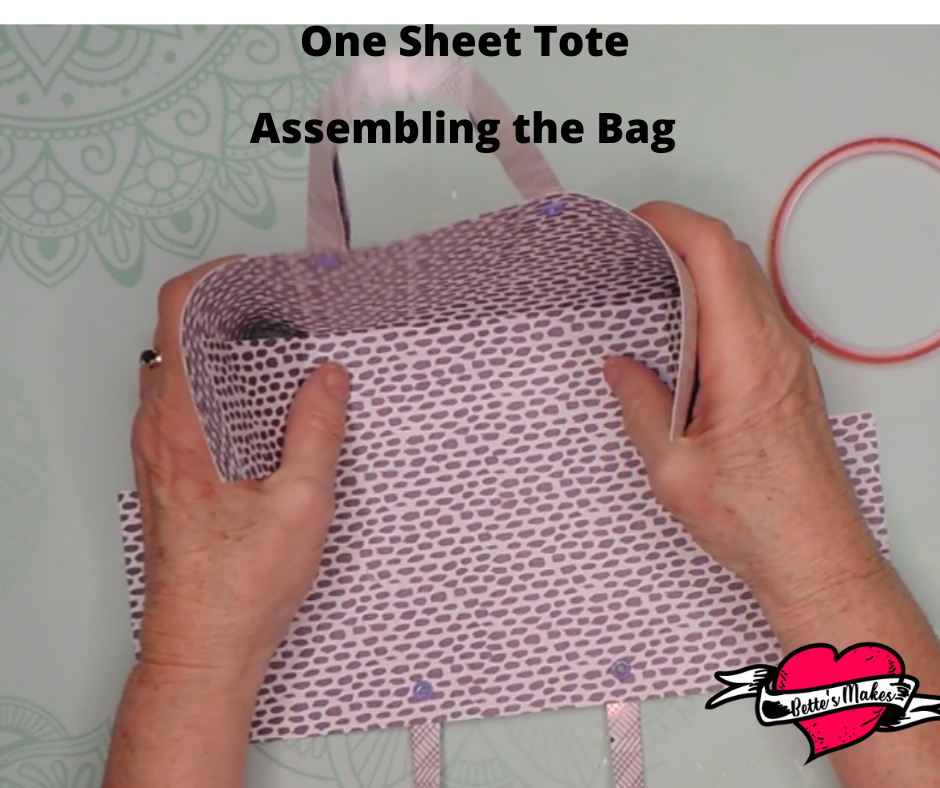
ASSEMBLE BAG
Crease all the remaining score lines toward the center. Make sure the pattern you want showing is on the outside of the bag.
Glue one edge of the bag to one edge of an inside flap - do this for both sides. See the diagram for more details.
Next wrap around the remaining outside edge and glue it in place to make the bag.
Finally glue the inside flaps in place, if you have not already done so. These flaps will make sure anything you put in the tote will not fall through.
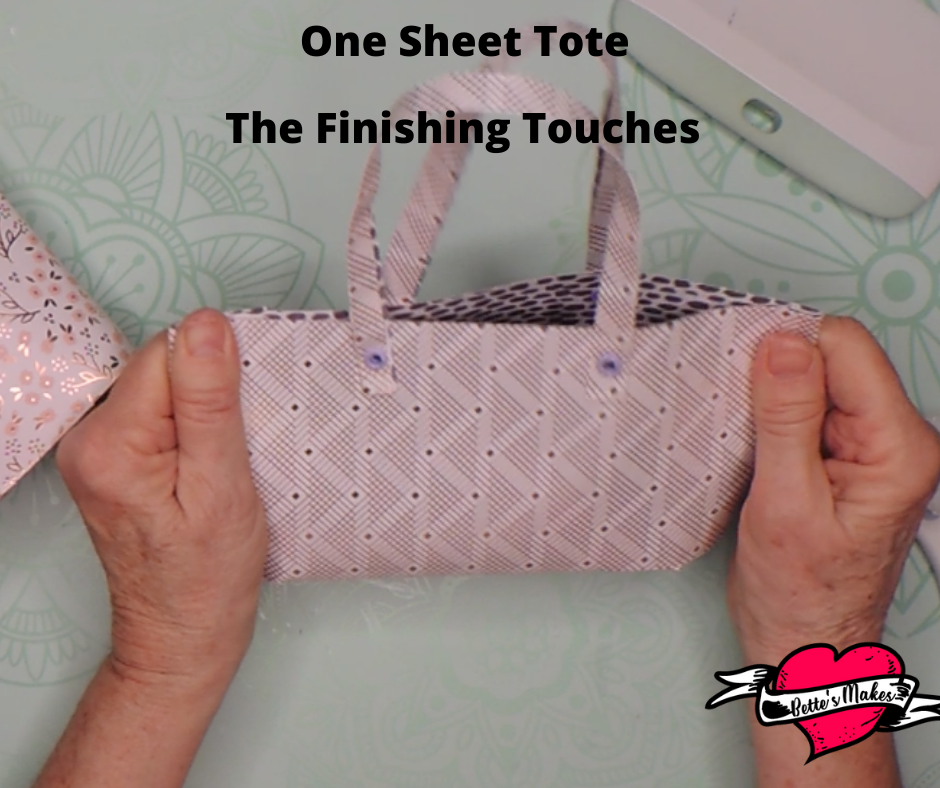
Step Four - The Finishing Touches
Wait until all the glue is dried before this next step.
Crimp the sides of the bag together to make a sharp fold. This is so the bag will easily close and look more like a tote bag.
Add any decorations you wish and fill it full of goodies and give it to someone you love!
Share your project on Facebook and in my group: Https://Facebook.com/groups/BettesMakes
Reading About Paper Handbags
There are so many styles of Handbags you can make with paper, scossors and even your Cricut!
I found these books you may want to read to add to your crafting library!
How to Make a One Sheet Tote Bag
Last Word
So far, I have made 4 of these tote bags. I even borrowed more grommets from my husband so I could be ready to make a few more. The next step would be to add some additional decorations to the front of the bag - I am thinking a Disney theme here.
I know you love making paper crafts and this project is one where the whole family can get involved. All the way from choosing the paper to the decorations. BTW you can use the same pattern to cut with scissors if you do not have a cutting machine. The assembly will still be the same.
I would love to see you model your new tote bag for me. Please post your pics in the Facebook group so we can all share!
https://Facebook.com/groups/BettesMakes
Until next time,
Happy Crafting!


Please join me on Pinterest: https://Pinterest.ca/BetteMakerCreations
Join my Facebook group: https://facebook.com/BettesMakes
Follow me on Instagram: https://Instagram.com/BettesMakes
Subscribe to my YouTube Channel: https://www.youtube.com/c/BettesMakes



3 replies to "How to Make a One Sheet Tote Bag (Papercraft)"
Hi there Dgoust,
thank you for your articles on the inside tips on how to making your bag! There are very useful tips and ideas! Please continue to share these wonderful ideas!
This is such a fun bag to make – I hope you have been able to make several
Thank you! I hope you are able to make several of these!